A
Andrew HayesAug 2, 2025
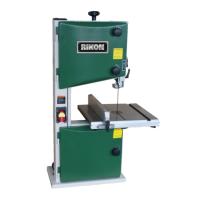
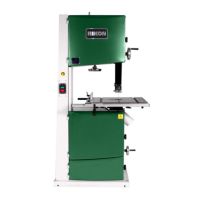
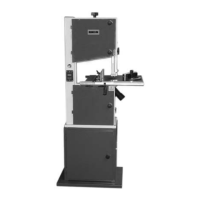
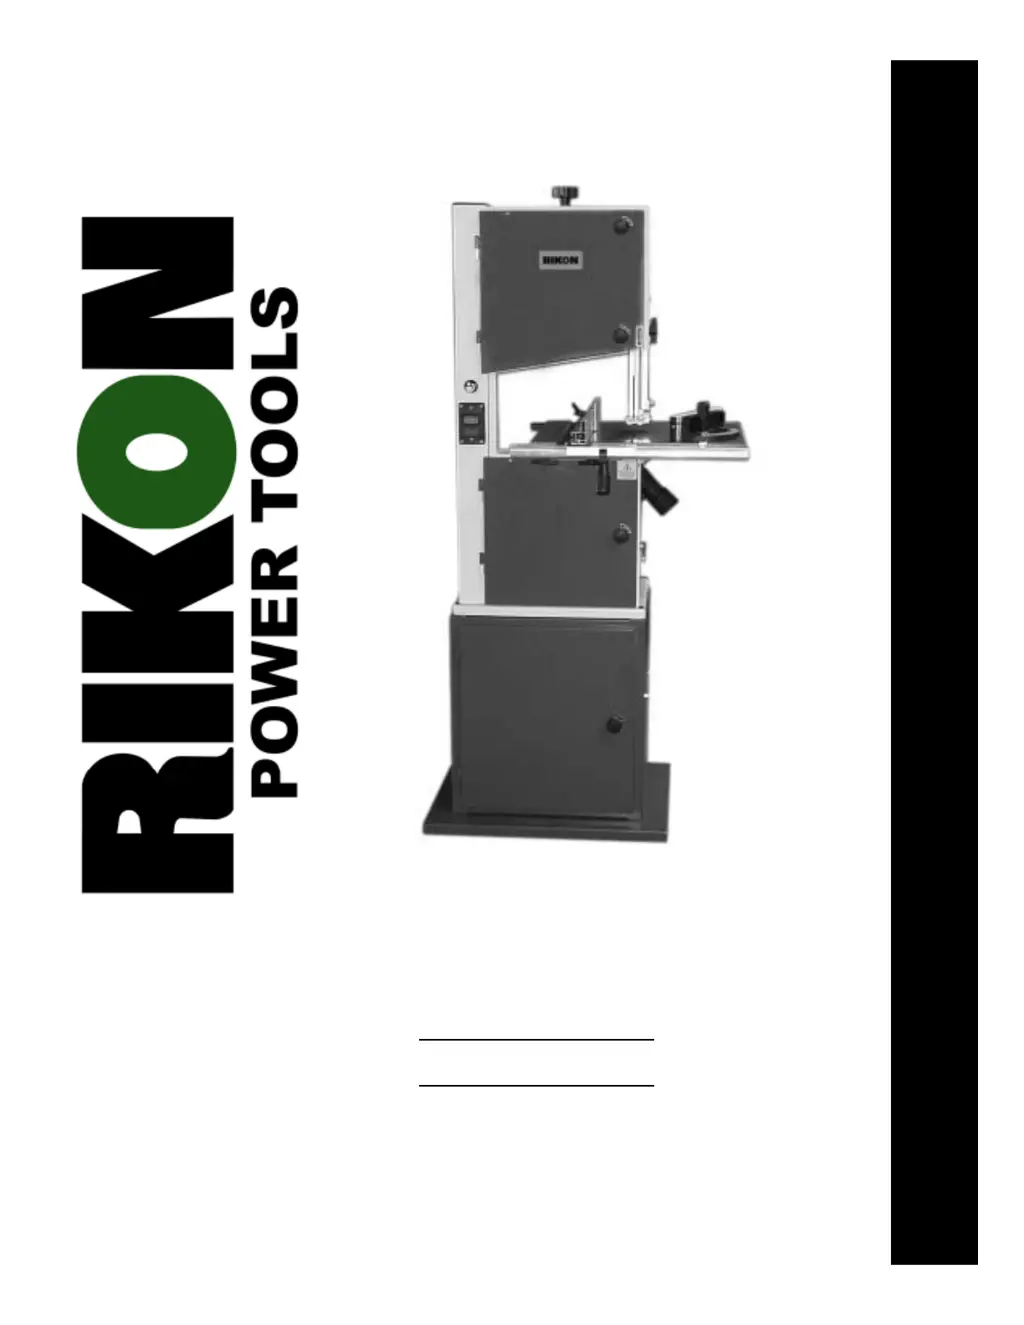
How to make my Rikon Power Tools 10-320 cut straight?
- QqjohnsonAug 3, 2025
To ensure your Rikon Power Tools Saw cuts in a straight line: * Use a fence. * Apply light pressure on the workpiece, ensuring the blade doesn't bend. * Replace the blade if the teeth are dull or damaged. * Adjust the blade guides.