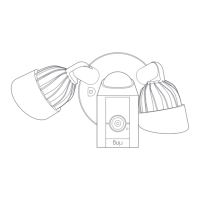
EasyManuals Logo

ring Floodlight Cam Wired Pro User Manual

ring Floodlight Cam Wired Pro
23 pages
To Next Page IconTo Next Page
To Previous Page IconTo Previous Page
Page #5 background imageLoading...
Page #5 background image
8
9
Hang it up.
Locate the nylon strap on the back of your Floodlight
Cam light fixture, and loop the buckle at the end over
the hook on the mounting plate. Make sure the buckle
and hook are secure before releasing the light fixture.
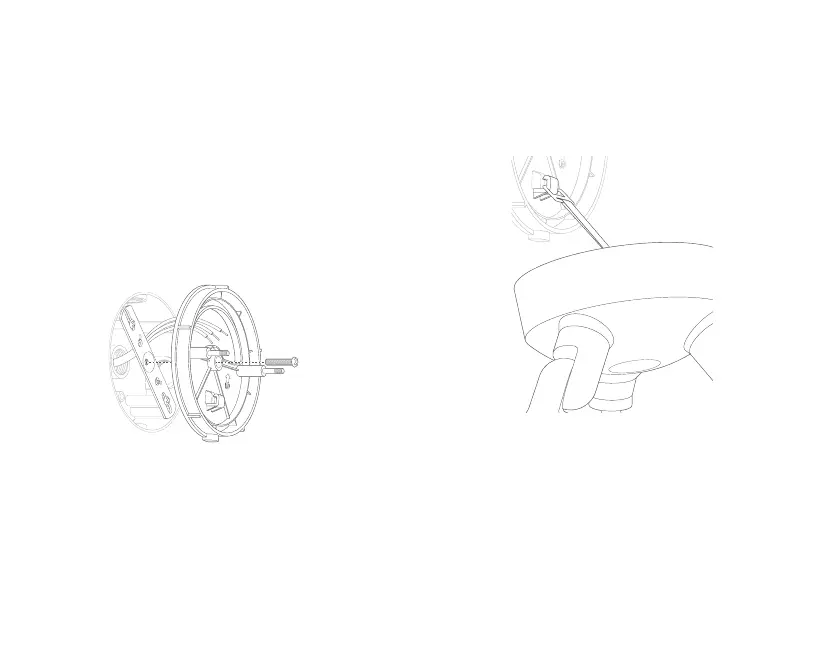
Install the plastic mounting plate.
Pull gently from the opening of the plastic plate to free
it from the fixture, then feed your power wires though
the opening.
With your power wires fed through the mounting plate,
center it over the metal mounting bracket. If you’re
installing on a wall, the “UP” arrow should point up.
If you’re installing under an eave, it should point
towards the wall.
Then, insert one of the screws from Bag B or C into the
center hole, and tighten to secure.

Other manuals for ring Floodlight Cam Wired Pro

Questions and Answers:

Question and Answer IconNeed help?

Do you have a question about the ring Floodlight Cam Wired Pro and is the answer not in the manual?

ring Floodlight Cam Wired Pro Specifications

General IconGeneral
TypeIP security camera
Luminous flux2000 lm
Day/night modeYes
Color temperature3000 K
Placement supportedOutdoor
Connectivity technologyWireless
Built-in HDD-
Built-in sirenNo
Mounting typeCeiling/wall
Product colorBlack
Country of originChina
AC input voltage100 - 240 V
Power source typeAC
Number of lenses1
Operating temperature (T-T)-28 - 48 °C
Total megapixels- MP
Maximum resolution- pixels
Supported video modes1080p
Networking standardsIEEE 802.11ac, IEEE 802.11b, IEEE 802.11g, IEEE 802.11n
Harmonized System (HS) code85258900
Weight and Dimensions IconWeight and Dimensions
Depth202 mm
Width326 mm
Height217 mm
Package depth360 mm
Package width16.3 mm
Package height24.8 mm

Related product manuals