STEP 19
Slide the cowl in position. Re-fit the plywood spinner rings and
mount your propeller. Holding the cowl in place and ensuring a small,
even gap between the front of the cowl and spinner rings, mark the
positions of the cowl mounting screws. Pilot drill the holes then
attach the cowl using the four self tapping screws supplied.
Page 4
STEP 20
Locate the pre-painted spinner nosecone. Carefully trim away enough plastic to
allow it to fit onto the plywood spinner rings without touching the propeller. Now
glue the spinner nosecone onto the plywood rings ensuring it is square by turning
the propeller slowly. Use minimal glue for this joint is allow the spinner nose cone
to be removed when changing props.
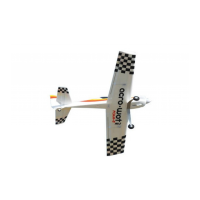
STEP 21
Locate the pre-bent undercarriage and mounting screw, washers and retaining nut.
Ensure that the wheels spin freely on the axles.
STEP 22
Slide the undercarriage through the pre-cut slot in the underside of the fuselage as
shown. Place a washer on the mounting screw and push it through the pre-drilled
hole from the wing opening and through the loop in the top of the undercarriage. Fit
another washer, followed by the nut, and tighten.
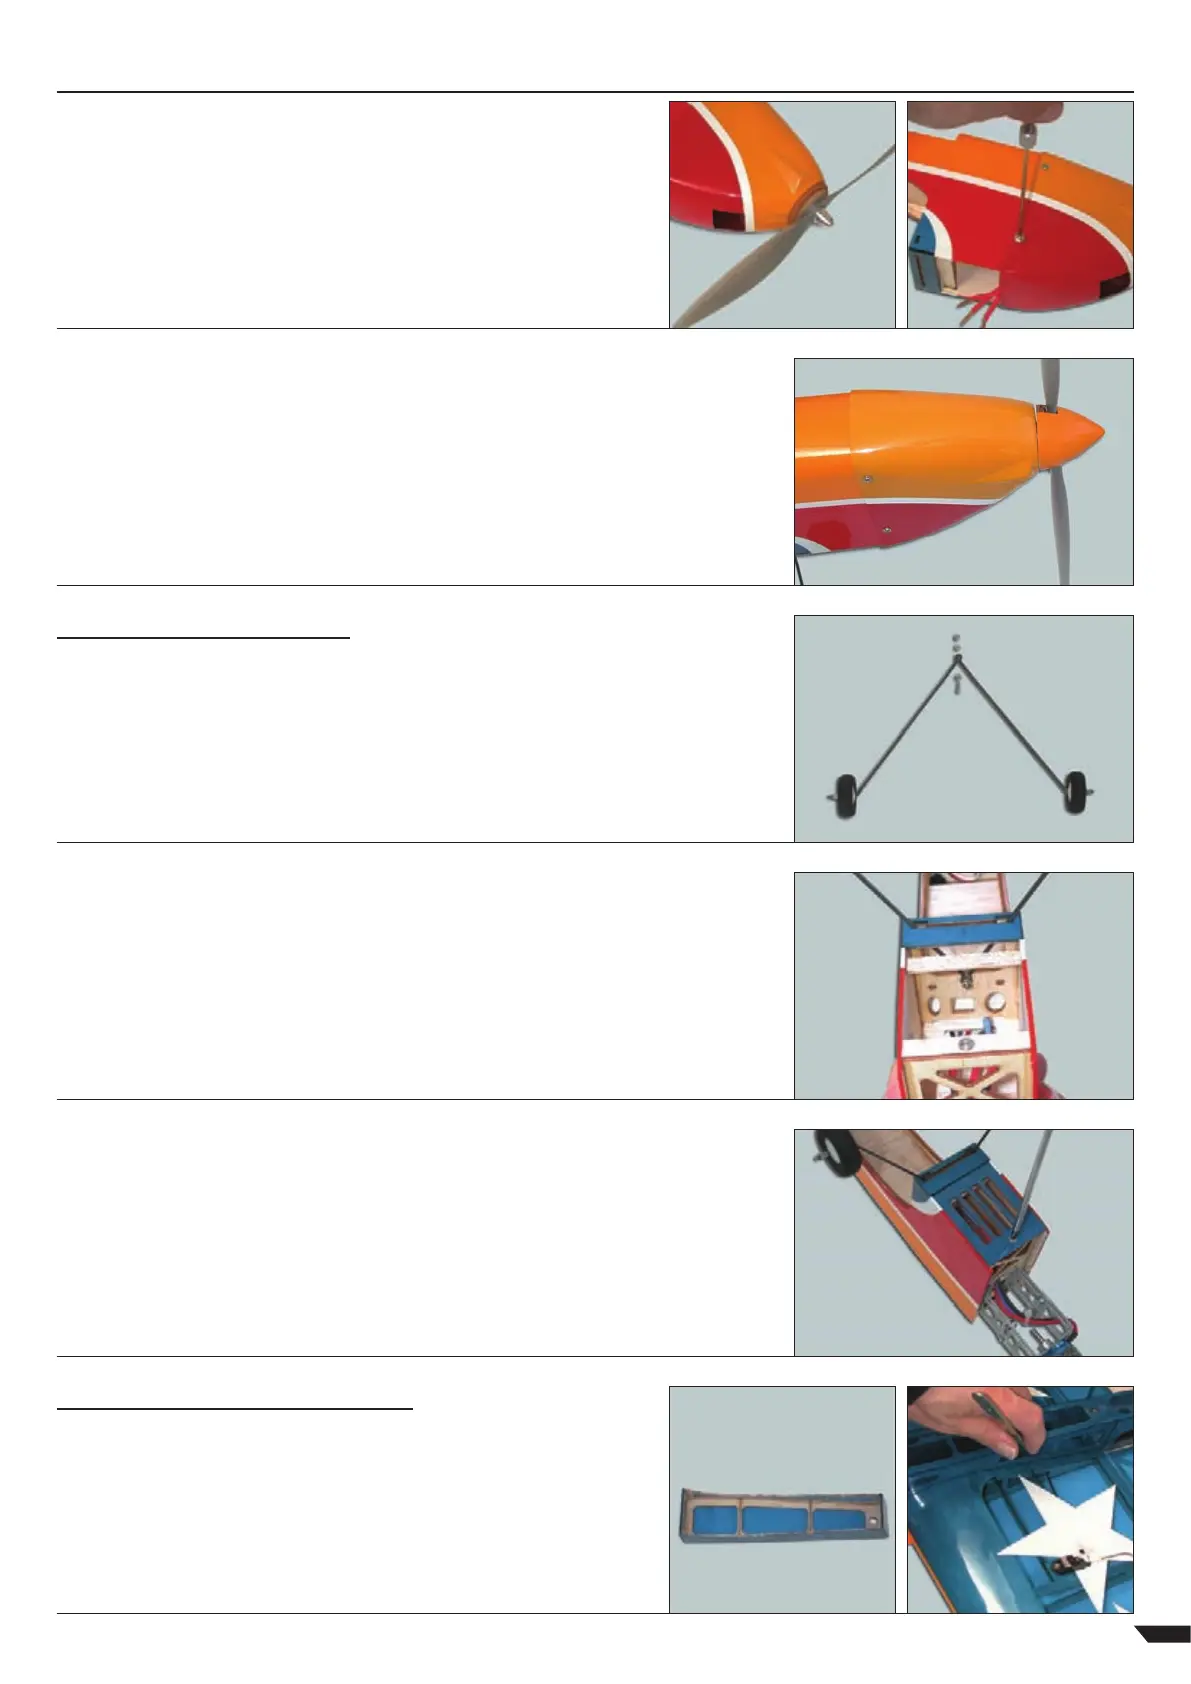
STEP 24
Trim the covering away from the pre-drilled wing mounting bolt
access hole. You may wish to seal the edges of the film with a covering
iron. With the wing bolted in position, test the fit of the fairing.
Holding the fairing in place, mark its position on the wing then trim
the covering from the wing centre section inside the marked lines.
VERY IMPORTANT: Ensure that only the film is cut - not
the wing - as this will seriously weaken the structure.
STEP 23
Complete the installation of the undercarriage by screwing the lower hatch in place
with the self tapping screw supplied.
Mini Bossanova - Instr uctions
UNDERCARRIAGE
UNDERWING FAIRING