Page / Seite 13
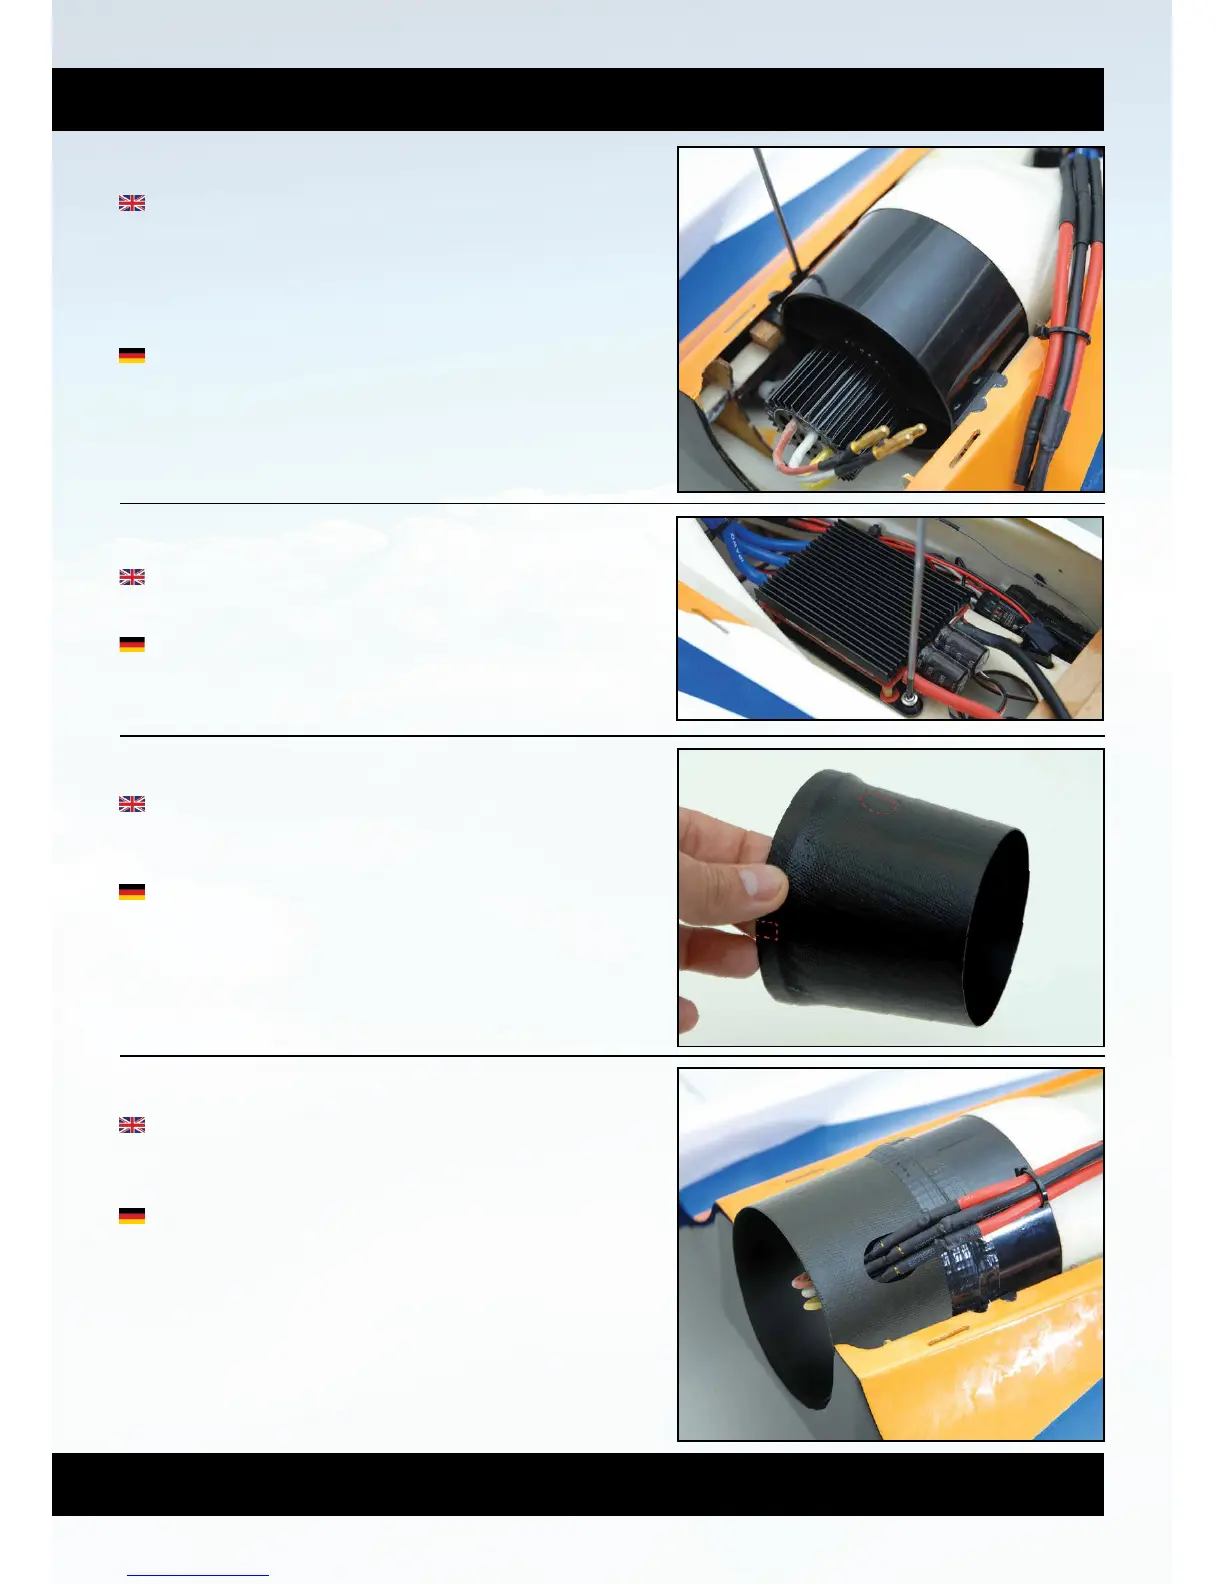
Locate the rear tail pipe and trim it to fit your fan unit.
This uncludes a hole for the motor wires and two notches
to suit the EDF mounting brackets.
Nehmen Sie den hinteren Auslass und passen Sie ihn
an den Impeller an. Bringen Sie entsprechende Öffnungen
für die Motorkabel und die Befestigungen an.
Now fit the rear tail pipe to the fan unit with strong
tape (we used duct tape for this) and connect the motor
wires to the speed controller.
Befestigen Sie nun den Auslass mit festem Klebeband
am Impeller und verbinden Sie die Motorkabel mit dem
Regler.
Step 29 | Schritt 29
Step 30 | Schritt 30
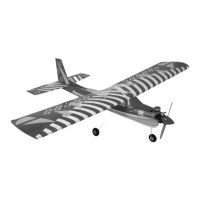
Now slide your 90mm fan unit into the glass
intake about 2-3mm and secure to the fan unit to
the mounting rails as shown, you may need to put
plywood packers under your fan unit to achieve the
right level and thrustline.
Schieben Sie ihren 90mm Impeller ca. 2 - 3mm
in den Einlass. Befestigen Sie den Impeller. Richten
Sie vorher Höhe und Ausrichtung des Impellers mit
angepassten Sperrholzklötzen aus.
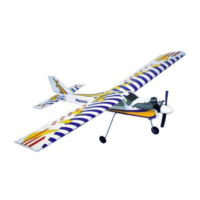
Secure your speed controller to the ply plate
between the air intakes as shown.
Befestigen Sie den Regler auf der Platte wie
gezeigt.
Step 27 | Schritt 27
Step 28 | Schritt 28