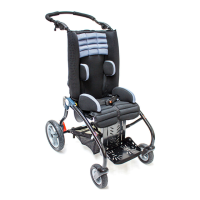
TRANSPORTATION
The marley Stroller has been successfully tested to ISO 7176-19
(Wheeled mobility devices for use in Motor Vehicles)
Using a P10—32Kg Test Dummy.
The restraint systems used for the Occupant and Stroller during the
above testing are available from:- Unwin Safety Systems.
Tel: 01935 827740 Fax: 01935 827760
Email: sales@unwin-safety.co.uk Web: www.unwin-safety.com
Part numbers:- Stroller Tie-downs: Front—OF03 Rear—OR02
Occupant restraints: OCR02
NOTE: Installation and use of all transportation restraint systems should always be
strictly as per the manufacturers recommendations.
IMPORTANT NOTES:
THE marley Stroller and OCCUPANT MUST ONLY BE TRANSPORTED IN THE
FORWARD FACING, FULLY UPRIGHT POSITION.
THE STROLLER RESTRAINTS MUST ONLY BE ATTACHED TO THE TIE-DOWN
POINTS INDICATED BELOW.
ENSURE BOTH STROLLER BRAKES ARE APPLIED BEFORE COMMENCING YOUR
JOURNEY.
DO NOT TRANSPORT THE marley Stroller WITH THE SHOPPING BASKET
REMOVED.
When a child of mass less than 22 kg is to be transported in a road vehicle, it
is recommended that they be transferred from their wheelchair to a UNECE
Regulation 44 compliant child restraint system.
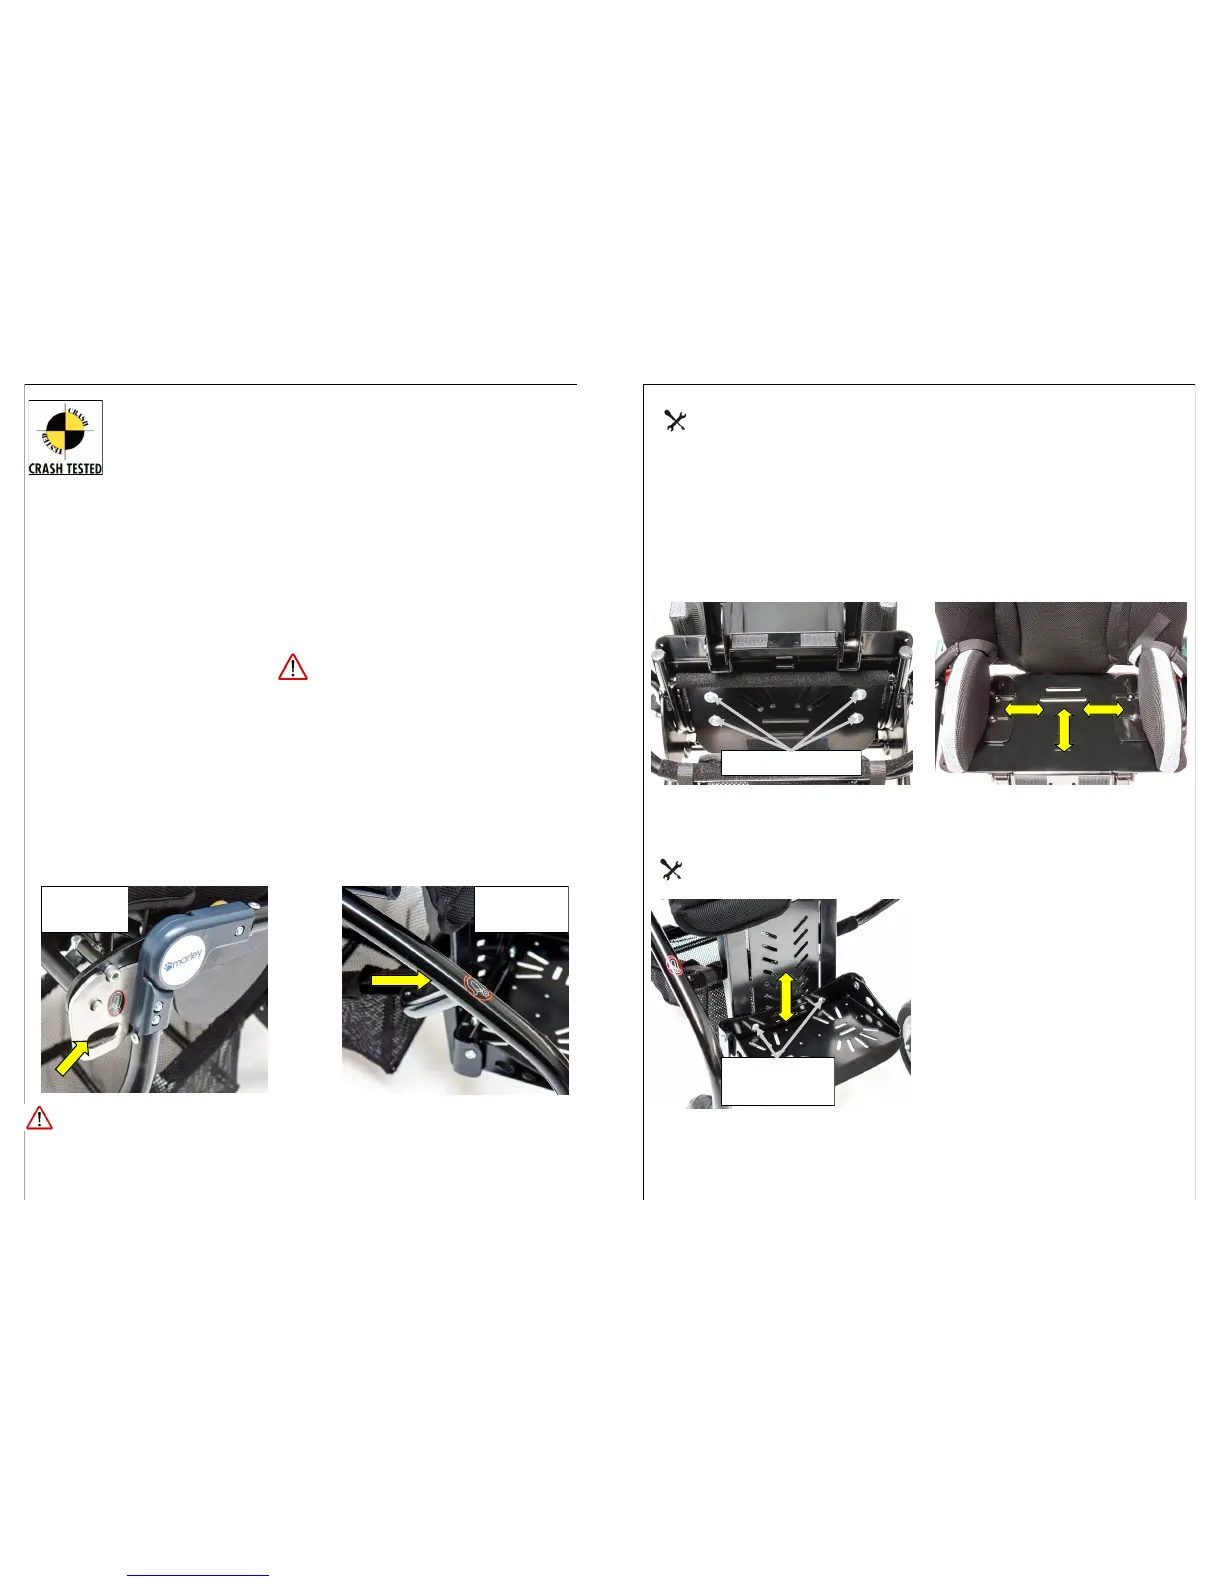
Rear Tie-down
points
Front Tie-down
points
SEAT DEPTH and PELVIC SUPPORT ADJUSTMENT
Tools Required: 10mm Spanner.
Detach and remove the seat cushion.
Raise the footrest and seat panel as an assembly to gain access to the underside
of the seat.
Slacken all four screws sufficient to be able to reposition the upper seat panel.
Check the pelvic support positions and reposition as required before
retightening all four securing screws sufficient to prevent any movement.
Replace the seat cushion.
FOOTREST HEIGHT ADJUSTMENT
Tools Required: 10mm Spanner
Slacken both footrest height
adjustment screw lock nuts, located at the
rear of the footrest support panel, then
slacken both screws.
Raise or lower the footrest to the
required position, then retighten both
screws and lock nuts sufficient to prevent
any movement.
11
Seat adjustment Screws
Footrest height
adjustment screws