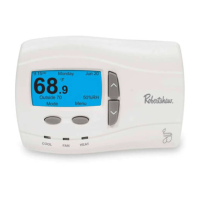
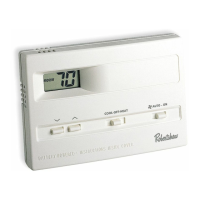
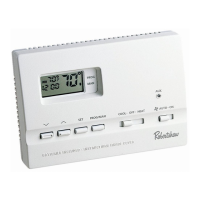
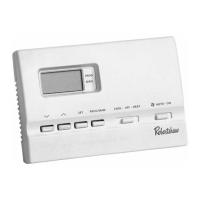
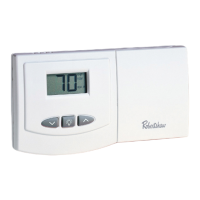
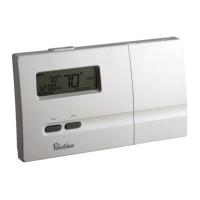
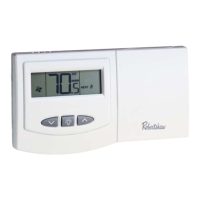
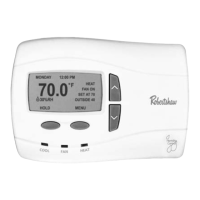
Models 9851i, 9865i and 9870i
Quick Start Installation Manual
111-340
Installation DOs and DON’Ts
DO
• Shut off all power to system before installing.
• Read entire manual before installing.
• Make sure that all wiring conforms to
national and local codes.
DO NOT
•
Install on voltages greater than 30 VAC.
• Short jumper across terminals on the gas
valve or at the system control.
• Connect ground to any terminal in
this unit.
• Install on outside walls or in direct sunlight.
Select location for installation.
Mark mounting hole locations on wall.
Drill
3
/
16
” holes at marked locations on
wall. Insert plastic anchors into holes.
Align unit base over plastic anchors
embedded in wall and secure with the
screws provided.
Connect wiring between unit and
furnace. For Model 9851i (1H/1C
furnace applications):
6
1- 1/2"
1"
Cut
out
opening
1/4"
a
b
Mark mounting hole
locations on wall using
unit base as template.
Drill 3/16" holes
a
b
Press anchors into holes until flush.
Y1
R
C
E/W1
H O B G
Furnace
Terminals*
Wiring
Thermostat
C - Common 24 VAC
R - System transformer
Y1 - 1st stage cooling
W1- 1st stage heating
W2- not used
Y2 - not used
L - not used
O - Cool active reversing valve
B - Heat active reversing valve
G - Fan relay
D - Dehumidification relay
H - Humidification relay
TERMINAL DESIGNATIONS
W2
D
Y2
C
C
H
R
Y1
W1
L
G
L
B
O
* Please refer to furnace
installation manual for
proper terminations
Note: To avoid electrical problems, use the system transformer for both
the thermostat and humidifier.
98
5
1
i
Humidifier
D
Remove 1/4” of insulation
from end of each wire
Open the case with a screwdriver. Place
in slot and gently pry forward at all four
locations.
2
1
2
3
4
DELUXE
PROGRAMMABLE
THERMOSTATS


 To Next Page