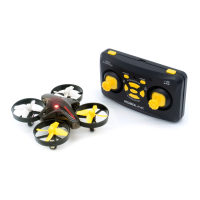
Power on the drone by
inserting the battery into
the battery slot. Note
the small tab on one
side of the battery. Insert
the battery so that the
side with the small tab is
facing downward.
To power o the drone,
grab the battery firmly
and pull the battery out
fully.
The controller takes two AA batteries (not included). Press and hold the
button for 3 seconds to power on.
You can also use a Micro USB cable to power the controller with a
computer or external power source. If you want to pilot the drone, make
sure the controller is not in the LINK state by pressing the button.
To power o, press and hold the button for 3 seconds or unplug the
Micro USB cable.
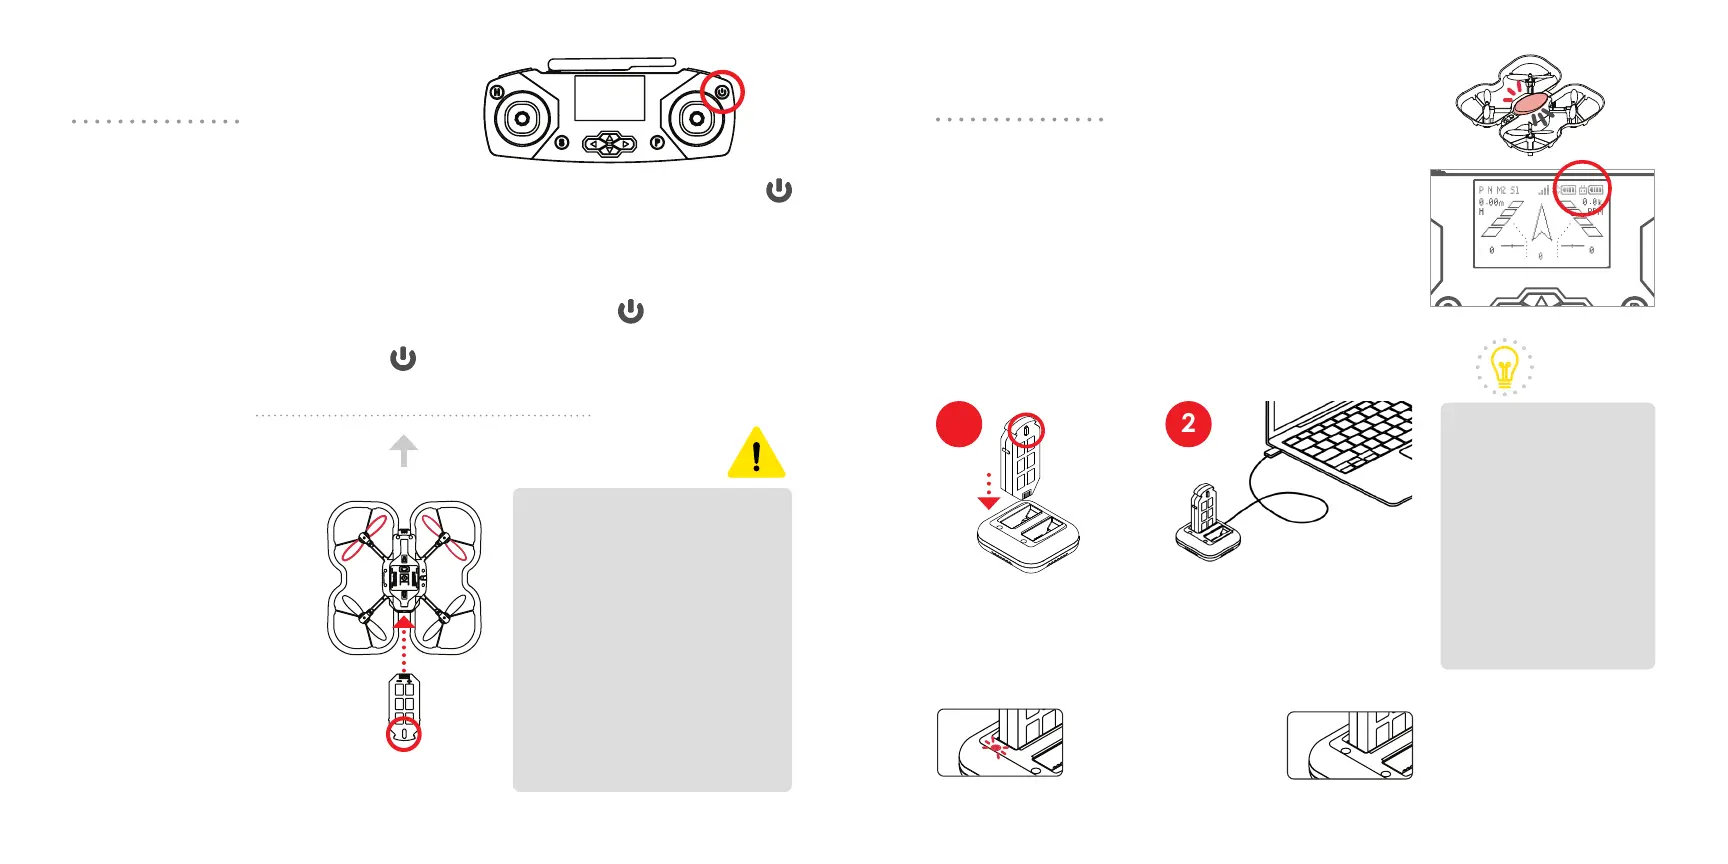
Powering On
Charging
front
Bottom view
A solid red light
means the battery
is charging.
Insert the battery
into the charger,
with the tab facing
towards the middle
of the charger.
Plug the Micro USB cable
into the charger. Plug the
other end into a power
source, like a computer or
external power source.
You can check your drone and controller’s
battery levels on the LCD screen. When the
drone battery is low, the drone will beep, the LED
will flash red, and the controller will vibrate.
The controller is not rechargeable. AA batteries
can be replaced when the battery is low, or you
can switch to an external power source.
The light will turn o
when the battery is
fully charged.
Powering on the controller
Powering on the drone
Charging the drone battery
Low battery
Practice safe battery use.
Don’t leave charging
batteries unattended.
Store batteries away from
extreme heat or cold.
This will help extend its
lifetime. Do not charge
or use a damaged or
expanded battery.
Discard lithium polymer
batteries safely according
to local e-waste
guidelines.
When charging two
batteries, make
sure the power
source can deliver
5 Volts, 2 Amps.
If batteries appear
not to be charging,
try disconnecting
and reconnecting
the cable.
CAUTION
TIP
1 2
12 13
 Loading...