06
Product Overview
A
A1
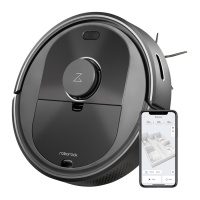
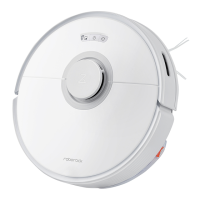
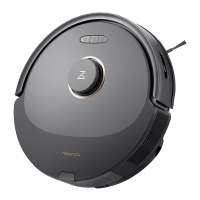
Robot (Top View)
Press any button to stop the robot during
cleaning or docking.
Note:
A1-1—Vertical Bumper
A1-2—LiDAR Sensor
A1-3—Wall Sensor
A1-4—Dock Locator
A1-5—Bumper
A3
Robot (Dustbin Removed)
A3-1—Reset Button
A3-2—Air Inlet
A3-3—Air Outlet
A3-4—Mopping Module
A2
Robot (Bottom View)
A2-1—Cliff Sensors
A2-2—Omnidirectional Wheel
A2-3—Charging Contacts
A2-4—Side Brush
A2-5—Main Brushes
A2-6—Main Brush Cover
A2-7—Main Wheels
Installation
B
Important Information
A5
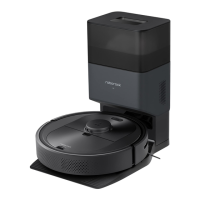
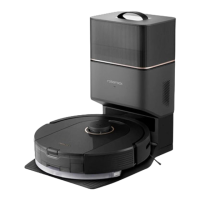
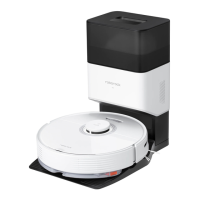
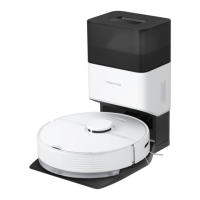
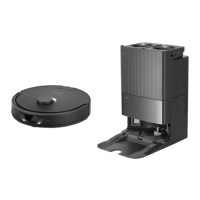
Charging Dock
A5-1—Power Indicator
A5-2—Location Beacon
A5-3—Charging Contacts
A5-4—Power Socket
A5-5—Electrode Brushes
A6
Power Cable
A7
Adjustable Water Tank
A7-1—Water Tank Stopper
A7-2—Water Tank Latches
A7-3—Filter Components
A7-4—Flow Control
A8
Mop Cloth
A8-1—Hook and Loop Pads
A9
Moisture-Proof Mat
A4
Dustbin
A4-1—Dustbin Latch
A4-2—Washable Filter
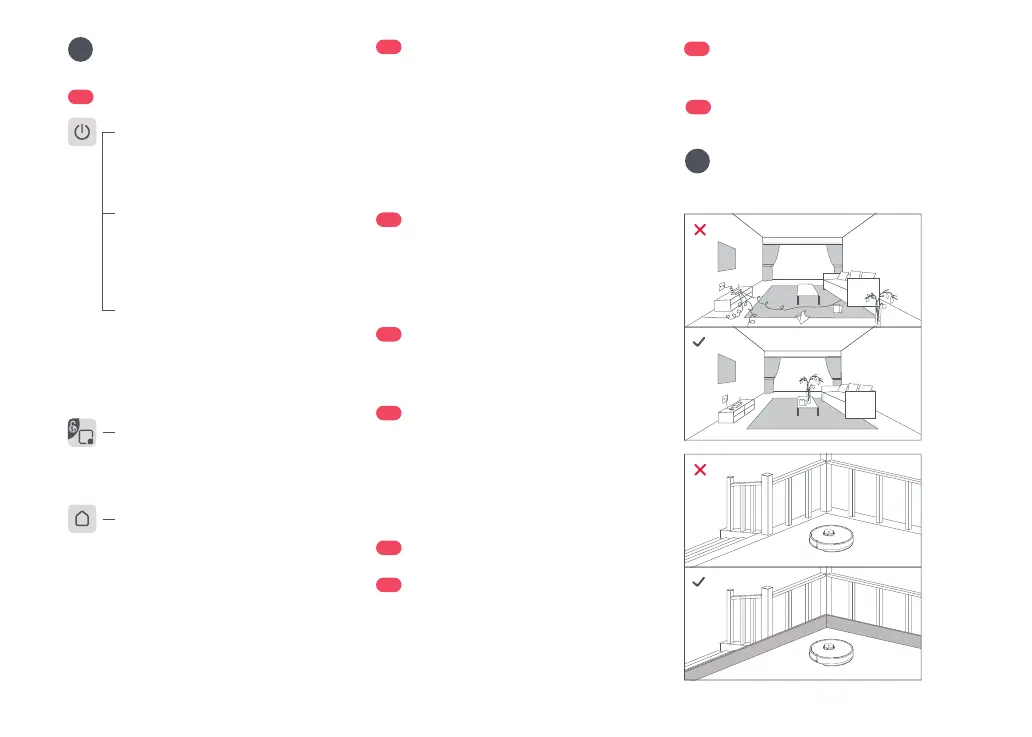
Spot Clean/Child Lock
• Press to spot clean
• Press and hold for 3 seconds to
turn on/off the child lock
• White: Battery level ≥ 20%
• Red: Battery level < 20%
• Breathing: Charging or starting up
• Flashing red: Error
Power Indicator
Power/Clean
• Press and hold to turn the robot
on or off
• Press to start cleaning
• Flashing blue slowly: Waiting for
connection
• Flashing blue quickly: Connecting
• Steady blue for five seconds: WiFi
connected
WiFi Indicator Light
Dock
• Press to return to dock


 To Next Page