09
A11-1—Water Tank Handle
A11-2—Water Tank Lid
A11-3—Water Tank Latch
A11-4—Clean Water Tank
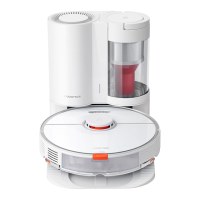
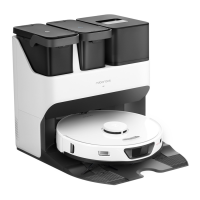
Empty Wash Fill Dock
"
Press any button to pause the robot during
cleaning or docking.
Note:
Ŏ
White: Battery level
15%
Ŏ
Red: Battery level < 15%
Ŏ
Breathing: Charging or starting up
Ŏ
Flashing red: Error
Ŏ
Flashing red and white alternately:
Remote viewing or cruising
Ŏ
Press and hold to turn the robot
on or off
Ŏ
Press to start cleaning
—Power/Clean
—Power Indicator Light
Ŏ
Press to start docking/emptying
Ŏ
Press and hold to wash the mop
cloths
—Dock
Ŏ
Press to start Mop Only
Ŏ
Press and hold for 3 seconds to
enable/disable Child Lock
—Mop Only/Child Lock
Ŏ
Off: WiFi disabled
Ŏ
Flashing slowly: Waiting for
connection
Ŏ
Flashing quickly: Connecting
Ŏ
Steady: WiFi connected
Ŏ
Flashing slowly: Starting up
Ŏ
Flashing quickly: Waiting for voice
commands
Product Overview
A
A1
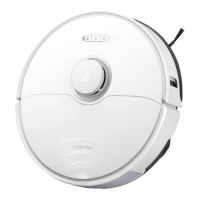
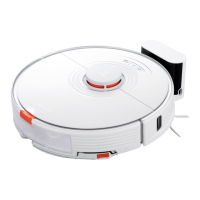
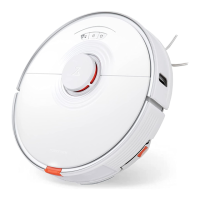
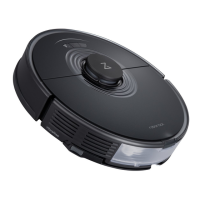
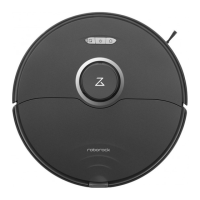
Robot (Top View)
A2
Robot (Bottom View)
A3
Robot (Top Cover Removed)
A1-1—Voice Assistant Indicator Light
A2-1—Cliff Sensors
A2-2—Carpet Sensor
A2-3—Omnidirectional Wheel
A2-4—Flexible Side Brush
A2-5—Main Brushes
A2-6—Main Brush Cover Latches
A2-7—Main Wheels
A3-1—Magnetic Top Cover
A3-2—WiFi Indicator Light
A3-3—Reset Button
A3-4—Charging Contacts
A3-5—Communication Sensor
A3-6—Self-Filling Port
A3-7—Positioning Button
A3-8—Air Outlets
A3-9—VibraRise Module
A3-10—Bumper
The mop cloth mounts are non-detachable.Note:
VibraRise Module
"
A5-1—Hook and Loop Pads
A6-1—Mop Cloth Screw
A7-1—Dustbin Latch
A7-2—Filter Latch
A7-3—Air Inlet
A7-4—Washable Filter
A7-5—Suction Inlet
VibraRise Mop Cloth
"
Dustbin
"
Dock Base
"
Disposable Dust Bag
"
Edgewise Mop Cloth
"
Power Cord
"
Ŏ
For use with video calls and voice
control.
A1-2—Vertical Bumper
A1-3—LiDAR Sensor
A1-4—Microphones
A1-5—Wall Sensor
A1-6—Reactive AI Obstacle Recognition
Sensor
A1-7—Dock Locator
A1-8—LED Fill Light
Note: Secure the mop cloth flat in place.
A4-1—Mop Cloth Attachment Slot
A4-2—Vibration Module
A4-3—Edgewise Mopping Module
 Loading...
