SRAM CORPORATION • MARCH 2004 5
SRAM C
ORPORATION
• P
ILOT
U
SER
M
ANUAL
E
NGLISH
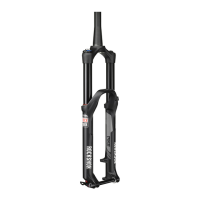
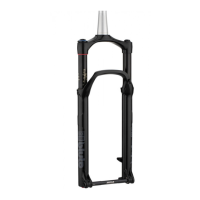
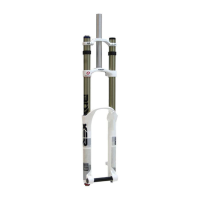
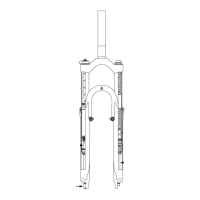
F ORK INSTALLATION
It is extremely import ant that your RockShox fork is inst alled correctly by a qualified
bicycle mechanic. Improperly inst alled forks are extremely dangerous and can result
in severe and/or fatal injuries .
1. Remove the existing fork from the bicycle and the crown race from the fork. Measure the length of the
fork steerer tube against the length of the RockShox steerer tube. The RockShox steerer tube may need
cutting to the proper length. Make sure there is sufficient length to clamp the stem (refer to the stem
manufacturer's instructions).
2. Install the headset crown race (29.9mm for 1 1/8" steerers) firmly against the top of the fork crown.
Install the fork assembly on the bike. Adjust the headset until you feel no play or drag.
3. Install the brakes according to the manufacturer's instructions and adjust brake pads properly. Use the
fork only with disc style brakes mounted through the provided mounting holes. Do not use any
cantilever brake other than those intended by the brake manufacturer to work with a hangerless brace.
4. Forks designed for standard quick releases: adjust the front wheel quick release to clear the
dropout's counter bore. The quick release nut must be tightened after the wheel is properly seated into
the dropout's counter bore. Make sure four or more threads are engaged in the quick release nut when
it is closed. Orient the quick release lever in front of and parallel to the lower tube in the locked
position. Forks designed for a thru-axle (not available for all forks): follow the installation
instructions that follow for the Maxle Quick Release system
5. Keep in mind tire clearance as you choose tires. Maximum size is 26 x 2.2" wide or 670 mm diameter
installed. Be sure to check this radius whenever you change tires. To do this, remove the top caps and
spring stack assemblies and compress the fork completely to make sure at least 5 mm of clearance exists
between the top of the tire and the bottom of the crown. Exceeding maximum tire size will cause the tire
to jam against the crown when the fork is fully compressed.
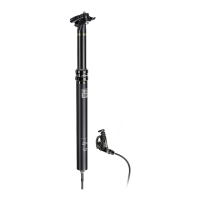
P OPL OC R EMOTE L OCKOUT INSTALLATION
The PopLoc Remote Lockout lever allows the rider to control the movement of their
suspension fork without removing their hands from the handlebars.
If needed, remove the grip, brake lever, and shif ter from the lef t side (rider's
perspective) of the handlebar. If you are unfamiliar with the removal of these items,
please consult the manufacturer's instructions.
1. Slide the Poploc onto the handlebar.
2. Re-install the shifter, brake lever, and grip on the handlebars. If you are unfamiliar with the installation of
these items, please consult the manufacturer's instructions. Always adhere to the recommended torque
specifications for these items.
3. Position the PopLoc as desired on the handlebar and tighten the clamp bolt to 20 in-lb (2.25 Nm)
4. Forks with PopLoc Adjust: Turn the blue compression adjustment dial counterclockwise until it stops.
5. Press the release button on the PopLoc.
6. Install the cable in the PopLoc.
 Loading...