Do you have a question about the Rock Shox reverb b1 and is the answer not in the manual?
Details service intervals, maintenance tasks, and benefits for Reverb A2.
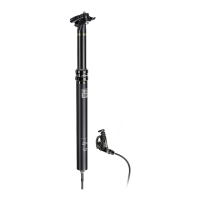
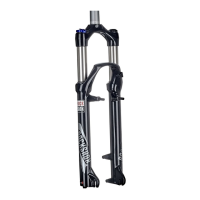
Outlines service intervals, maintenance tasks, and benefits for Reverb B1.
Lists critical torque values for internal seal head, top cap, air valve, and other components.
Removing the air cap and releasing air pressure from the chamber, emphasizing safety.
Removing brass keys and referencing page 7 for size identification.
Removing and handling foam rings and bottomout o-rings based on service type.
Installing the new top cap assembly, ensuring correct wiper seal placement.
Removing the seal head and inner shaft assembly from the upper post, with safety precautions.
Using a RockShox Bleed syringe to pull the poppet cover from the post head.
Removing the poppet valve from its housing using needle nose pliers.
Using plastic cable ties to remove the IFP from the upper post.
Applying grease to the new top cap assembly and installing it onto the upper post.
Greasing and installing the new internal seal head assembly onto the inner shaft.
Coating the IFP tube with fluid and pressing it into the upper post until it seats.
Greasing the B1 IFP and inserting it into the upper post.
Using charts and the IFP Height Tool to accurately set the IFP depth.
Filling the IFP tube with hydraulic fluid to the specified level.
Using tools to press the IFP to the precise height within the upper post.
Inserting the inner shaft piston into the IFP tube until hydraulic resistance is felt.
Opening the bleed tool hose clamp and threading the seal head into the upper post.
Pulling the inner shaft up and checking for any gap or movement.
Using the Oil Height tool and syringe to remove any remaining excess fluid.
Tightening the seal head to the specified torque value.
Inserting the poppet valve into the post head until it snaps into place.
| Brand | Rock Shox |
|---|---|
| Model | reverb b1 |
| Category | Bicycle Accessories |
| Language | English |