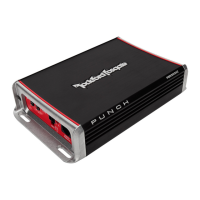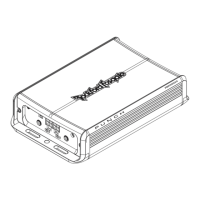
Do you have a question about the Rockford Fosgate PUNCH PBR300X4 and is the answer not in the manual?
| Number of Channels | 4 |
|---|---|
| Frequency Response | 20 Hz - 20 kHz |
| Power Output (RMS) @ 2 Ohms | 75 Watts x 4 @ 2-Ohm |
| Bridged Power (RMS) @ 4 Ohms | 150 Watts |
| Total Harmonic Distortion (THD) | <0.05% |
| Signal-to-Noise Ratio | > 80 dB |
| Input Sensitivity | 150 mV to 4 V |
| Crossover | High Pass / Low Pass |
Critical safety warnings and guidelines for installation and use of the amplifier.
Guidance on suitable and unsuitable places to mount the amplifier to ensure proper cooling and prevent damage.
Recommendations for vehicle battery and charging system capacity to handle the amplifier's load.
Step-by-step instructions for connecting the amplifier's power, ground, and remote wires.
Details on connecting the power supply to the amplifier, including fuse placement.
Explanation of how to set the crossover switch for High Pass, All Pass, or Low Pass operation.
Details on adjusting high-level input for turn-on/off noise reduction and remote turn-on functionality.
Procedure for setting the amplifier's input gain for optimal volume and signal-to-noise ratio.
Steps to verify correct power, ground, and remote connections for the amplifier.
Diagnosis for the amplifier's protect indicator light and potential causes like shorts or overheating.
Steps to troubleshoot issues with the amplifier producing no audio output.
Solutions for preventing turn-on or turn-off popping sounds from the amplifier.
Methods to eliminate engine noise interference in the audio system, including grounding and wire routing.
