ControlLogix Power Supplies 11
Publication 1756-IN613A-EN-P - December 2008
2. Insert the wire into the terminal.
3. Turn the screw clockwise to tighten the terminal on the wire.
4. Tighten the terminals to a torque of 0.8 N•m (7 lb•in).
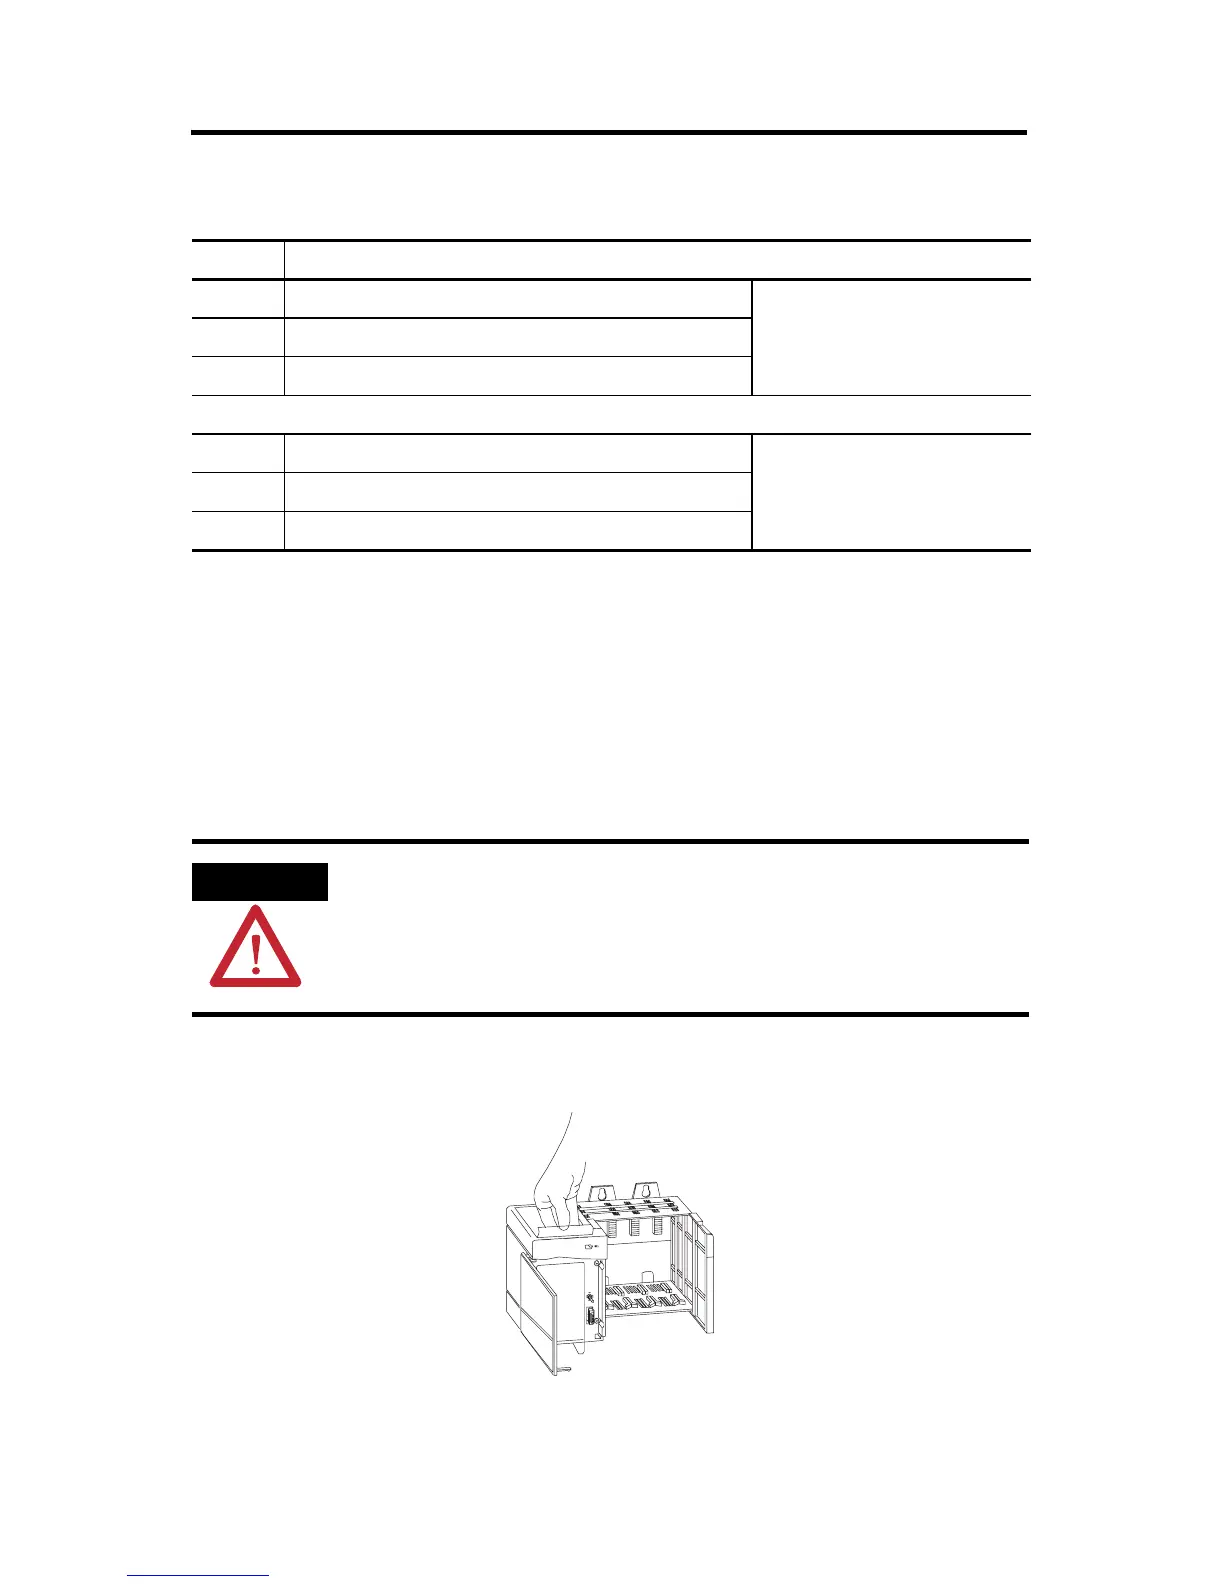
Remove the Protective Label
Remove the plastic label from the top of the power supply.
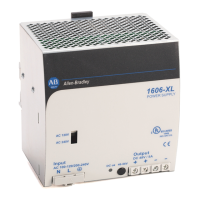
Power Supply Connections
Item Description
1 L1 - High side of line power
AC Power Supplies2 L2/N- Low side of line power
3 a Protective earth-ground terminal
3 b Protective earth-ground terminal
DC Power Supplies4DC +
5DC -
ATTENTION
Make sure the chassis is mounted and all panel fabrication is complete before you
remove the protective label. This label protects the power supply from metal shavings
falling inside the power supply and damaging it during operation.
20264b-M
 Loading...