Do you have a question about the Rola 4 Place Bike Carrier - Folding and is the answer not in the manual?
| Brand | Rola |
|---|---|
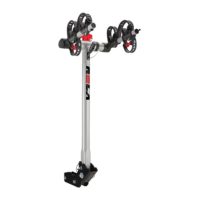
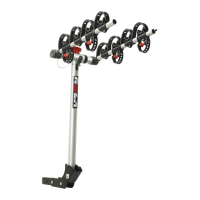
| Model | 4 Place Bike Carrier - Folding |
| Category | Automobile Accessories |
| Language | English |
Use the provided key to unlock the lock on the Collar Bracket.
Adjust and re-insert the handle mechanism after rotating bike support arms to the UP position.
Slide the Collar Bracket onto the bike carrier Main Support tube in the shown orientation.
Attach Collar Bracket to Main Support tube using hardware and tighten locknut.
Connect Receiver piece to Collar Bracket using specified hex bolts.
Lock Collar Bracket to Main Support tube to secure the bike carrier in the upright position.
Place the bike rack receiver into your receiver hitch and fit as close to the vehicle as possible.
For a 2" hitch, secure the rack using a 5/8" hitch pin and clip.
Load bikes onto the rack alternating each bike, with anti-sway cradle near the seat tube.
Secure bikes by pulling bungee straps over the frame and wrapping anti-sway straps around the seat tube.
Check bungee straps, locks, and pins are secure before moving the vehicle to avoid warranty voiding.
To release the lock pin, pull the spring pin and rotate it 90 degrees.
Pull the support tube firmly upwards until the lower pin slides to the top of its slot.
Lower the support tube slowly back until it rests on the stop plate.
To restore the rack to the upright position, reverse the folding procedure.
Periodically check to ensure a solid fit between the rack and the mounting location.