20
Song Functions
9.
Press [ ] to stop recording.
[ ] and [
●
REC] go out.
10.
When you stop recording, the screen prompts “Save
Song?,” asking you whether you want to save your
performance.
To save your performance, press TEMPO [ (YES)].
If you don’t want to save your performance, press TEMPO
[ (NO)].
In this mode you can layer a new performance onto the previously
recorded notes, and record each track separately.
You can’t use this mode if no song has been recorded.
1.
Press [SONG] so it’s lit.
2.
Press [
●
REC] so it’s blinking.
3.
Use REC MODE [ ][ ] to select “Rec Single” as the
recording mode.
4.
Use REC TRACK [ ][ ] to select the track you want to
record.
If you select a track that has already been recorded, the new
recording will overwrite the existing recording.
5.
Select the tone that you want to use in the right-hand side
of the keyboard.
Press [TONE] so it’s lit, and use the FAMILY and SELECT
[ ][ ] buttons, the numeric keys, or the TONE category
buttons to make your selection. For details, refer to pp. 10–11.
6.
Press [ ] to start recording.
[
●
REC] lights. After a one-measure count-in, all previously
recorded parts begin playing.
7.
Perform.
8.
Press [ ] to stop recording.
[ ] and [
●
REC] go out.
If you want to record additional parts, return to step 2.
9.
When you stop recording, the screen prompts “Save
Song?,” asking you whether you want to save your
performance.
To save your performance, press TEMPO [ (YES)].
If you don’t want to save your performance, press TEMPO
[ (NO)].
The performances of the keyboard and the arranger parts are
recorded on the following tracks.
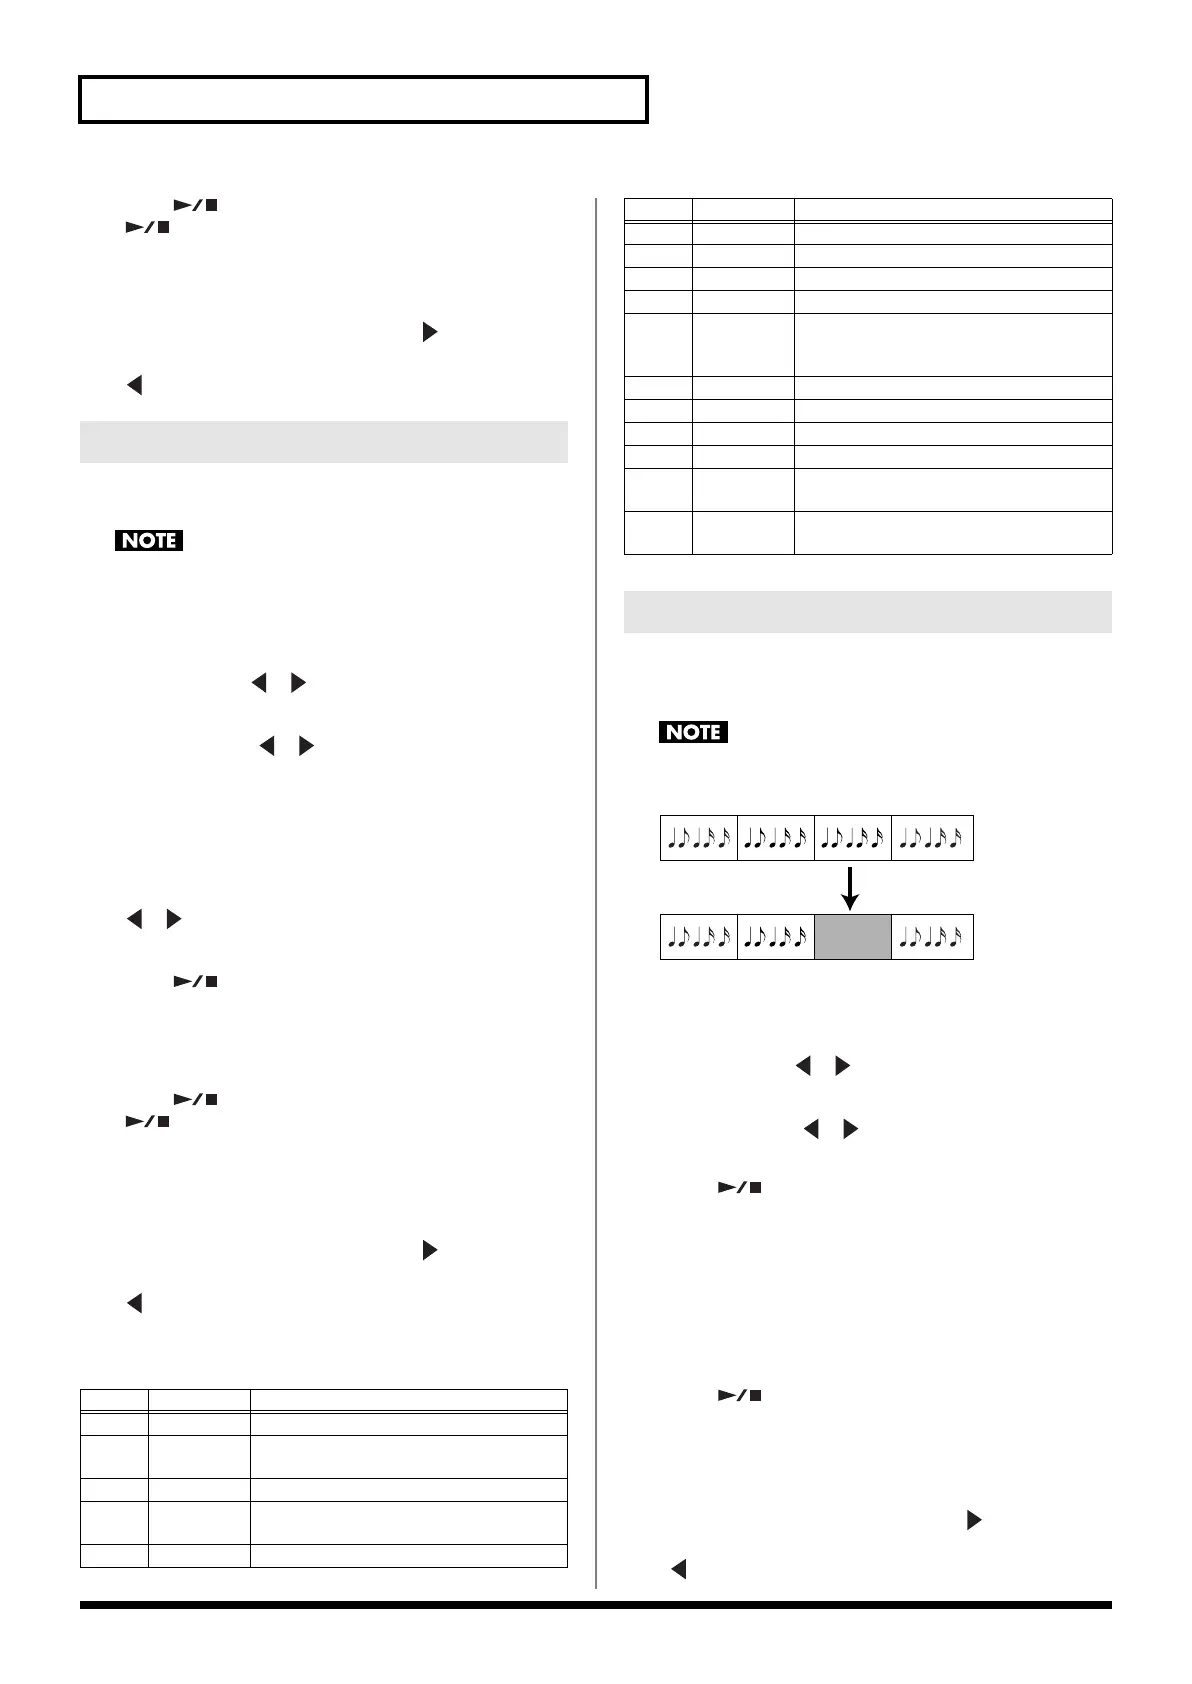
This lets you “punch-in/out” to re-record a specified portion of a
single track. The data before and after the newly recorded portion
will not be erased.
You can’t use this if no song has been recorded.
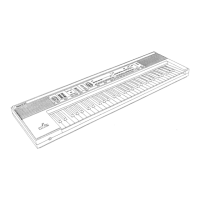
fig.punchIO
1.
Press [SONG] so it’s lit.
2.
Press [
●
REC] so it’s blinking.
3.
Use REC MODE [ ][ ] to select “Rec PunchI/O” as the
recording mode.
4.
Use REC TRACK [ ][ ] to select the track you want to
record.
5.
Press [ ] to start song playback.
6.
When you come to the point at which you want to begin re-
recording, press [
●
REC] once again.
[
●
REC] lights, and recording begins.
7.
Perform.
8.
Press [
●
REC] so it goes out.
Recording will stop.
9.
Press [ ] to stop song playback.
If you want to re-record again, return to step 2.
10.
When you stop recording, the screen prompts “Save
Song?,” asking you whether you want to save your
performance.
To save your performance, press TEMPO [ (YES)].
If you don’t want to save your performance, press TEMPO
[ (NO)].
Single Recording Mode
Track
Part name Description
1
Accomp 1 –
2 Arranger
bass
The bass part that sounds when the ar-
ranger plays.
3 Accomp 2 –
4 Main This is the Main part. MFX (p. 17) can be
applied only to track 4.
5 Accomp 3 –
6
Dual This is the Dual part.
7 Accomp 4 –
8 Accomp 5 –
9 Accomp 6 –
10 Arranger
drums
Since track 10 is restricted to the drum
part, you can select a drum set for this
track.
11 Split This is the Split part.
12 Auto Bass For details, refer to “Auto Bass” (p. 23).
13 – –
14 – –
15 Melody In-
tell.
Melody intelligence (p. 14)
16 (Main) If you select a drum set for the tone of the
Main part, it will be recorded on track 16.
Punch-In/Out Recording Mode
Track
Part name Description
Original track
Only this portion is overwritten
by the new recording
E-09_e.book 20 ページ 2005年11月21日 月曜日 午前11時24分

 Loading...