15
If it isn’t already highlighted—as shown above—highlight “Studio 3
Set Name,” and then press the ENTER button.
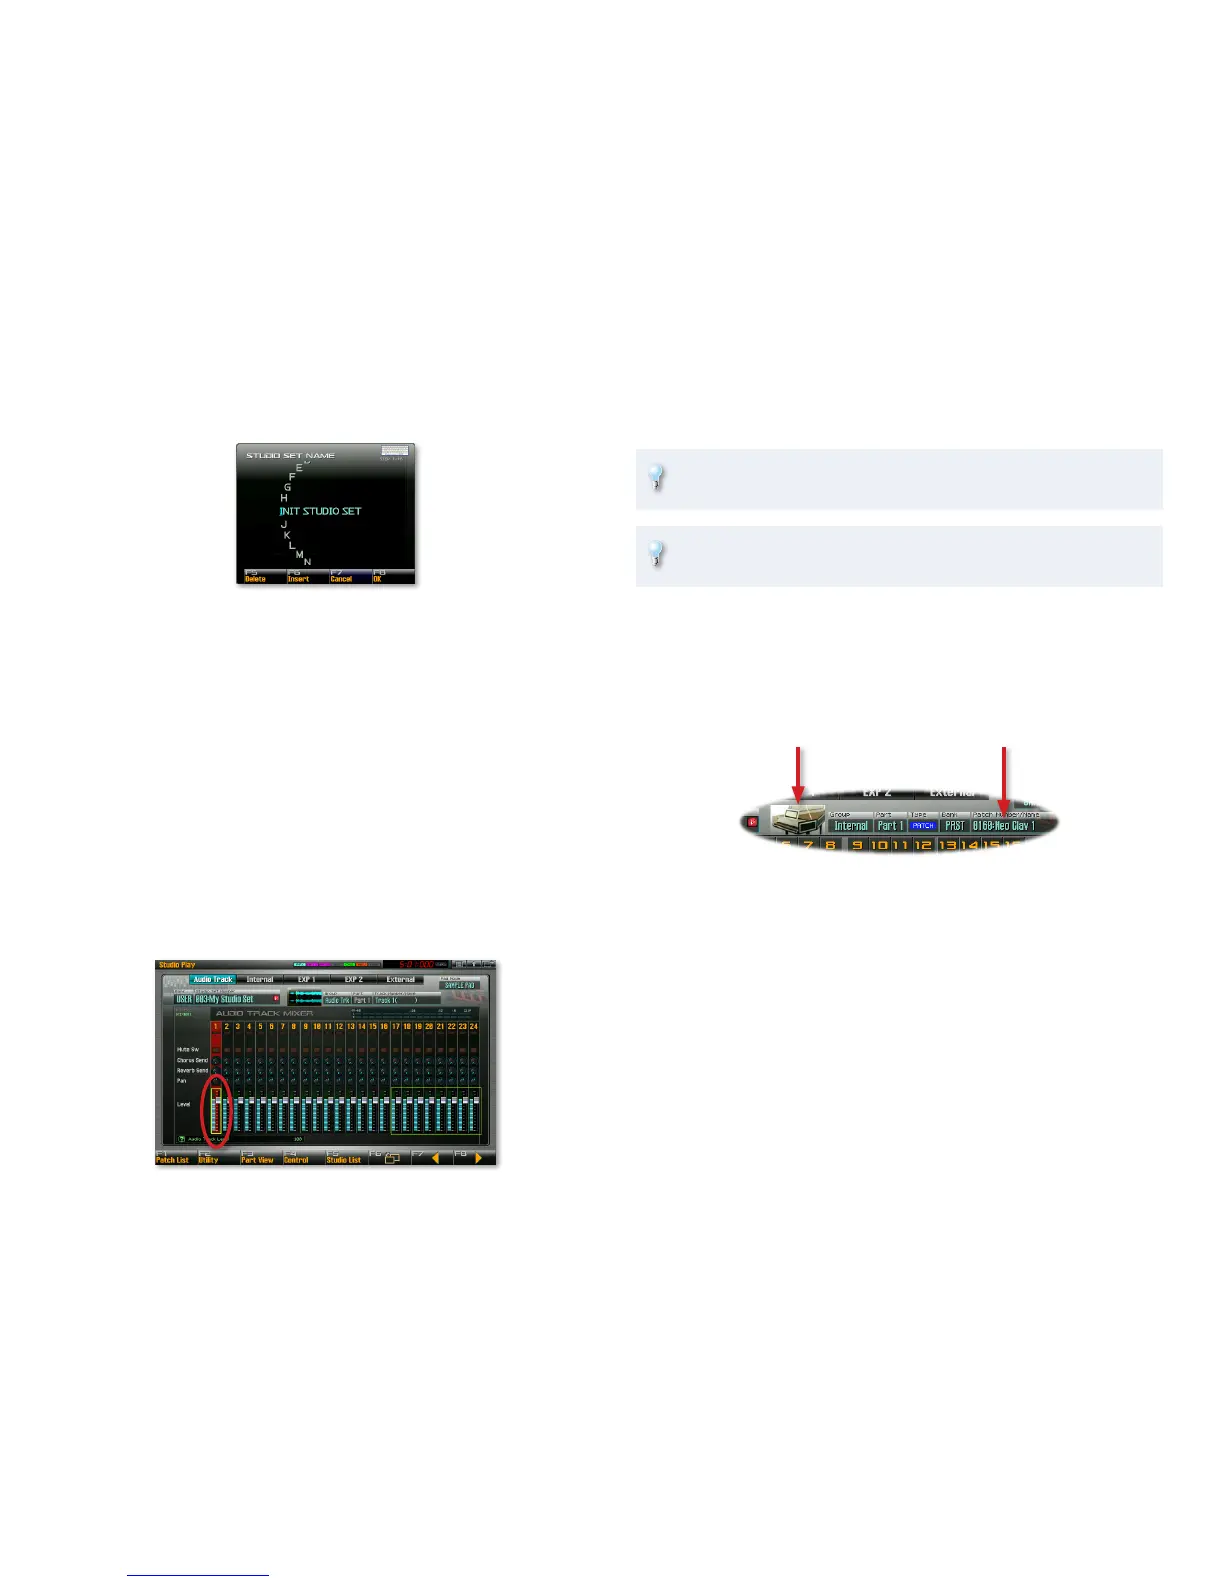
In the STUDIO SET NAME window, you can assign the studio set a
new name. (As you’ll learn later, everything you save or write in the
Fantom-G gets its name in a window like this.)
As the window opens, the first character of the studio set’s new name
4
is underlined. Turn the Value dial to select the character you want.
Press
5 4 once to select the next position, and then dial in the
character you want there.
Repeat Step 5 until you’ve renamed the studio set as desired.
6
Press F8 (OK), and then F8 (Exit) when you’re done.7
Assigning a Sound to a Part
To use a sound in a song, you’ve got to first assign it to a part. We’ll show you
how assign a sound to a part using a patch as an example.
On the Studio Play screen, press the
1 6 button until one of the part
level faders is boxed in yellow—as shown here—so it’s selected.
Normally, you’d use the 3 and/or 4 buttons to select the part you
want, but for now, Part 1 is the one we want, so we’re good to go.
You can immediately see which part’s selected on the Studio Play
screen—the part’s channel strip is red.
There are faster ways to select parts using the mouse or the pads, as
we’ll see in the two Power User Control Workshop booklets.
Press F1 (Patch List) button to display the Patch List screen. The Patch 2
List works the here the same way it did in Single mode on Page 11.
Select a patch. A keyboard patch would be fine for now—select the
3
first Keyboard patch, Neo Clav 1.
Press F8 (Select) to return to the Studio Play screen where you can see
4
by its picture and name that Neo Clav 1 is now assigned to Part 1.
Repeat Steps 1-4 to assign a bass patch of your choosing to Part 2 and 5
a rhythm set you like to Part 10.
Sequencing a MIDI Track
The recording of a MIDI data—the type of data that plays the Fantom-G’s
sounds—is called “sequencing.” We’ll use this term consistently throughout
the Workshop booklets. We’ll save the word “recording” for the process of
capturing live audio onto tracks.
You can break down sequencing into two steps:
Selecting the sound you want to sequence—
• on the Studio Play screen.
Capturing your playing—
• as MIDI data onto a MIDI track.

 Loading...