7. You can adjust the Chorus and Reverb processor sends with the
Audio Input Cho Send and Audio Input Rev Send parameters,
respectively.
8. Next, press EFFECTS and adjust the eects processors as you like.
You can save these settings as a patch or as a performance. When
you save your song (press WRITE and select Save Song), these
settings are saved within it as well.
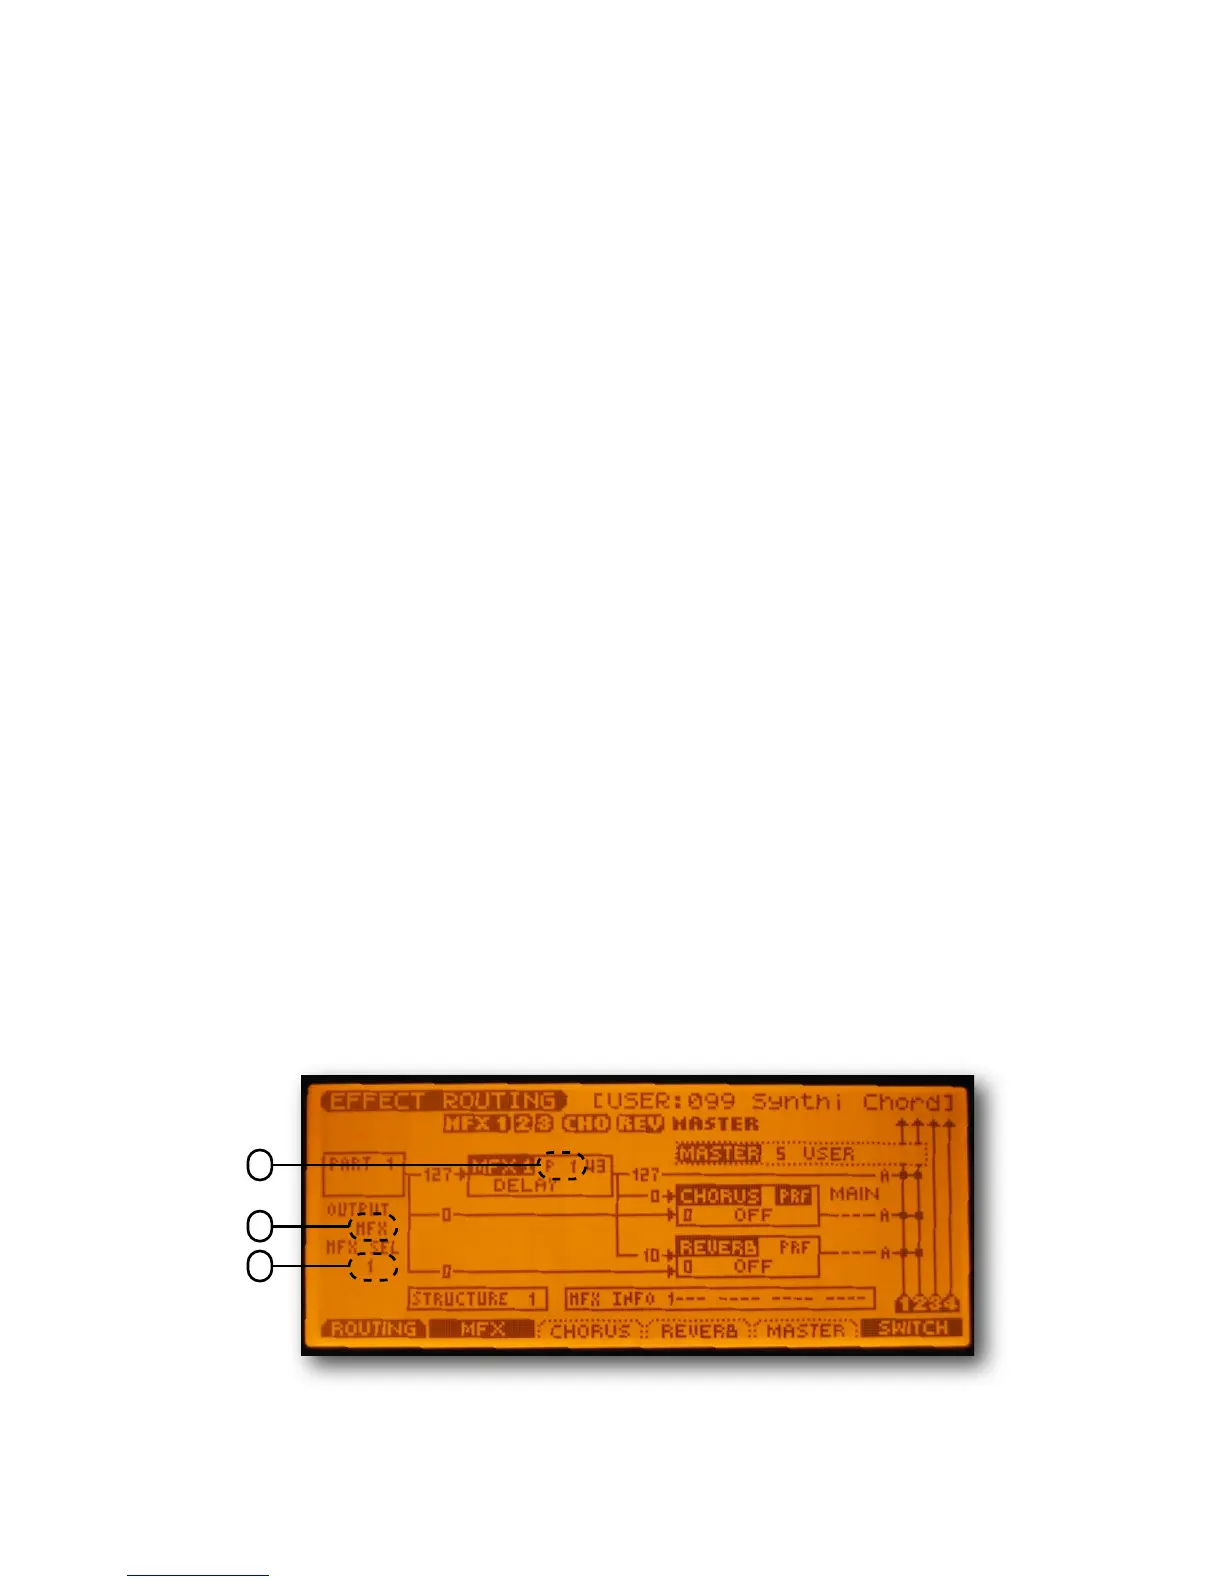
Patch e!ect settings in performance mode
Part of the Juno-G patches actively use the eects processors to produce
the nal sound. However, when you call up such patches in performance mode,
these eects settings are not loaded by default. In order for a patch to load it’s
eects settings, you need to do the following:
1. Select a performance part and assign a patch to it.
2. Press EFFECTS.
3. Set the OUTPUT parameter on the screen (marked “2” on the image
below) to “MFX”.
4. Set the MFX SEL parameter (marked “3”) to one of the free MFX
processors (1, 2 or 3).
5. Then, set the MFX settings source (marked “1”) to the number of the
performance part you are working with (see step 1).
6. If needed, set the Chorus and Reverb processor settings sources to
the same part number as well.
9
1
2
3

 Loading...


