Roland TR / Serato DJ Pro Connection Guide
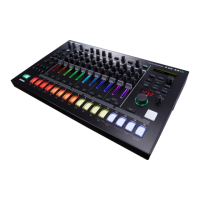
TR-8S Users
Connecting with Serato DJ Pro
NOTE
5
Update your TR-8S to Ver.1.11or later.
5
Install the TR-8S USB driver on the computer on which you’ll be using
Serato DJ Pro.
For details, refer to “Connecting a Computer Via USB” in the TR-8S reference
manual.
1.
Connect the MIX OUT dual 1/4” audio outputs of the TR-8S
into your DJ mixer, DJ controller, or external mixer.
2.
Open Serato DJ Pro.
3.
Connect your Serato DJ Pro enabled DJ mixer or DJ
controller to your computer.
4.
Using a USB cable, connect the TR-8S to your computer.
When connection is established, the tempo display blinks.
Synchronizing a Song in Serato DJ Pro
1.
Load a song to the desired virtual deck and enable the
SYNC button on that deck.
In Serato DJ Pro Setup screen, under DJ Preferences tab, ensure
Sync is enabled and Sync Mode selected.
2.
On the TR-8S, hold down the [MUTE] button and turn
the [TEMPO] knob toward the right; SYNC mode will be
activated.
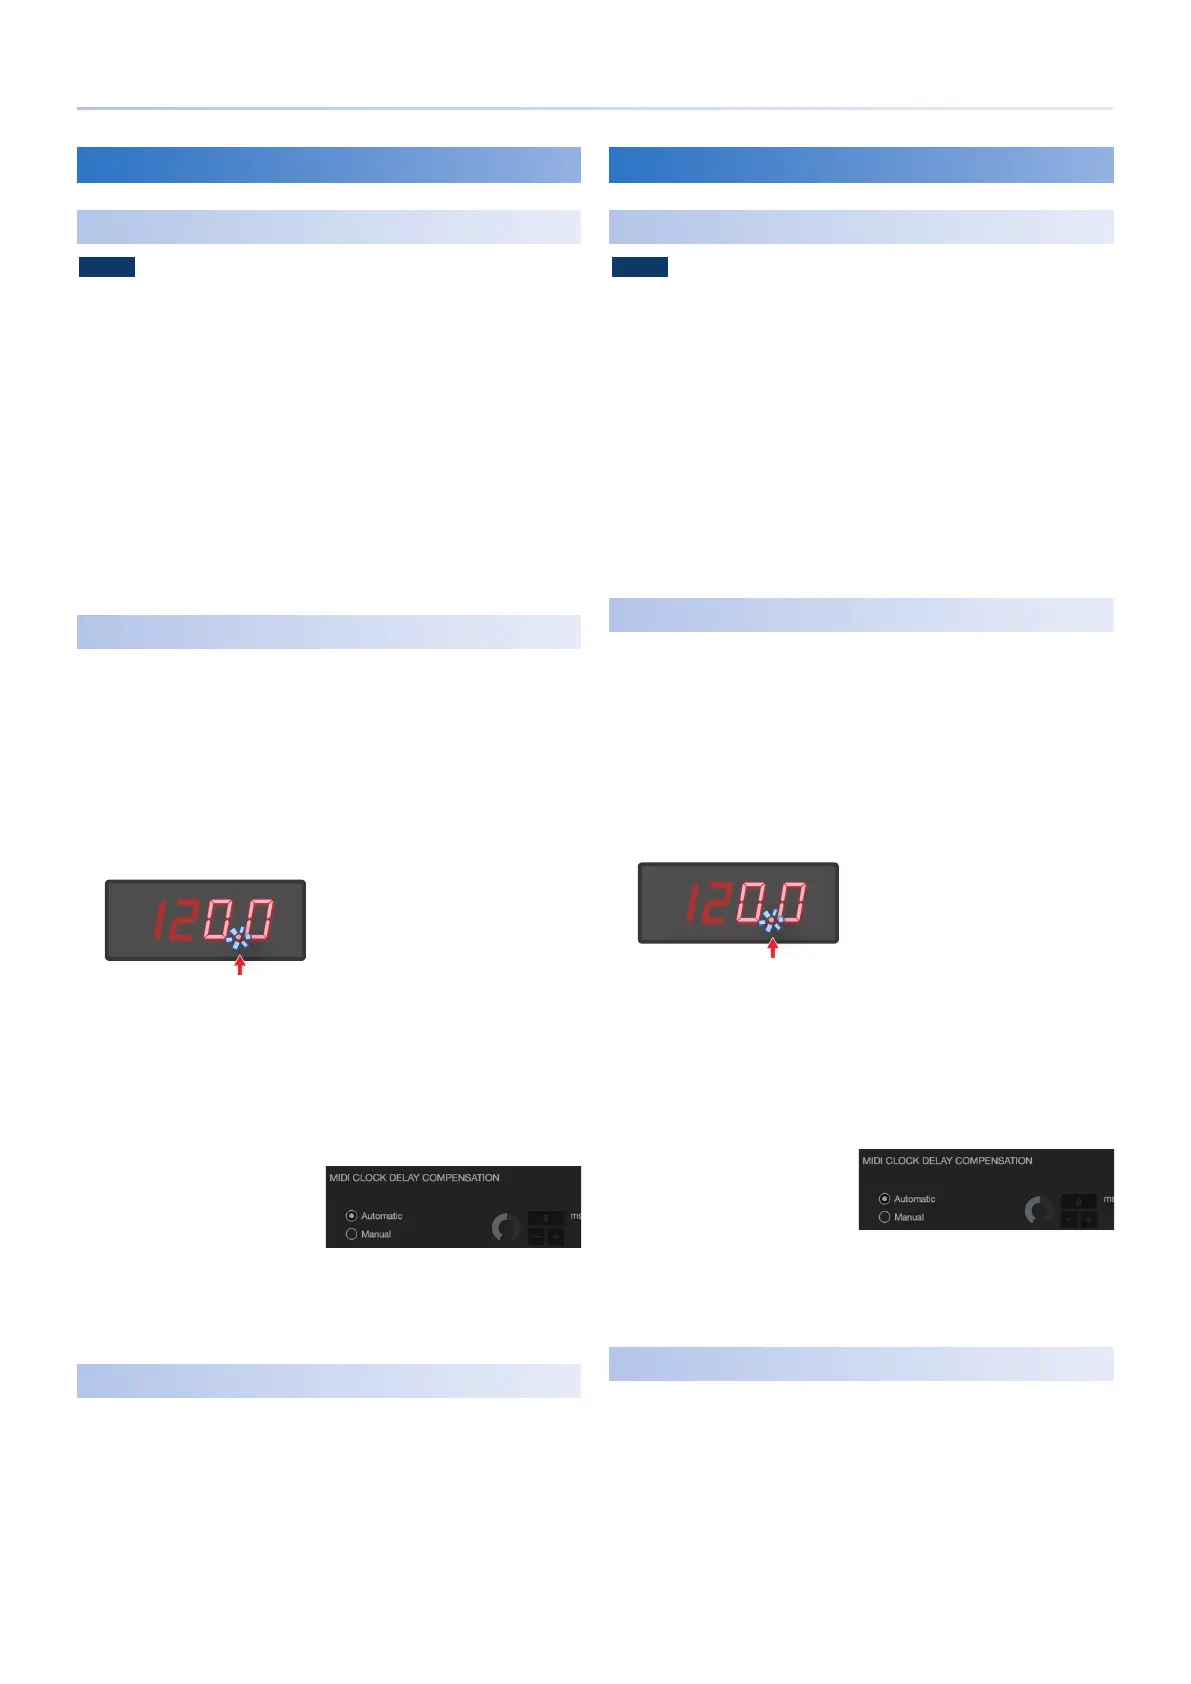
The decimal point of the tempo display blinks.
120.0
Decimal point blinks
* To deactivate SYNC mode, hold down the [MUTE] button and turn the
[TEMPO] knob toward the left. When disabled, the tempo display blinks.
3.
Press the TR-8S’ [START/STOP] button on beat with the
sync’ed song to synchronize the drum machine to Serato DJ
Pro.
Tip
If the timing of the
synchronized song is slightly
off beat with the TR-8S’ drum
pattern, change the MIDI
CLOCK DELAY COMPENSA-
TION in the Audio Tab of
Setup screen. The delay amount can then be manually adjusted
with the MIDI clock timing in milliseconds. Leave ‘Automatic’
selected if the timing is correct.
Ending the Connection to Serato DJ Pro
1.
Close Serato DJ Pro.
For details on how to close the software, refer to the owner’s
manuals for Serato DJ Pro.
2.
After closing Serato DJ Pro, power off the TR-8S.
TR-8 Users
Connecting to Serato DJ Pro
NOTE
5
Update your TR-8 to Ver.1.61 or later.
5
Install the TR-8 USB driver on the computer on which you’ll be using
Serato DJ Pro.
For details, refer to “USB port” in the TR-8 reference manual.
1.
Connect the MIX OUT dual 1/4” audio outputs of the TR-8
into your DJ mixer, DJ controller, or external mixer.
2.
Open Serato DJ Pro.
3.
Connect your Serato DJ Pro enabled DJ mixer or DJ
controller to your computer.
4.
Using a USB cable, connect the TR-8 to your computer.
When connection is established, the tempo display blinks.
Synchronizing a Song in Serato DJ Pro
1.
Load a song to the desired virtual deck and enable the
SYNC button on that deck.
In Serato DJ Pro Setup screen, under DJ Preferences tab, ensure
Sync is enabled and Sync Mode selected.
2.
On the TR-8, hold down the [TAP] button and turn the
[TEMPO] knob toward the right; SYNC mode will be
activated.
The decimal point of the tempo display blinks.
120.0
Decimal point blinks
* To deactivate SYNC mode, hold down the [TAP] button and turn the
[TEMPO] knob toward the left. When disabled, the tempo display blinks.
3.
Press the TR-8’s [START/STOP] button on beat with the
sync’ed song to synchronize the drum machine to Serato DJ
Pro.
Tip
If the timing of the synchro-
nized song is slightly off beat
with the TR-8’ drum pattern,
change the MIDI CLOCK
DELAY COMPENSATION
in the Audio Tab of Setup
screen. The delay amount can then be manually adjusted with the
MIDI clock timing in milliseconds. Leave ‘Automatic’ selected if the
timing is correct.
Ending the Connection to Serato DJ Pro
1.
Close Serato DJ Pro.
For details on how to close the software, refer to the owner’s
manuals for Serato DJ Pro.
2.
After closing Serato DJ Pro, power off the TR-8.

 Loading...