Operation
Battery
Charging
1.
Place
charging home
base against the wall,
plug
in
adapter,
and
thesignal
light on
charging
home
base will flash.
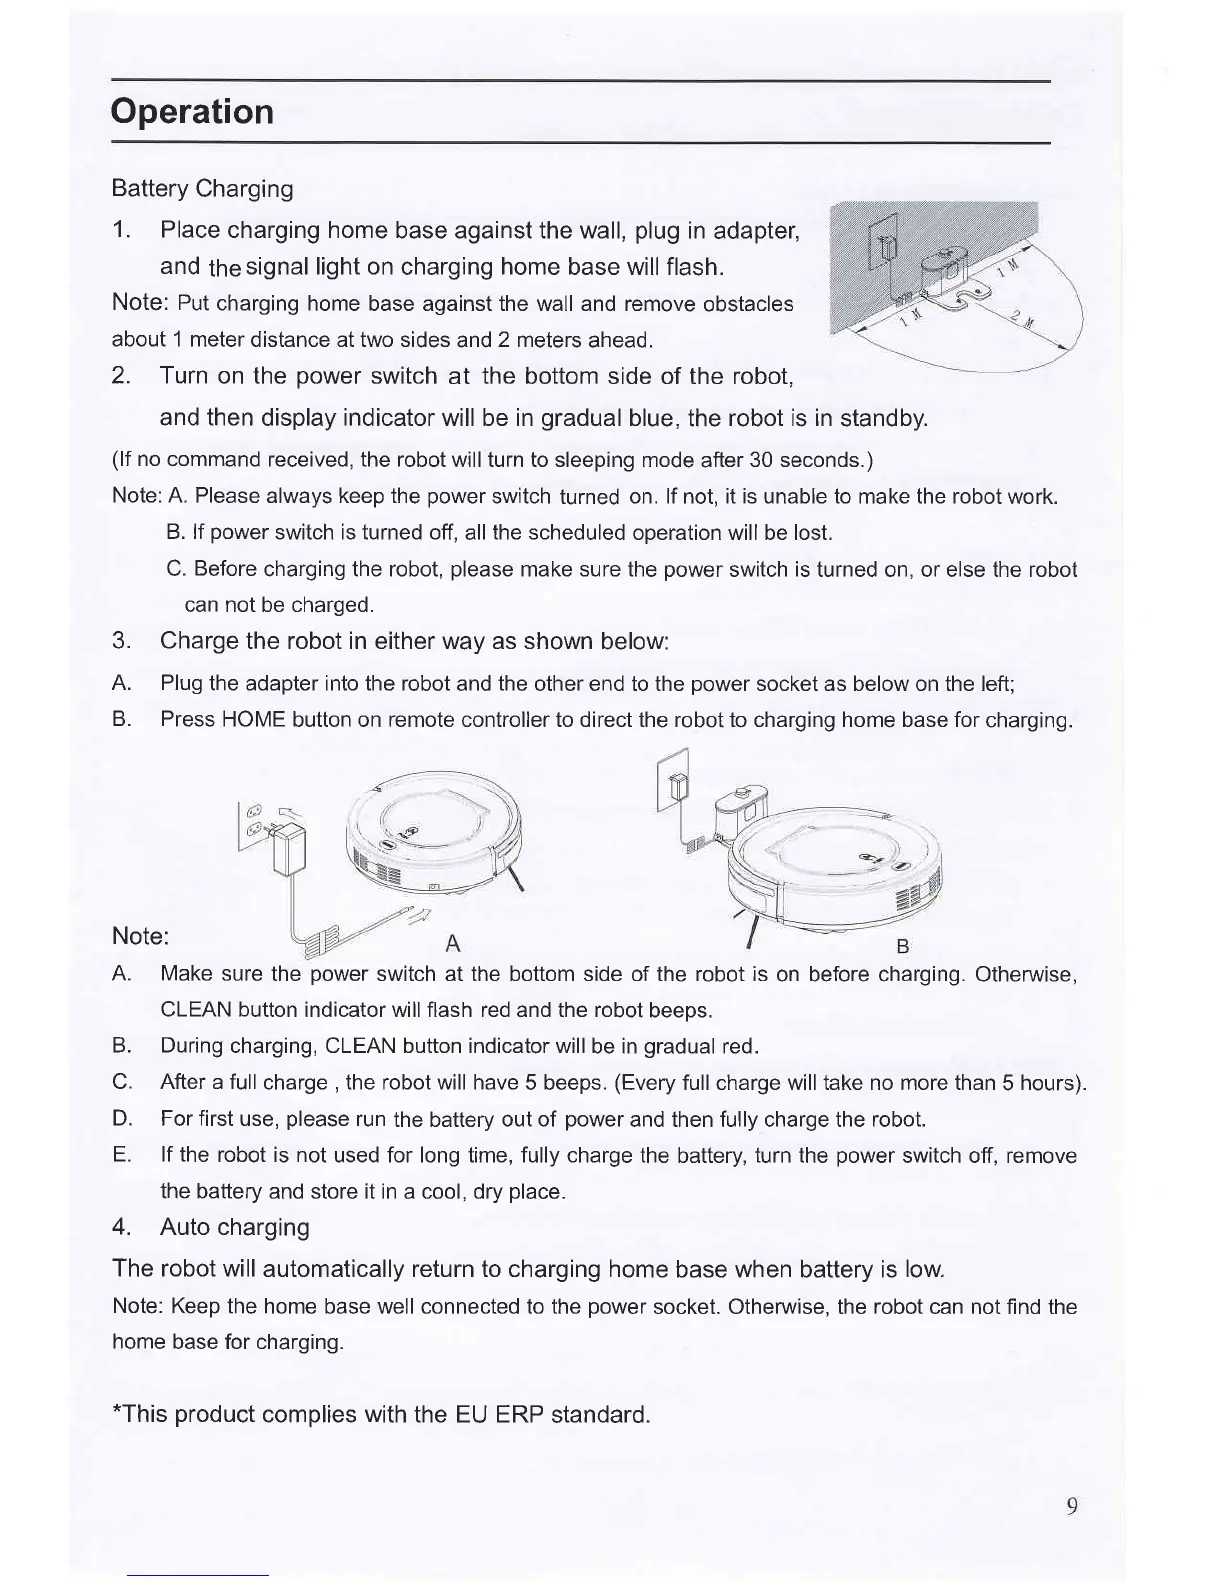
Note: Put
charging
home base against the wall and remove
obstacles
about 1 meter
distance at two sides
and
2 meters
ahead.
2. Turn
on the
power
switch
at
the
bottom side of the robot,
and then
display
indicator
will be in
gradual
blue,
the
robot is in
standby.
(lf
no command
received, the robot
will turn to sleeping mode
after
30 seconds.)
Note: A. Please
always keep the
power
switch
turned
on. lf not, it is unable to make the robot
work.
B. lf
power
switch is turned off,
all
the scheduled
operation will be lost.
C.
Before
charging the robot,
please
make sure the
power
switch
is
turned on, or else the robot
can not be charged.
3. Charge
the robot in either way as shown
below:
A. Plug
the adapter into the robot
and
the
other end to the
power
socket as below on the left;
B. Press
HOME
button on
remote
controller to direct the robot to charging home base for
charging.
Note:
A. Make
sure
the
power
switch at the bottom side of the robot is
on before charging. Otherwise,
CLEAN button
indicator will flash red and the robot
beeps.
B. During
charging, CLEAN button indicator will
be in
gradual
red.
C. After a full
charge
,
the robot will have
5 beeps.
(Every
full charge will take no more than
5
hours).
D. For first
use,
please
run
the battery
out of
power
and then fully charge the
robot.
E. lf the
robot is not
used for long time, fully charge the
battery,
turn the
power
switch off, remove
the battery
and store it in a cool, dry
place.
4.
Auto charging
The robot will
automatically return to charging home
base when battery is
low.
Note:
Keep the
home base well connected to the
power
socket. Otherwise, the
robot
can not find the
home
base for charging.
*This
product
complies
with
the EU ERP
standard.