Side Broom Assembly
Ÿ Mount the side broom to the broom plate on the side
arm assembly using Hex Head Bolt and Nylock nut.
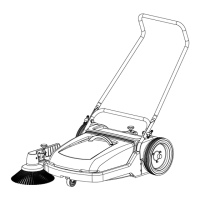
Assembly
For ease of packing, the handle and side broom
assembly are packed separately. These parts must be
installed before the machine is put into operation. The
handle is mounted by means of knobs.
Handle can be fixed in two different positions as shown
below.
This machine is exclusively designed for Dry Sweeping
on Solid, Level and Dry surfaces.
Handle position 1
Handle position 2
FIRST OPERATION
Ÿ Position the V-Belt from the side arm assembly
Ÿ around the pulley attached to the backside of the
right wheel. In order to do this it will be necessary to
twist the V-Belt. The lower loop of the v-belt should
be coming from the idler pulley (not from the broom
pulley).
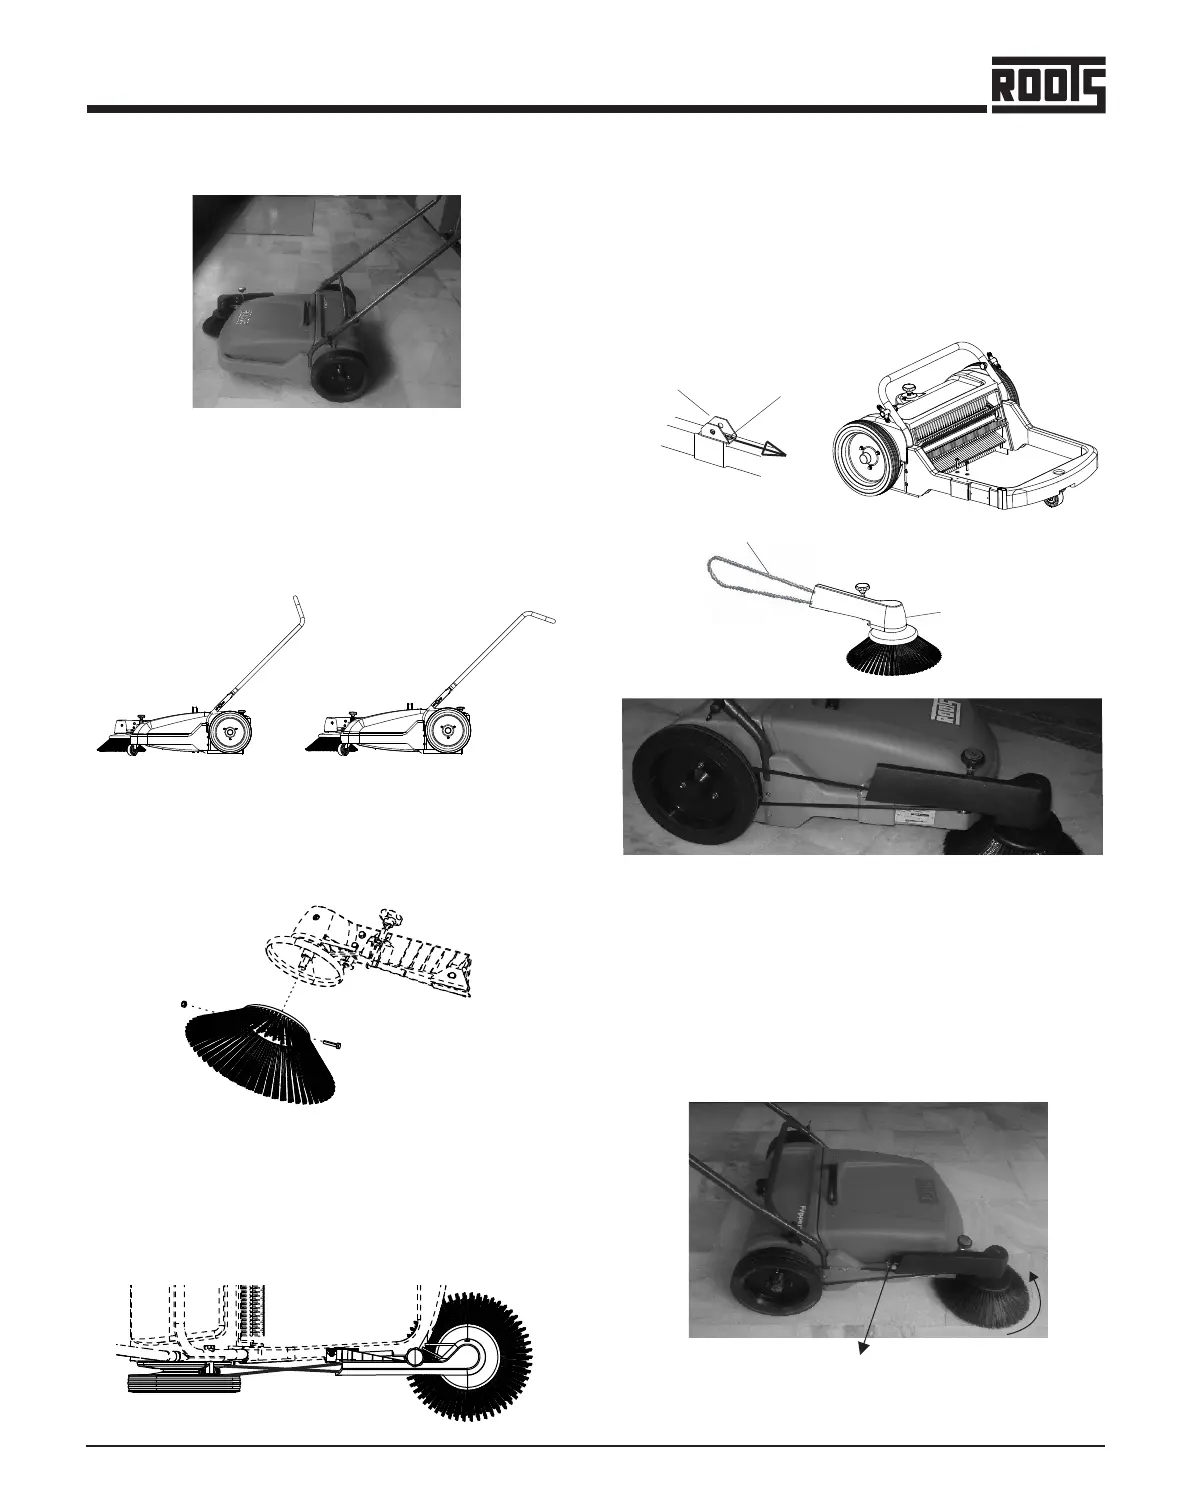
Ÿ Check for proper rotation and operation of the side
broom. The broom should rotate counter
clockwise(a) when the sweeper is pushed forward-if
not the V-Belt was installed incorrectly. If the belt
slips the tension can be adjusted by loosening the
2 screws(b) that attach the support side broom to
the frame, move the bracket forward, then re-tighten
the screws.
Ÿ Place the V-Belt on to the drive pulley on the wheel,
adjust the arm assembly forwards or backwards for
the desired tension. Fasten the arm assembly by
tightening the screws. Check the broom for free
rotation.
FROM IDLER PULLEY
SIDE BROOM ASSY
SUPPORT
SIDE BROOM
MOVE
SCREWS
Ÿ To attach the side arm assembly to the main frame
remove the two screws that have already been
inserted into the right side of the main frame.
a
b
6
+
Flipper