h) Click OK to save the settings.
You return to the GC Directory window.
i) Click OK to save the new GC connection and to close the GC Directory
window.
3. Connect one end of the direct connect cable to the GC’s serial port at J23 on the
backplane.
4. Connect the other end of the direct connect cable to the PC’s corresponding serial
port.
5. Select Connect… from the Chromatograph menu.
The Connect to GC window displays.
6. Click Direct to connect to the GC using the serial cable connection.
2.4.10
Connect directly to a personal computer (PC) using the
gas chromatograph's (GC’s) wired Ethernet terminal
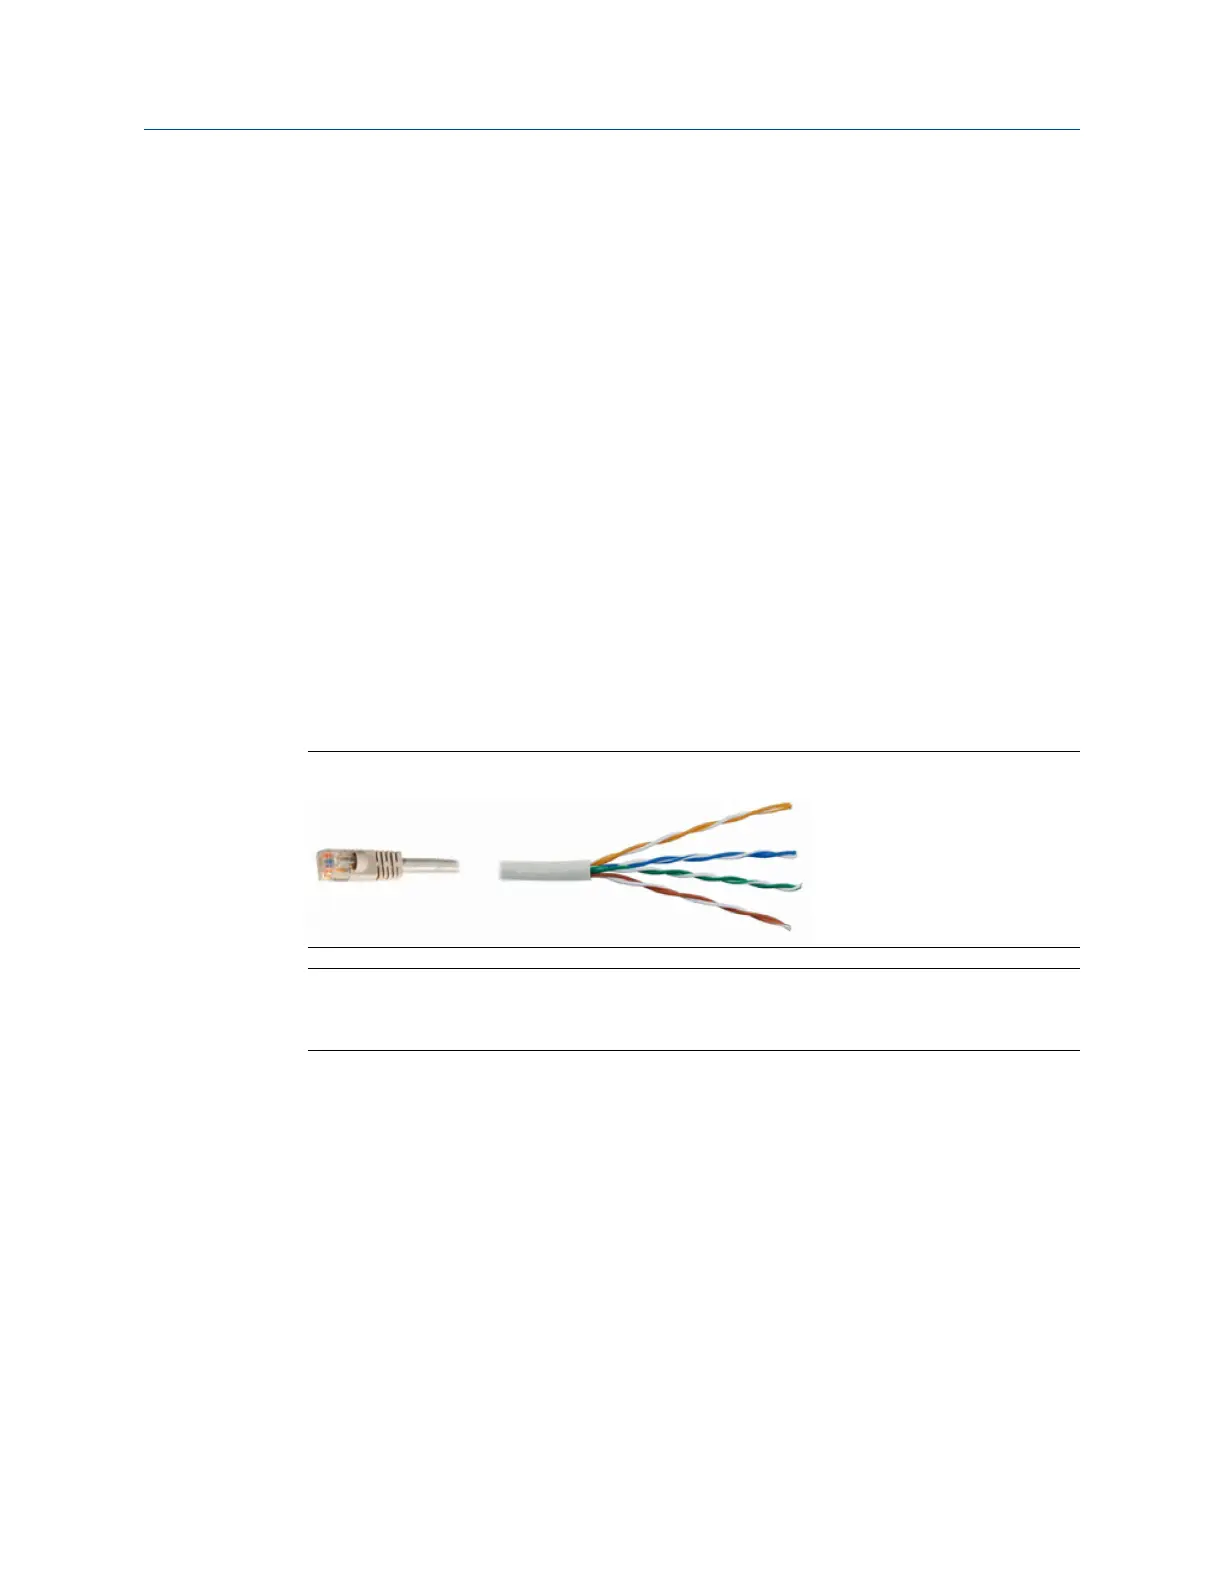
The Rosemount 700XA has a wired Ethernet terminal at TB11 on the backplane that you
can connect to with a static IP address. All that is needed is a PC, typically a notebook
computer, and a two-wire, twisted pair, CAT5 Ethernet cable with one of its plugs
removed to expose the wires.
Figure 2-9: Crimped CAT5 Cable
Note
The GC can be connected (or remain connected) to the local network on Ethernet2 on the
backplane while the DHCP feature is being used.
Procedure
1. Use the following schematics as a guide to wiring the GC via its four wire connector
at TB11.
Figure 2-10 shows the traditional wiring scheme. Figure 2-11 shows how to wire a
CAT5 cable without the RJ45 plug.
Installation and start-up Quick Start Guide
July 2020 00825-0100-3770
32 Emerson.com/Rosemount