Do you have a question about the ROTOR VEGAST ROAD and is the answer not in the manual?
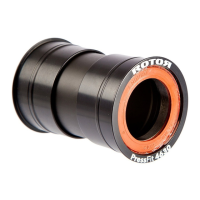
Insert the axle (2) into the Direct Mount (1).
Align OCP reference line with desired position number in the axle.
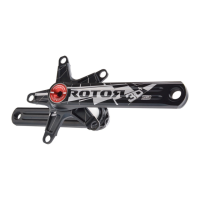
Place drive side crank over axle and chainring set.
Tighten crank arm bolt with 10 mm Allen key.
Unscrew preload bolt 'T' counterclockwise with 2 mm Allen key.
Turn preload nut clockwise until it touches crank arm area.
Select and install correct drive-side and non-drive-side spacers.
Install crank assemblies into the frame.
Tighten drive-side crank bolt with 10 mm Allen key to 35 Nm.
Tighten non-drive-side crank arm bolt to 35 Nm.
Turn preload nut clockwise to eliminate lateral play.
Secure preload nut by tightening preload bolt with 2 mm Allen key.
| Brand | ROTOR |
|---|---|
| Model | VEGAST ROAD |
| Category | Bicycle Accessories |
| Language | English |