4 Undo the two bolts securing the tie-bar to
the lower suspension arm, and remove the
bar from under the car.
5 Withdraw the spacer, inner mounting bush
and washer.
6 Renew the mounting bushes if they show
any sign of deformation or swelling of the
rubber.
Refitting
7 Fit the washer, inner bush and spacer, then
locate the tie-bar in position.
8 Secure the tie-bar to the lower suspension
arm, with the two bolts tightened to the
specified torque.
9 Fit the outer bush and washer, followed by
the retaining nut, but do not tighten the nut
fully until the weight of the car is on its
roadwheels.
10 Refit the roadwheel, then lower the car to
the ground.
11 Tighten the roadwheel nuts and the tie-
bar front mounting nut to the specified torque
then refit the wheel trim.
12 Refit the undertray.
11 Rear hub carrier -
removal and refitting
3
Removal
1 Chock the front wheels, prise off the rear
wheel trim and slacken the wheel nuts. Jack
up the rear of the car and support it on axle
stands. Remove the rear roadwheel and
release the handbrake.
2 Refer to Chapter 9 if necessary, and undo
the two bolts securing the brake caliper
carrier bracket to the hub carrier.
3 Undo the retaining bolt and release the
flexible brake hose support bracket from the
shock absorber strut.
4 Withdraw the carrier bracket, complete with
caliper and brake pads, from the disc and hub
carrier. Tie the caliper assembly from a
convenient place under the wheelarch to
avoid straining the brake hose.
5 On cars equipped with ABS, withdraw the
rear wheel speed sensor and wiring harness
from the hub carrier, as described in Chapter 9.
6 Undo the two screws and remove the brake
disc from the hub flange (see illustrations).
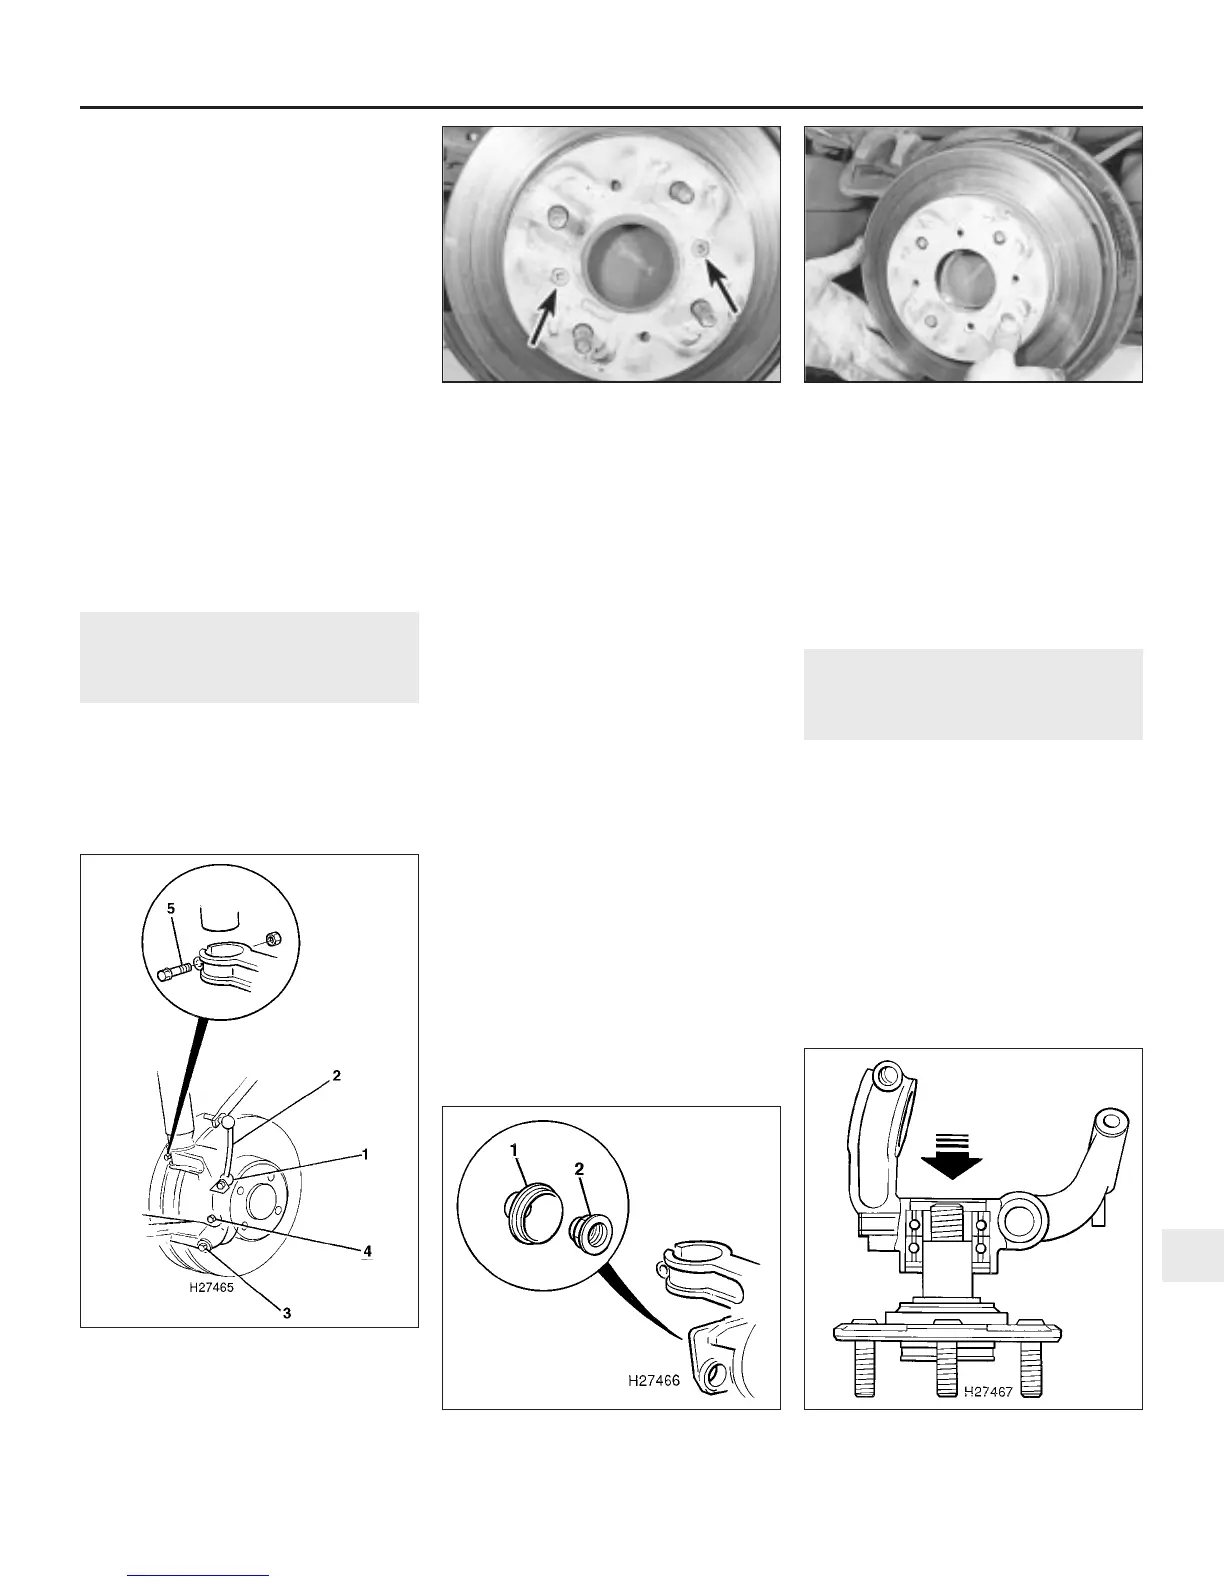
7 Undo the nut and release the anti-roll bar
connecting link from the suspension lower
transverse link (see illustration).
8 Place a jack beneath the transverse link,
and raise the link slightly.
9 Undo the nut and remove the through-bolt
and washers securing the hub carrier to the
trailing link.
10 Undo the nut and remove the bolt
securing the hub carrier to the transverse link.
11 Undo the nut and clamp bolt securing the
shock absorber strut to the hub carrier.
12 Lower the jack slightly, and release the
hub carrier from the shock absorber strut. If
the strut is tight, spread the slot in the hub
carrier with a screwdriver, and tap the carrier
down with a copper or plastic mallet.
13 Withdraw the hub carrier from the
transverse and trailing links, and remove it
from the car.
Refitting
14 Refitting is a reversal of removal. Tighten
all nuts and bolts to the specified torque, but
do not fully tighten the transverse and trailing
link retaining nuts until the weight of the car is
on the roadwheels.
12 Rear hub bearing - renewal
3
Note: A new hub flange retaining nut will be
required for reassembly.
1 Remove the rear hub from the car as
described in the previous Section.
2 Prise off the cover over the hub flange
retaining nut at the rear of the hub carrier,
then secure the hub flange in a vice (see
illustration).
3 Using a small punch or screwdriver, tap up
the staking, then unscrew the hub flange
retaining nut.
4 Support the hub carrier in a vice, and tap
the hub flange out of the bearing (see
illustration).
Suspension and steering systems 10•9
11.6b . . . and remove the brake disc11.6a Undo the two screws (arrowed) . . .
12.4 Removing the hub flange from the
bearing
12.2 Cover (1) and hub flange retaining
nut (2) at the rear of the hub carrier
10
1380 Rover 800 Series Remake
11.7 Rear hub carrier attachment details
1 Anti-roll bar connecting link nut
2 Anti-roll bar connecting link
3 Hub carrier-to-trailing link through bolt
4 Hub carrier-to-transverse link retaining bolt
5 Shock absorber clamp bolt


 To Next Page
 Loading...
