members, and remove the bar from under the
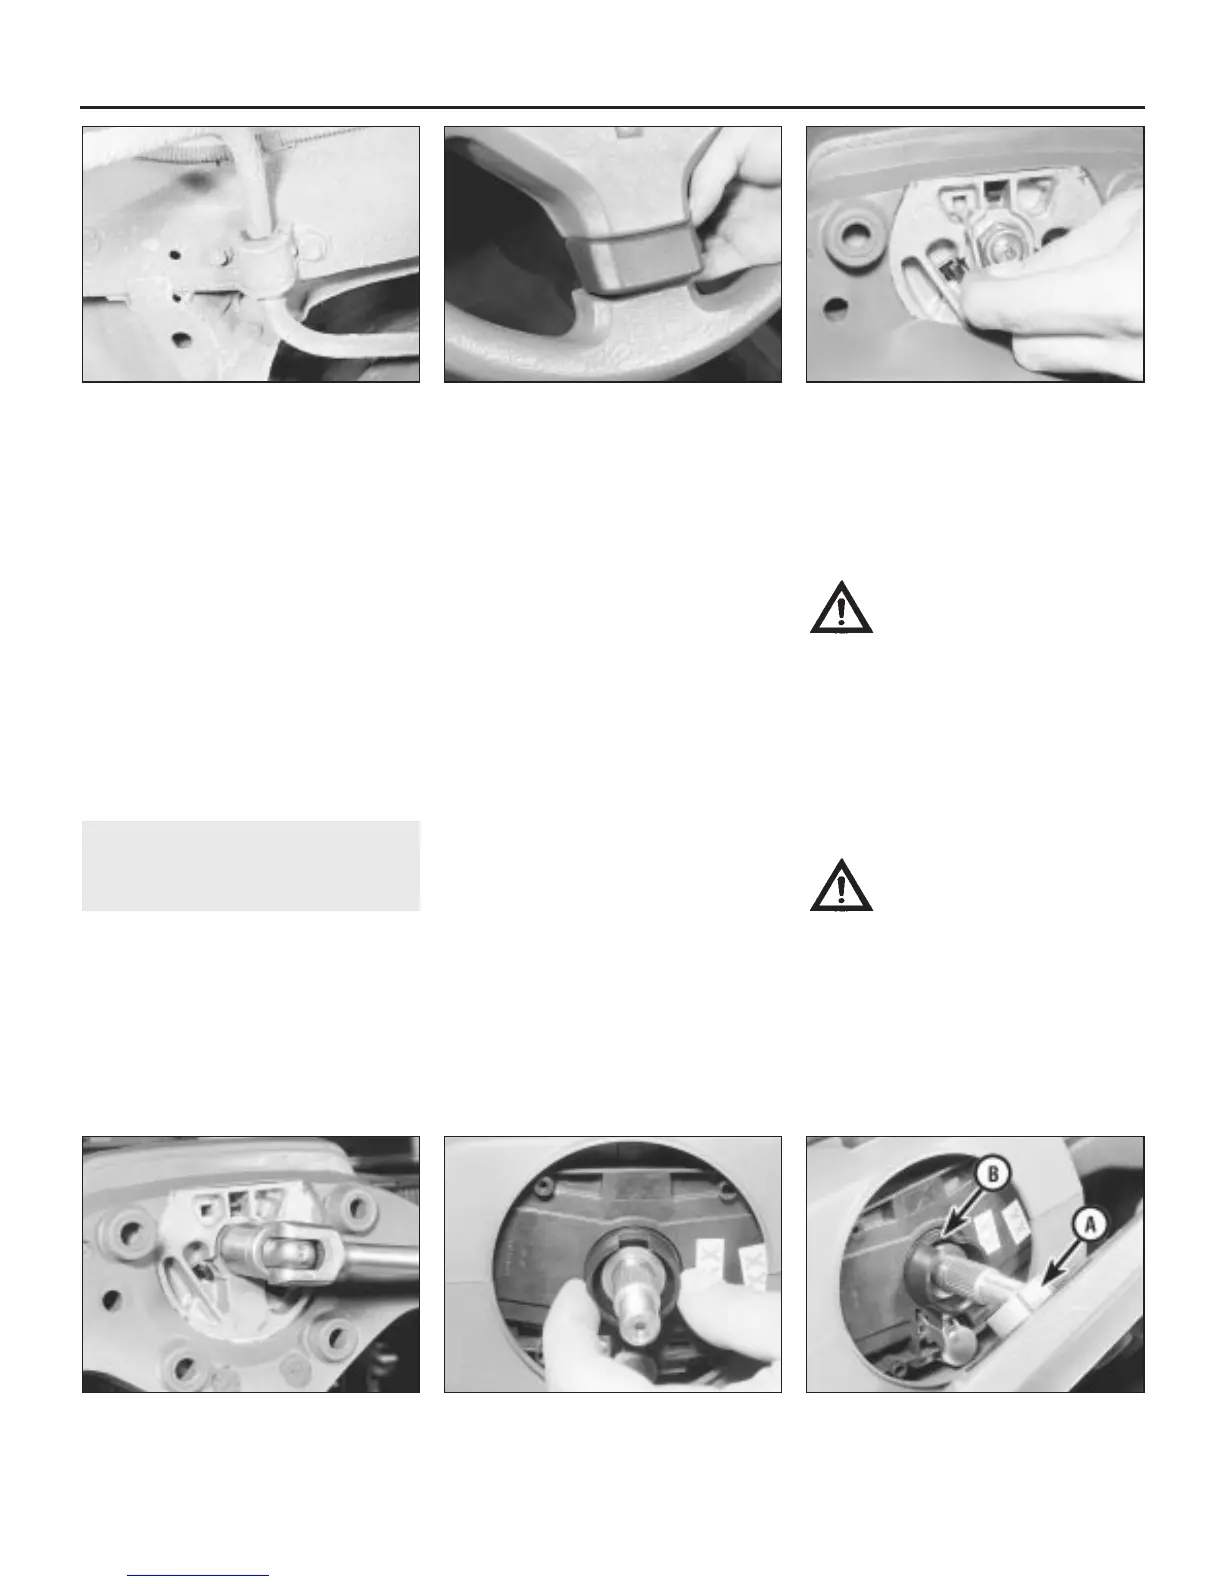
car (see illustration).
4 If required, the connecting links can be
removed after undoing the retaining nut on
each side.
5 Check the condition of the connecting link
bushes and the anti-roll bar mounting bushes,
and renew any that show signs of
deterioration. The mounting bushes are slit
along their length to allow removal and
refitting over the bar.
Refitting
6 Refitting is a reversal of removal. Tighten
the mounting and connecting link bushes to
the specified torque only with the weight of
the car on its roadwheels.
18 Steering wheel -
removal and refitting
3
Models without airbag
supplementary restraint system
Removal
1 Disconnect the battery negative (earth) lead
(refer to Chapter 5, Section 1).
2 Set the front wheels in the straight-ahead
position.
3 On early models, carefully prise off the
steering wheel pad, disconnect the two horn
switch leads and remove the pad (see
illustrations).
4 On later models, undo the two screws at
the rear of the steering wheel and lift off the
steering wheel pad.
5 On models equipped with cruise control,
disconnect the cruise control switch multiplug
from the rotary coupler wiring harness.
6 With an assistant holding the wheel, undo
and remove the centre retaining nut using a
socket and bar (see illustration).
7 Mark the steering wheel and column shaft
in relation to each other, and withdraw the
wheel from the shaft splines.
Refitting
8 Before refitting, check that the wheels are
still in the straight-ahead position and, where
applicable, turn the direction indicator
cancelling bush so that the slot is pointing
upwards (see illustration).
9 Engage the steering wheel over the shaft
splines, ensuring that the previously-made
marks are aligned, and make sure that the lug
on the wheel boss engages with the slot in the
direction indicator cancelling bush (see
illustration).
10 On models equipped with cruise control,
ensure that the rotary coupler lugs engage
with the steering wheel slots.
11 Refit the retaining nut and tighten it to the
specified torque while your assistant holds the
wheel.
12 Reconnect the horn switch wires (early
models) and refit the steering wheel pad.
13 Reconnect the battery.
Models with airbag
supplementary restraint system
Warning: Handle the airbag unit
with extreme care as a
precaution against personal
injury, and always hold it with
the cover facing away from the body. If in
doubt concerning any proposed work
involving the airbag unit or its control
circuitry, consult a Rover dealer or other
qualified specialist.
Removal
14 Disconnect the battery negative (earth)
lead first, followed by the positive lead (refer
to Chapter 5, Section 1).
Warning: Before proceeding,
wait a minimum of 20 minutes,
as a precaution against
accidental firing of the airbag
unit. This period ensures that any stored
energy in the back-up capacitor is
dissipated.
15 Release the four turnbuckles and lift off
the fusebox cover below the steering column.
16 Disconnect the airbag wiring multiplug
from the steering column wiring harness at the
base of the column.
17 Using a Torx type socket bit, unscrew the
10•12 Suspension and steering systems
18.9 Ensure that the lug on the steering
wheel boss (A) engages the cancelling
bush slots (B)
18.8 Position the direction indicator
cancelling bush with the slot pointing
upwards
18.6 Undo the steering wheel retaining nut
18.3b . . . and disconnect the two horn
switch leads
18.3a Prise off the steering wheel pad . . .17.3 Anti-roll bar right-hand side mounting
bracket
1380 Rover 800 Series Remake


 To Next Page
 Loading...
