3 Fluid level checks
1
General
1 Fluids are an essential part of the
lubrication, cooling, braking and other
systems. Because these fluids gradually
become depleted and/or contaminated during
normal operation of the vehicle, they must be
periodically replenished. See “Lubricants,
fluids and capacities” at the beginning of this
Chapter before adding fluid to any of the
following components. Note: The vehicle
must be on level ground before fluid levels can
be checked.
Engine oil
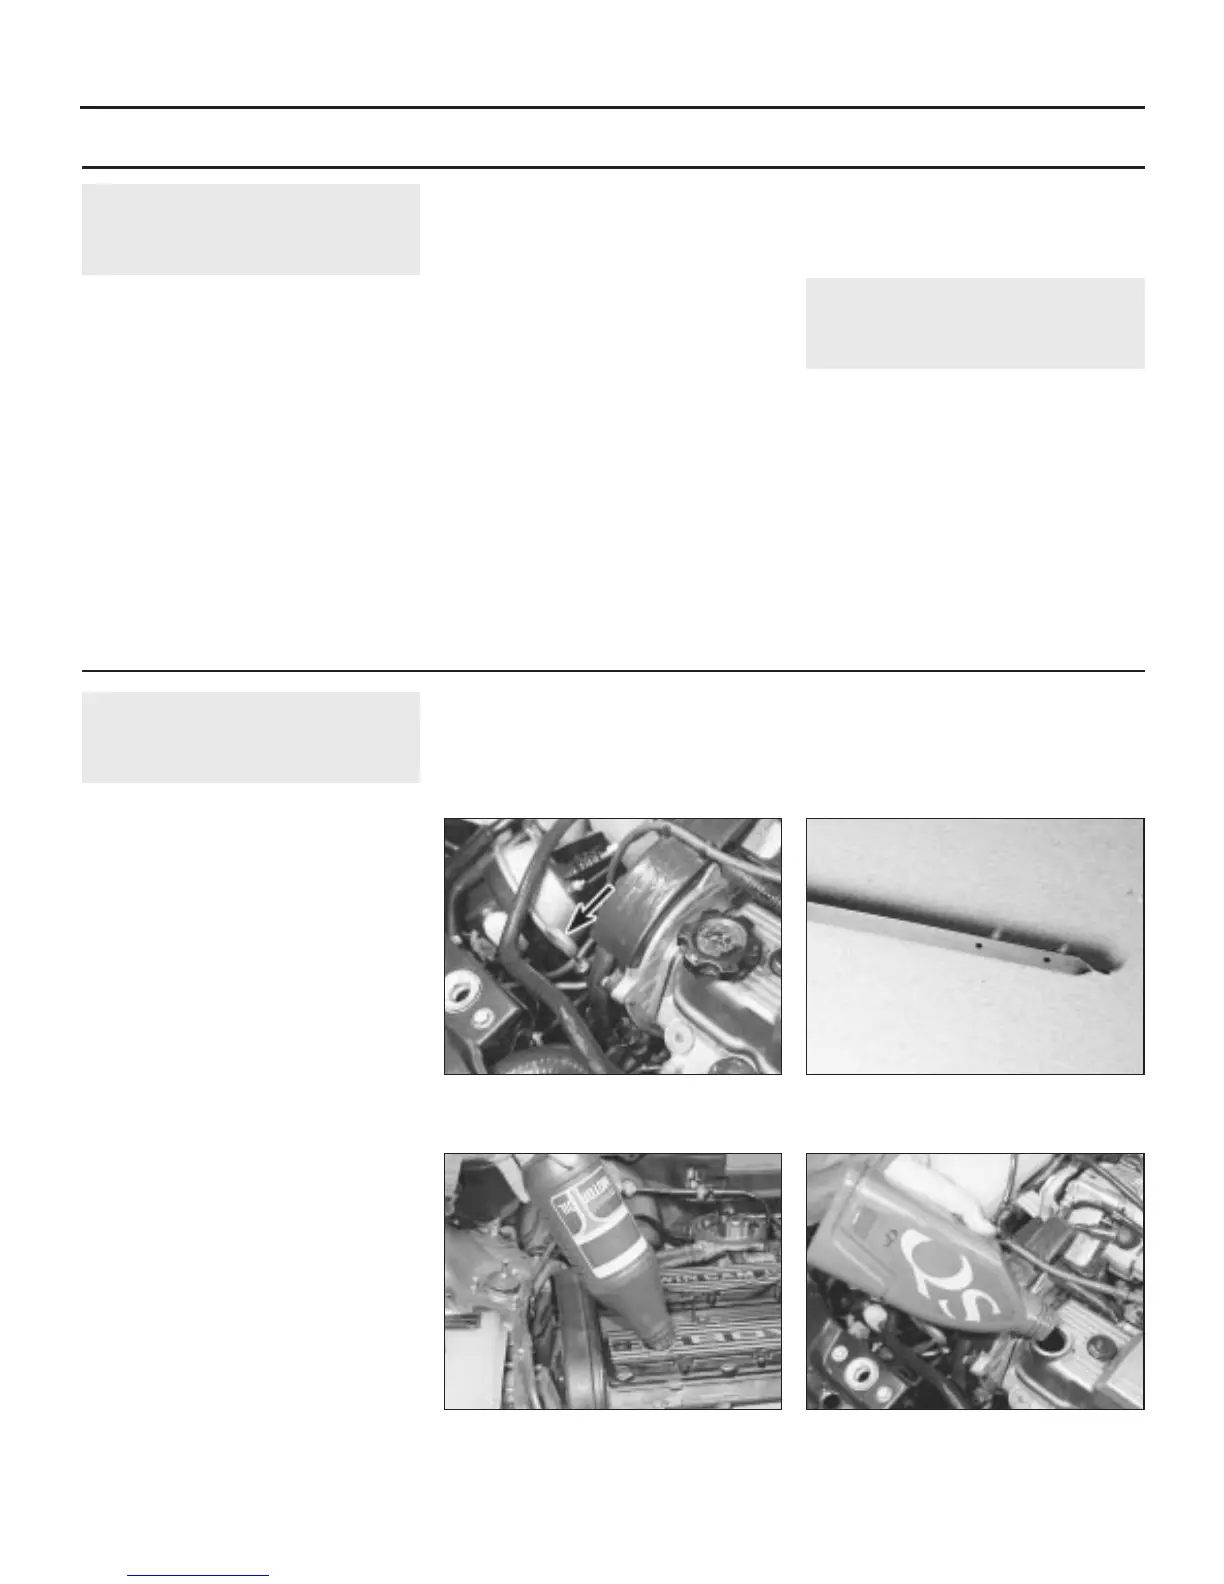
2 The engine oil level is checked with a
dipstick located at the front of the engine in
the centre, or on the right-hand side (see
illustration). The dipstick extends through a
metal tube, from which it protrudes down into
the sump at the bottom of the engine.
3 The oil level should be checked before the
vehicle is driven, or about 5 minutes after the
engine has been switched off. If the level is
checked immediately after driving the vehicle,
some of the oil will remain in the engine upper
components, producing an inaccurate
reading.
4 Pull the dipstick from the tube, and wipe all
the oil from the end with a clean rag or paper
towel; note the dipstick’s maximum and
minimum levels, indicated by holes on the
dipstick (see illustration). Insert the clean
dipstick all the way back into its metal tube,
and pull it out again. Observe the oil on the
end of the dipstick; its level should be
between these two holes.
5 Do not allow the level to drop below the
minimum level notch, or oil starvation may
cause engine damage. Conversely, overfilling
the engine (adding oil above the maximum
level notch) may cause oil-fouled spark plugs,
oil leaks or oil seal failures.
6 The oil filler cap is screwed into the right-
hand front end of the valve cover; unscrew it
to add oil (see illustrations). When topping-
Maintenance procedures
1•8 Maintenance and servicing
3.6b . . . and on V6 engines3.6a Topping up the engine oil on 4-
cylinder engines . . .
1380 Rover 800 Series Remake
1 Introduction
This Chapter is designed to help the home
mechanic maintain the Rover 800 Series
models for peak performance, economy,
safety and long life.
Contained in this Chapter is a master
maintenance schedule, followed by Sections
dealing specifically with each item on the
schedule. Visual checks, adjustments,
component replacement and other helpful
items are included. Refer to the
accompanying illustrations of the engine
compartment and the underside of the vehicle
for the location of various components.
Servicing your Rover in accordance with
the mileage/time maintenance schedule and
the following Sections will provide it with a
planned maintenance programme, which
should result in a long and reliable service life.
This is a comprehensive plan, so maintaining
some items but not others at the specified
service intervals will not produce the same
results.
As you service your car, you will discover
that many of the procedures can - and should -
be grouped together, because of the nature of
the particular procedure you’re performing, or
because of the close proximity to one another
of two otherwise-unrelated components.
For example, if the vehicle is raised for any
reason, you should inspect the exhaust,
suspension, steering and fuel systems while
you’re under the vehicle. When you’re
checking the tyres, it makes good sense to
check the brakes and wheel bearings,
especially if the roadwheels have already
been removed.
Finally, let’s suppose you have to borrow or
hire a torque wrench. Even if you only need to
tighten the spark plugs, you might as well
check the torque of as many critical fasteners
as time allows.
2 Routine maintenance
The first step of this maintenance
programme is to prepare yourself before the
actual work begins. Read through all the
Sections which are relevant to the procedures
you’re planning to carry out, then make a list
of, and gather together, all the parts and tools
you will need to do the job. If it looks as if you
might run into problems during a particular
segment of some procedure, seek advice
from your local parts man or dealer service
department.
Weekly checks
3.4 Note the dipstick’s maximum and
minimum levels, indicated by holes on the
dipstick
3.2 Engine oil dipstick location (arrowed)
on V6 engines
 Loading...