17 Tailgate wiper motor and
linkage -
removal and refitting
1
Removal
1 Disconnect the battery negative (earth) lead
(refer to Chapter 5, Section 1).
2 Remove the wiper arm as described in
Section 15.
3 Release the plastic clip screws and remove
the trim panel from inside the tailgate.
4 Undo the large retaining nut from the wiper
motor spindle.
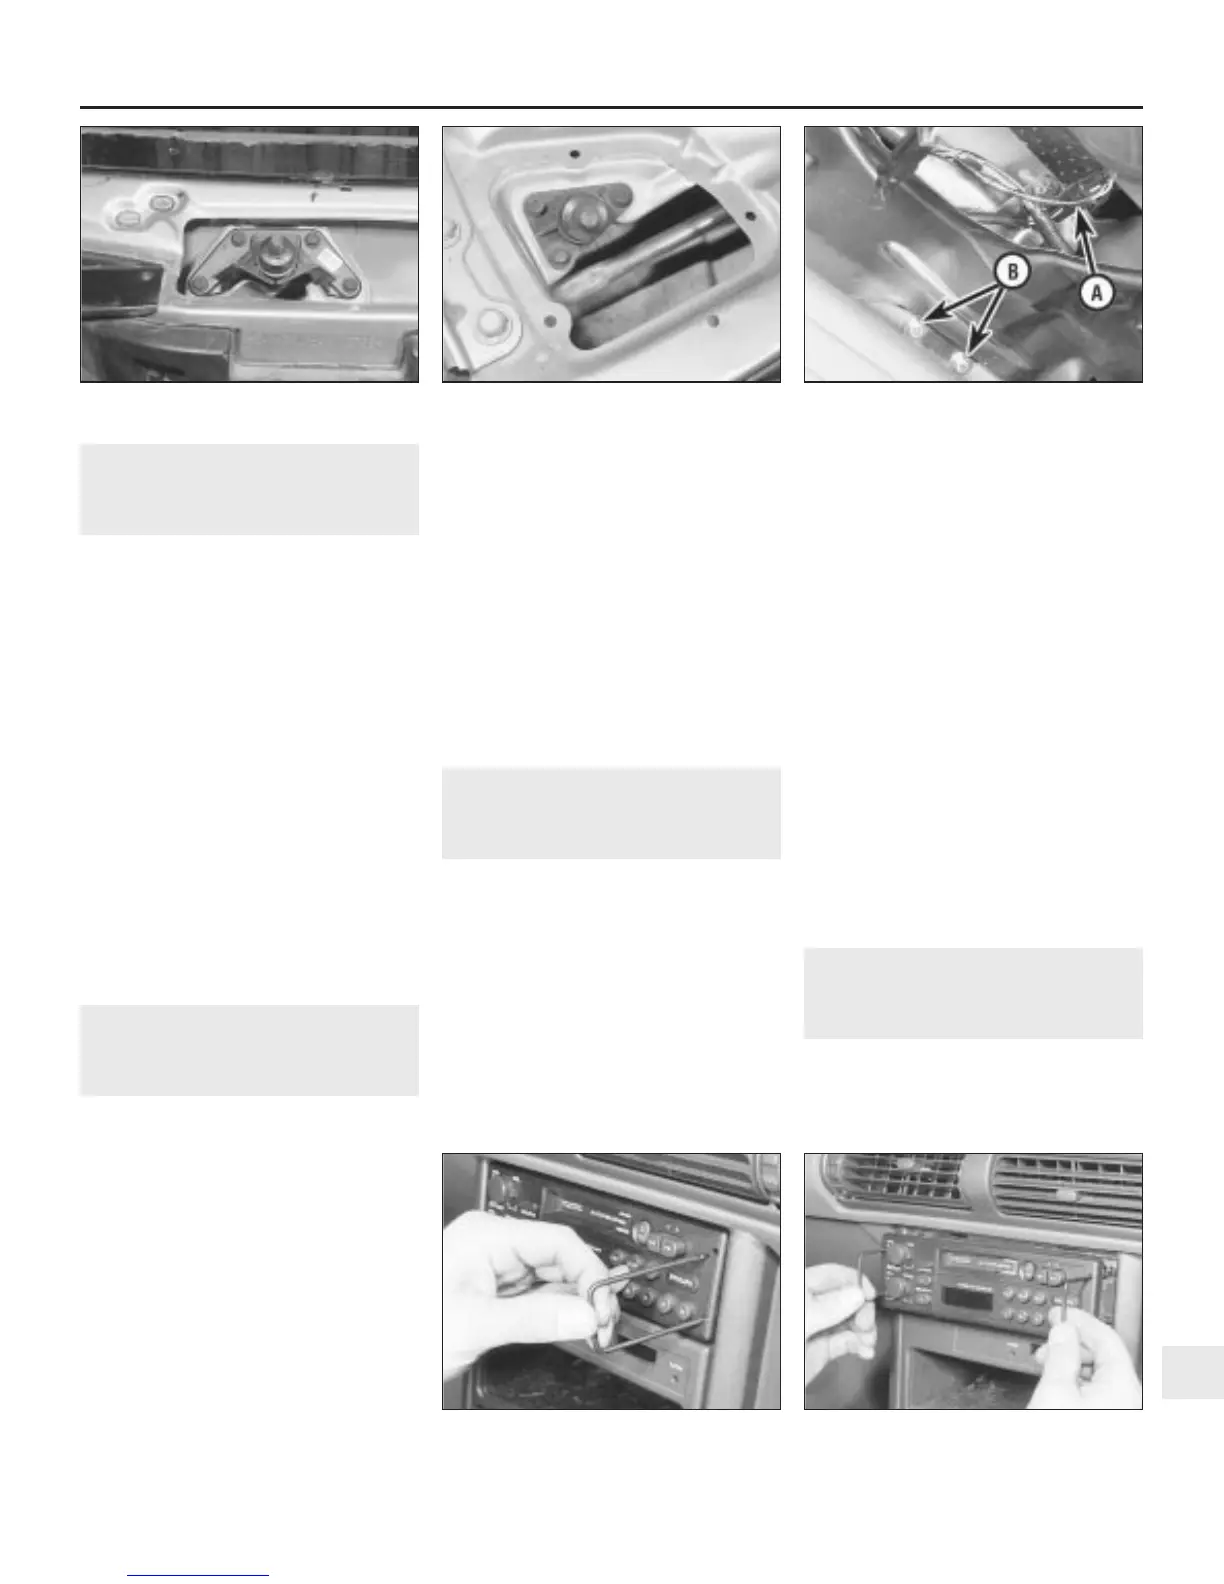
5 Disconnect the wiper motor multiplug, and
release the wiring from its cable clip (see
illustration).
6 Undo the two bolts securing the motor
mounting plate to the tailgate, then withdraw
the motor and mounting plate.
7 Undo the three bolts and remove the motor
from the mounting plate.
8 Withdraw the seal, spacer and washer
components from the motor spindle.
Refitting
9 Refitting is a reversal of removal.
18 Windscreen/tailgate/headlight
washer system components -
removal and refitting
1
Washer reservoir and pumps
Removal
1 Disconnect the battery negative (earth) lead
(refer to Chapter 5, Section 1).
2 Undo the screw securing the washer
reservoir filler neck to the inner wing valance.
3 Withdraw the filler neck from the reservoir,
and disconnect the breather hose.
4 From under the wheelarch, undo the two
screws and one bolt securing the access
panel, and remove the panel.
5 Undo the three reservoir retaining bolts and
lower the unit slightly.
6 Disconnect the fluid hoses and wiring
multiplugs and remove the reservoir,
complete with pumps, from under the
wheelarch.
7 Remove the pumps as required from the
reservoir by pulling them out of their locations.
Refitting
8 Refitting is a reversal of removal.
Headlight washer jet
Removal
9 Prise off the cover plate on the washer jet to
expose the two retaining screws.
10 Undo the two screws and withdraw the jet
from the front bumper.
11 Release the water hose clip, disconnect
the hose and remove the jet.
Refitting
12 Refitting is a reversal of removal.
19 Radio/cassette player -
removal and refitting
1
Note: The following procedure applies to the
interior mounted radio/cassette, or
radio/cassette/CD players. For procedures
applicable to the luggage compartment
located CD player, refer to Section 20.
Removal
1 Disconnect the battery negative (earth) lead
(refer to Chapter 5, Section 1).
2 In order to release the radio retaining clips,
two U-shaped rods must be inserted into the
special holes on each side of the radio (see
illustration). If possible, it is preferable to
obtain purpose made rods from an audio
specialist as these have cut-outs which snap
firmly into the clips so that the radio can be
pulled out. Note that on later models, it will be
necessary to remove the two side bezels first,
to allow access to the holes for insertion of
the U-shaped removal tools.
3 Insert the removal tools into each pair of
holes at the edge of the unit, and push the
tools fully home to engage the radio retaining
clips.
4 Move the tools outward to depress the
retaining clips, and withdraw the radio from
the lower facia sufficiently to gain access to
the wiring at the rear (see illustration).
5 Note the location of the speaker wiring by
recording the cable colours and their
positions, then disconnect the speaker leads,
aerial lead and wiring multiplug(s). Remove
the unit from the car.
6 Disengage the removal tools from the
retaining clips on the side of the radio, and
remove the tools.
Refitting
7 Refitting is a reversal of removal.
20 Compact disc player -
removal and refitting
1
Removal
1 Disconnect the battery negative (earth) lead
(refer to Chapter 5, Section 1).
2 From within the luggage compartment,
Body electrical system 12•15
17.5 Tailgate wiper motor multiplug (A)
and mounting plate retaining bolts (B)
16.15b . . . and right-hand spindle
assembly
16.15a Wiper linkage centre spindle
assembly . . .
19.4 Withdraw the radio, using the tools to
release the retaining clips
19.2 Insert the radio removal tools into the
holes on the edges of the unit
12
1380 Rover 800 Series Remake


 To Next Page
 Loading...
