3 4
EN
OTHER FUNCTIONS
1 • The self-cleaning function
extends the service life of the
iron
The anti-calc function ushes dirt and
limescale particles out of the steam
chamber.
2 • Cleaning instructions
• Fill the container up to the maximum
water level mark and heat the iron to the
maximum temperature.
• Unplug the appliance
• Hold the iron in a horizontal position over
a sink. Pull upwards to remove the anti-
calc valve. After a few seconds, water will
drain from the soleplate and will ush dirt
and limescale particles out of the steam
chamber.
• Replace the anti-calc valve in position .
• Plug in the appliance and heat the iron
again.
• Wait for any residual water to evaporate.
• Unplug the appliance and let it cool com-
pletely.
• Once cool, the soleplate may be wiped
with a damp cloth.
We recommend that you carry out the
self-cleaning process approximately
every two weeks. If the water is
very calcareous, weekly cleaning is
recommended.
3 • Cleaning the anti-calc valve
(once per month)
• Unplug your iron and empty the water
tank.
• To remove the anti-calc valve, open the
water tank cover and pull on the valve
near the steam control.
• Soak the valve for 4 hours in a glass of wa-
ter with lemon juice.
• Rinse the valve under the tap.
• Insert the valve in place, pushing it until
you hear a click.
Beware!
Never touch the end of the valve.
The iron will not function without the
anti-calc valve.
4 • Auto-O function
(depending on the model)
• If the iron is not in active use for 8 minutes
on its heel or for more than 30 seconds
placed at, the product’s electronic sys-
tem will automatically shut o the iron’s
electrical supply. The iron will then stop
heating and the auto-o light will ash.
To restart the iron, move it back and forth
until the light stops ashing.
• Wait until the indicator light has gone o
before using the product again.
AFTER IRONING
• Unplug the appliance, empty the water
from the tank and set the variable steam
control to . Then leave the iron to cool
for at least one hour.
• Never wrap the cable around the hot sole-
plate.
• Store the iron in a vertical position on its
heel and wrap the cable separately.
CLEANING AND MAINTENANCE
After cooling for at least 1 hour, you can
wipe the cold iron and soleplate with a
damp cloth or sponge.
Never use harsh or abrasive cleaning
products or items to clean the
soleplate.
Set the ironing temperature using
the thermostat control (
), based
on the fabric type. We recommend
that you refer to the table above.
The temperature indicator light will
go on, indicating that the soleplate
is heating up. When the temperature
indicator light (
) goes o, the desired
temperature has been obtained.
Please note the following: when
heating a cold iron, wait for the
second extinction of the indicator
light. Only then is the set temperature
obtained.
Useful tip: As the cooling period is
longer than the heating period, we
recommend that you iron delicate
fabrics at a very low temperature
initially.
IRONING AND STEAM FUNCTIONS
D
1 • Ironing WITHOUT steam
(D1)
To iron without steam, set the variable
steam control (
) to and set the
temperature based on the fabric type
(symbols •, •• or •••).
2 • Ironing WITH steam (D2)
To iron with steam, the thermostat
control button must be set above the
•• position. The ow of steam can be
adjusted either by or (maximum
steam ow).
For maximum steam flow ,
we recommend that you set the
temperature to •••.
3 • Jet steam ironing (D3) (Set
the temperature to position •••)
To remove stubborn creases using
powerful jet steam, press the steam
button (
).
4 • Extra Jet Steam (D4) (Set the
thermostat control to “•••” only
suitable for cotton and linen)
Set the steam control to . Push and
hold the steam button. Keep holding
and iron.
Nb: To avoid water dripping on the
laundry, do not use extra steam
continuously.
5 • Vertical smoothing (Set the
temperature to position •••)
To smooth clothes that are hanging up,
curtains, etc., hold the iron in a vertical
position and press the jet steam button.
Avoid contact between the hot
soleplate and sensitive fabrics.
A horizontal jet of steam and a vertical
jet of steam (D3) are also possible when
the variable steam control is set to
. The interval between jets of steam
must be approximately 4 seconds.
Important: Never
direct the jet of steam
towards people or
animals.
6 • Spray function
(D4)
To dampen stubborn creases, press the
spray button (
).
NO
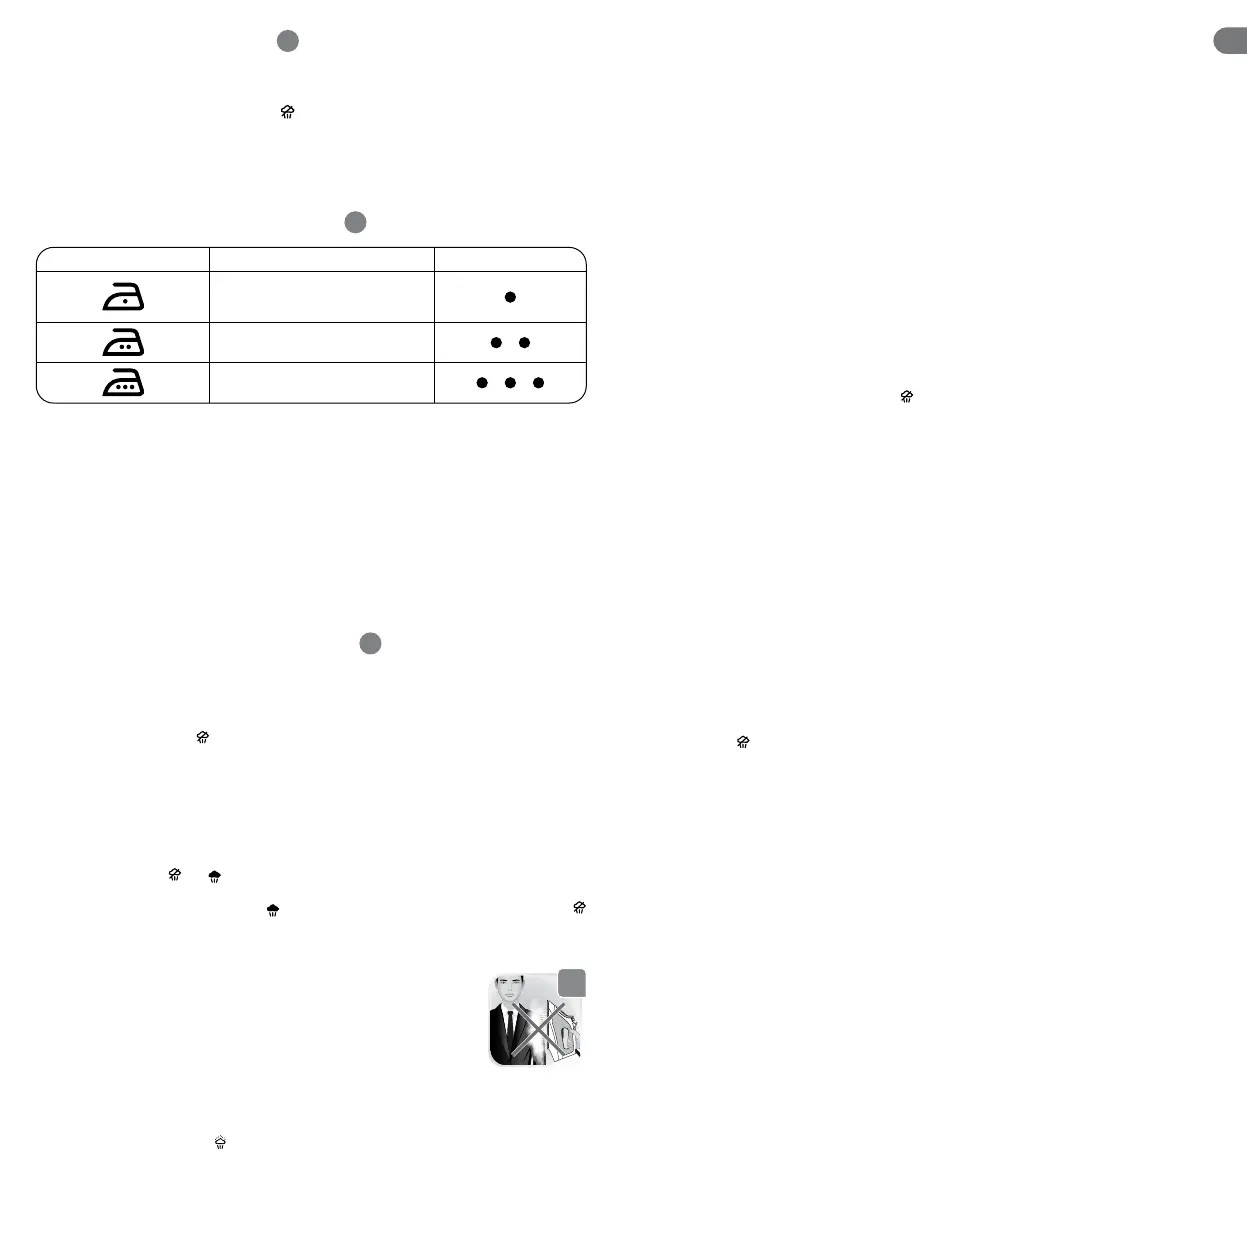
SET THE IRONING TEMPERATURE
C
Fabric labels Type of fabric Thermostat
Synthetic bres e.g.
viscose, polyester
Silk, wool
Cotton, linen
FILLING THE WATER TANK
B
Before lling the water container,
unplug the appliance and set the
variable steam control to position .
Open the inlet-cover, hold the iron in a
slanting position and ll with water up
to the maximum water level mark. (
).
Never remove anticalc valve by lling
the tank.
Useful tip: Spray starch onto the
underside of the fabric that you are
ironing only.
 Loading...