SWING
AUTOMATICALLY
To cancel the timer setting
Press or hold down +/- on the control panel or on the remote control until either remote display or the display of the
control panel shows “0.0”.
Swing opeartion
On the control panel On the remote control
Repeatedly press or hold down +/- on the control panel or on the remote control to change the time in half an hour
increments up to 10 hours, and then in 1 hour increments up to 24 hours.
The set time will be confirmed after about 5 seconds and then the delay stop timer will start.
When the set time has been reached, the appliance will turn o automatically.
Sleep operation
The sleep function adjusts the set temperature of the appliance to the thermal needs of the body falling asleep.
Press to operate the sleep mode. The sleep indicator light will illuminate.
The set temperature will increase (cooling) or decrease (heating) 1°C/2°F after about 30 minutes. The temperature will
then increase or decrease by another 1°C/2°F after an additional 30 minutes. This new temperature will be maintained for
about 7 hours before it returns to the originally selected temperature.
NOTE: This function is unavailable in fan and dehumidification modes.
To cancel the function, press . The sleep indicator light will go out.
When you turn on the appliance, the louver will swing and stop at a certain angle.
You can press to let the louver swing automatically.
Press again when you want the louver stop at a desired angle.
Switching display backlight ON/OFF (remote control only)
If you prefer to switch the display backlight o, press .
Press again the backlight will switch on.
Reset (remote control only)
Once the pinhold button is pressed, all settings will be cancelled and
the remote control will return to default settings.
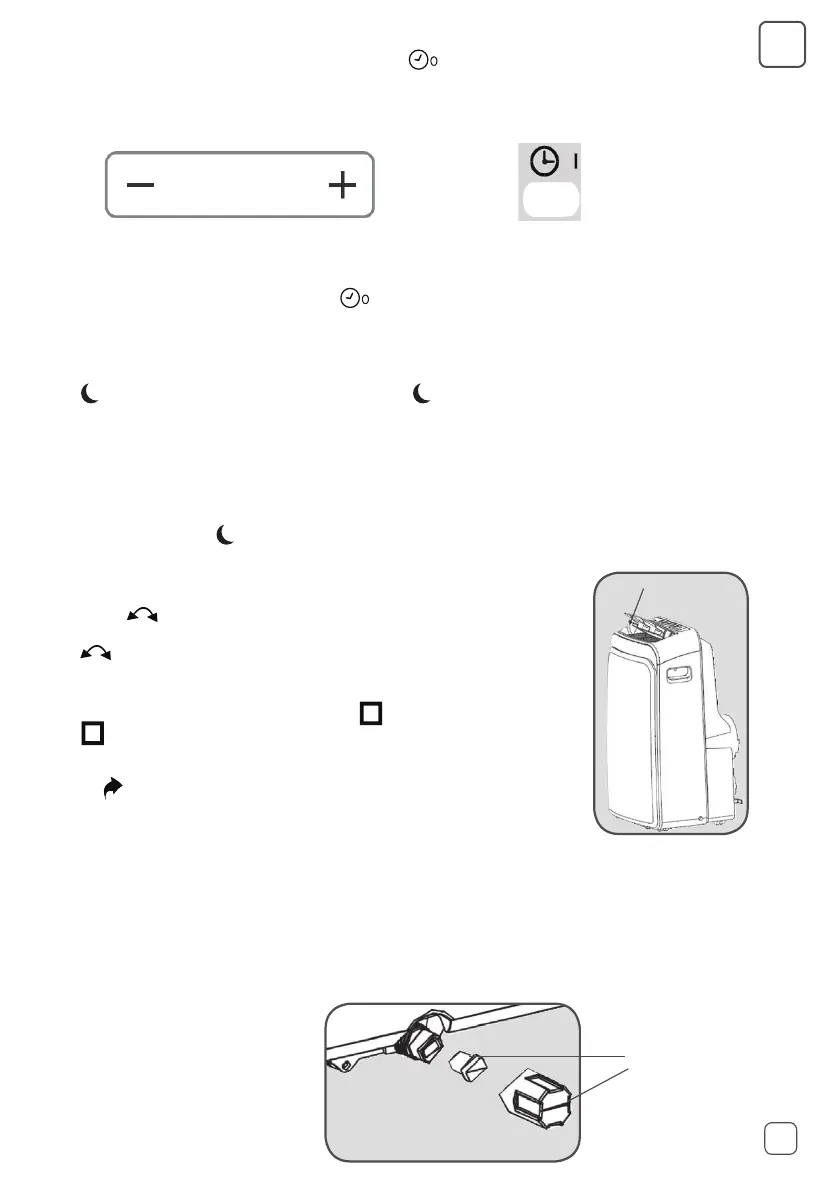
DRAINAGE
When the internal water tank is full the display will show “P1”.
To empty the water tank do the following:
1. Switch o the appliance and remove the plug from the mains socket.
2. Place a water tray (not supplied) on the oor underneath the bottom drainage point.
3. Remove the drain cap and rubber plug from the drain and let the water run out.
4. Replace the rubber plug and drain cap, plug the appliance into the mains socket, and switch the appliance on.
• “P1” will disappear on the display.
RUBBER PLUG AND
DRAIN CAP
EN
12
 Loading...