EasyManua.ls Logo

ROYAL GOURMET GB4001 - User Manual

ROYAL GOURMET GB4001
22 pages
Print Icon
To Next Page IconTo Next Page
Loading...
www.royalgourmetcorp.com
hotline
Model: GB4001
service@royalgourmetusa.com
36in 4 Burner Gas Griddle

Questions and Answers

  • A
    ashley48Aug 19, 2025
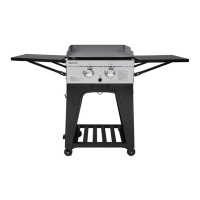
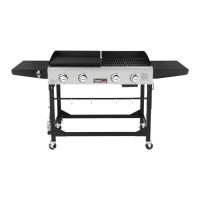
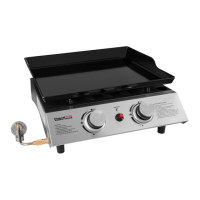
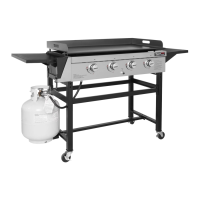
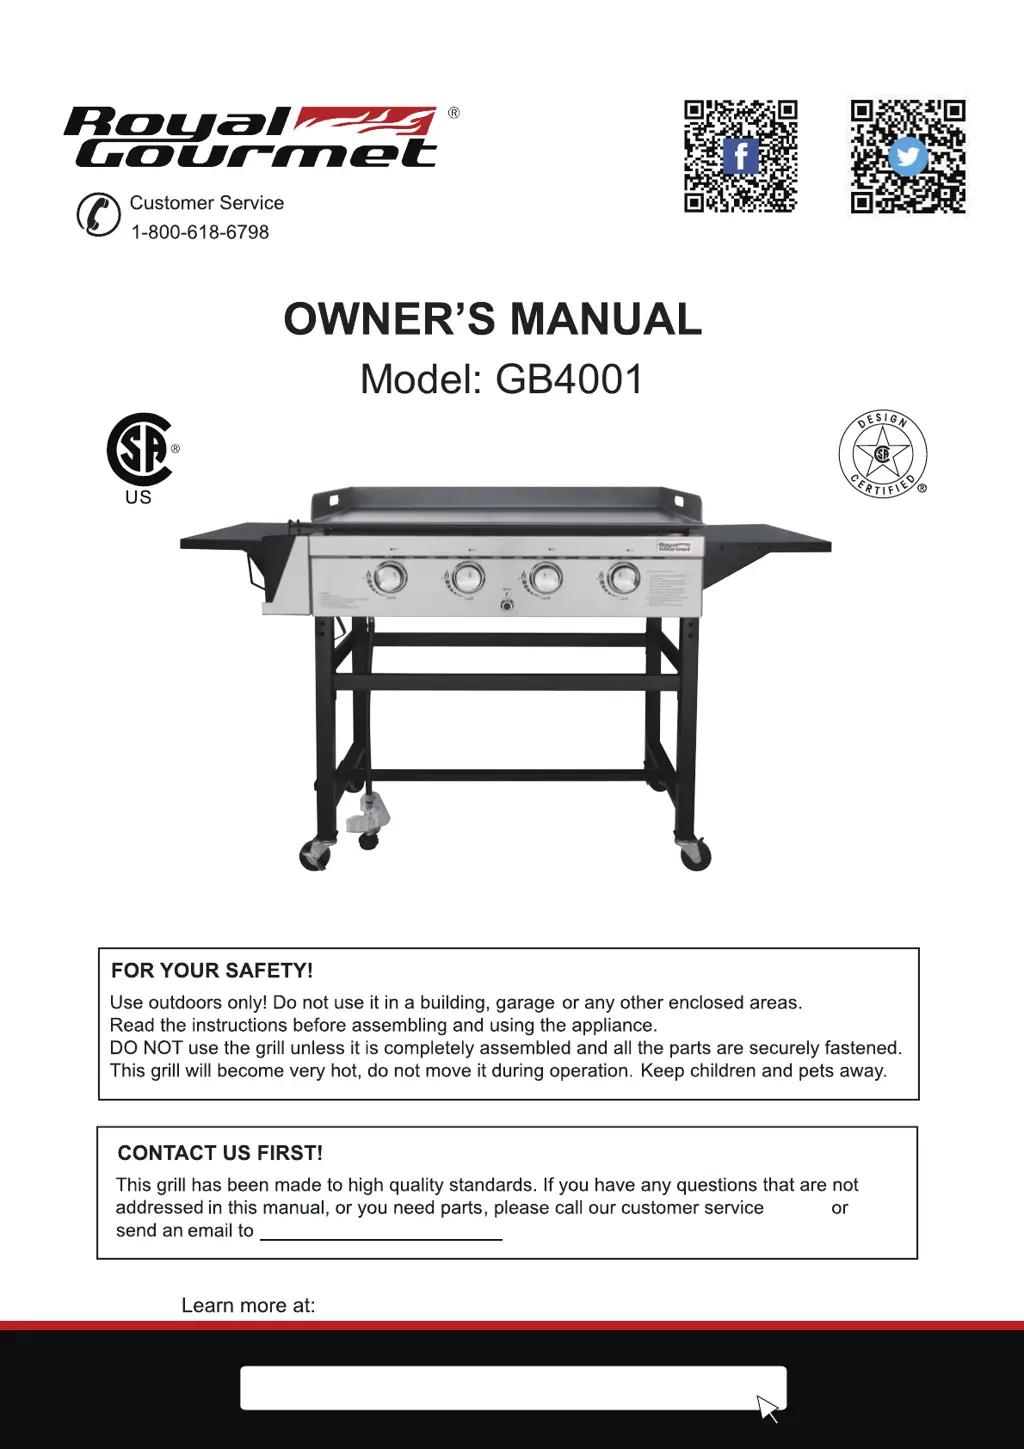
    Why is my ROYAL GOURMET Griddle burner not lighting with the ignitor?
    • T
      Theresa MathewsAug 19, 2025
      There could be several reasons why the burner isn't lighting: * You might be trying to light the wrong burner. * The burner might not be engaged with the control valve. * There could be an obstruction in the burner. * There is no gas flow. * There might be a vapor lock at the coupling nut to the LP tank. * The coupling nut and LP tank valve might not be fully connected. Refer to the instructions on the control panel and the Use and Care section for guidance. Make sure the valves are positioned inside the burner tubes and that the burner tubes are not obstructed. Ensure the LP tank isn't empty. If not empty, refer to “sudden drop in gas flow”. Disconnect and reconnect the coupling nut from the LP tank, and tighten the coupling nut approximately one-half to three-quarters.
  • B
    bonnie21Aug 20, 2025
    What to do if I have a grease fire on my ROYAL GOURMET GB4001 Griddle?
    • A
      amillerAug 21, 2025
      If you experience a grease fire, immediately turn off the LP tank. Leave the lid open to allow the flames to die down. Once the griddle has cooled, clean any food particles and excess grease from inside the firebox area, grease cup/pan/tray, and all other surfaces.
  • M
    Melissa SandersAug 23, 2025
    Why is my ROYAL GOURMET GB4001 Griddle burner not lighting with the ignitor due to electrical issues?
    • E
      emilyrussellAug 23, 2025
      If your burner won't light, it could be due to electrical issues such as: 1. Electrode cracked or broken. 2. Electrode tip not in the proper position. 3. Wire and/or electrode covered with cooking residue. 4. Wires are loose or disconnected. 5. Wires are shorting between the ignitor and electrode. 6. Push button sticks at the bottom sparking between the ignitor and electrode. Replace the electrode if cracked or broken. Ensure the electrode tip points toward the port hole in the burner, about 1/8” to 3/16” away. Clean any residue from the wire and/or electrode with rubbing alcohol. Reconnect loose wires or replace the electrode/wire assembly. Replace the ignitor wire or the ignitor itself. Inspect the wire insulation and connections, replacing wires if the insulation is broken.
  • M
    Miguel MillsAug 26, 2025
    What to do if I have a flashback (fire in burner tubes) on my ROYAL GOURMET GB4001?
    • H
      hollymckayAug 26, 2025
      If you experience a flashback (fire in the burner tubes), immediately turn the control knobs to the OFF position. Clean the burner and/or burner tubes, referring to the burner cleaning section of the use and care manual.
  • J
    Jennifer WilsonAug 27, 2025
    What causes flare-ups on my ROYAL GOURMET Griddle and how to prevent them?
    • M
      Mary AndersonAug 28, 2025
      Flare-ups can be caused by grease buildup, excessive fat in the meat, or excessive cooking temperature. To prevent flare-ups, clean the burners and the inside of the grill/firebox. Trim excess fat from meat before grilling and adjust (lower) the cooking temperature.
  • V
    Veronica JohnsonAug 30, 2025
    What to do if I have a persistent grease fire on my ROYAL GOURMET Griddle?
    • M
      Miguel RandallAug 30, 2025
      If you have a persistent grease fire, turn the control knobs to OFF and turn off the gas at the LP tank. Leave the lid in position and let the fire burn out. After the grill cools, remove and clean all parts.
  • T
    tranraymondSep 1, 2025
    What to do if flames blow out on my ROYAL GOURMET GB4001?
    • J
      Jamie BryantSep 1, 2025
      If the flames blow out, it could be due to high or gusting winds, low LP gas, or a tripped excess flow valve. Turn the front of the grill to face the wind or increase the flame height. Refill the LP tank. Refer to "sudden drop in gas flow" for more information.
  • P
    priscilla71Sep 3, 2025
    Why is gas leaking between the LP tank and regulator connection on my ROYAL GOURMET GB4001 Griddle?
    • H
      hcooperSep 4, 2025
      A gas leak between the LP tank and regulator connection can be due to improper installation, an untight connection, or failure of the rubber seal. Turn off the LP tank valve, remove the regulator from the cylinder, and visually inspect the rubber seal for damage. See the LP tank test and connection regulator section for further guidance.
  • J
    James MarshallSep 6, 2025
    What to do if gas is leaking from a cracked, cut, or burned hose on my ROYAL GOURMET Griddle?
    • K
      Kevin BrownSep 6, 2025
      If gas is leaking from a damaged hose, immediately turn off the gas at the LP tank. If the hose is cut or cracked, replace it. Refer to the LP tank lead test and connection regulator instructions.
  • C
    Carlos HillSep 8, 2025
    What to do if I can't fill my ROYAL GOURMET GB4001 LP tank?
    • K
      karirodriguezSep 8, 2025
      Some dealers have older fill nozzles with worn threads that don’t have enough “bite” to engage the valve. Try a second LP dealer.

Summary

Safety First

Contact Us First

Contact information for questions or parts. Call customer service or email.

Safety Precautions and Warnings

General Safety Guidelines

Covers safe operation, storage, and handling of the gas grill and propane tank.

Specific Warnings and Dangers

Highlights risks like fire, explosion, and required clearance from combustibles.

Explosion View

Parts and Hardware List

Preparation for Assembly

Assembly Tools and Time

Estimated assembly time of 40 minutes and required tools like screwdriver and wrench.

Assembly Instructions Part 1

Assemble Casters and Cart Beams

Attaching casters to side shelves and assembling cart beams to the frame.

Attach Bottom Cart Beam and Tank Holder

Securing the bottom cart beam to side shelves and mounting the LP tank holder.

Assembly Instructions Part 2

Mount Main Body and Braces

Placing the main body onto braces and fastening with bolts.

Install Grease Cup Support and Side Shelves

Attaching grease cup support and side shelf joints to side tables.

Assembly Instructions Part 3

Attach Side Tables and Griddle

Securing side tables and placing the griddle onto the main body.

Install Grease Cup and Igniter Battery

Placing grease cup onto support and inserting battery into igniter.

General Information and Operation

Operation Guidelines

Safe operating practices for the gas grill during use, including heat and ventilation.

LP Gas and Cylinder Information

Details on LP gas properties, OPD, and quick connect valves.

Transportation and Storage of LP Tanks

Guidelines for safely transporting and storing propane tanks.

Cylinder Specifications and LP Gas Details

Cylinder Construction Requirements

Specifications for LP gas cylinders, including standards and safety devices.

LP Gas Cylinder Compatibility

Information on compatible LP gas tank types and valve connections for the grill.

LP Cylinder Leak Test and Connections

Performing the Leak Test

Procedure for testing the propane tank connections for leaks using detergent solution.

Regulator and Cylinder Connection Procedure

Steps to safely connect the LP tank to the regulator and grill.

Operating Instructions

Pre-Lighting Checks and Warnings

Essential checks and warnings before lighting the grill's burners.

Main Burner Lighting Methods

Instructions for lighting burners using electronic ignition or a match.

Grill Shutdown Procedure

Steps for safely turning off the gas supply and burners.

Cleaning and Maintenance

General Cleaning Warnings

Important warnings and precautions regarding grill cleaning procedures.

Cleaning Specific Grill Components

Methods for cleaning stainless steel, griddle, exterior, and grease tray.

Burner Cleaning and Flame Inspection

Troubleshooting Guide

Common Emergencies and Solutions

Addresses issues like gas leaks, fire, and burner ignition problems with solutions.

Burner Ignition and Flame Issues

Troubleshooting for burners not lighting or having improper flame patterns.

Troubleshooting Specific Problems

Gas Flow and Flame Behavior Problems

Resolving issues such as low flame, flame blowouts, flashbacks, and flare-ups.

Grilling Recipes and Temperature Charts

Internal Meat Temperature Guides

Charts for internal core temperatures for beef, poultry, and pork doneness.

Recipe Instructions (Steak, Kabobs, etc.)

Cooking instructions and marinades for various meats like steak, kabobs, and burgers.

Warranty and Customer Service

Overview

This document is the owner's manual for the Royal Gourmet GB4001 36-inch, 4-burner gas griddle.

Function Description

The Royal Gourmet GB4001 is an outdoor gas griddle designed for cooking with propane gas. It features four burners, providing even heat distribution across the griddle surface. The appliance is intended for outdoor use only and should not be operated in enclosed areas like buildings, garages, or under flammable canopies. It is equipped with an electronic ignition system for easy lighting and can also be lit manually with a match.

Important Technical Specifications

  • Model: GB4001
  • Type: 36-inch, 4-burner gas griddle
  • Fuel Type: Liquid Propane (LP) gas only (propane gas cylinder not included)
  • LP Cylinder Compatibility: Designed for 20-lb (9.1kg) LP gas tanks incorporating a Type 1 cylinder valve and an Overfill Protection Device (OPD). Compatible with Worthington, Manchester, or SMPC brand 20-lb cylinders with similar top collar and bottom support ring dimensions.
  • Regulator Outlet Pressure: 11 inches water column
  • Safety Features:
    • OPD (Overfill Protection Device) on LP tanks to prevent overfilling and accidental gas leaks.
    • OCC1 Type1 Quick Connect Valve for fast tank hook-ups.
    • Thermal element in the regulator that shuts off gas flow if temperature reaches 115°C (240°F).
    • Flow-limiting device in the regulator that restricts gas flow to 0.28 cubic meters per hour (10 cubic feet per hour).
  • Minimum Clearance from Combustibles: 90 cm (36 inches) around the grill, including walls or building features. No combustible surfaces overhead.
  • Assembly Time: Approximately 40 minutes
  • Tools Required for Assembly: Phillips Screwdriver (not included) and Wrench (not included)

Usage Features

  • Outdoor Use Only: Strictly for outdoor cooking in a well-ventilated area.
  • Electronic Ignition: Main burners can be lit by depressing and holding the electronic ignition button while turning a control knob to High.
  • Manual Lighting: Includes a match holder for manual lighting if electronic ignition fails.
  • Temperature Control: Individual burner control knobs allow for precise temperature adjustment.
  • Grease Management: Features a grease cup and support for collecting drippings, which should be emptied and cleaned regularly.
  • Portability: Equipped with casters for easy movement, which should be locked before use.
  • Side Tables: Includes side tables for convenient food preparation and storage.
  • LP Tank Storage: Designed with an LP tank holder and base for secure storage of the propane cylinder.
  • Safety Guidelines: Emphasizes reading all instructions before assembly and use, keeping children and pets away, and not moving the grill during operation.

Maintenance Features

  • Regular Cleaning: Recommended to prevent grease buildup, grease fires, and excessive flare-ups. Always allow the grill to cool before cleaning.
  • Stainless Steel Cleaning: Use multipurpose, low-abrasion, non-phosphorous metal or stainless steel polish and a soft cloth, polishing in the direction of the finish. Avoid accumulation of grease and dirt.
  • Griddle Cleaning: Scrape and wipe down with a paper towel or wet soft cloth. For tough residue, use a mild cream cleaner and pad, or soapy water with table salt. Rinse and dry well.
  • Exterior Surfaces Cleaning: Wash with mild dishwashing detergent and warm water using a cloth, soft brush (non-metallic), or plastic cleaning pad.
  • Cooking Grates and Heat Diffusers Cleaning: Use a stiff brass brush with warm water and mild dishwashing detergent.
  • Grease Tray/Cup Cleaning: Empty and wipe down with a mild detergent and warm water solution. Sand or cat litter can be placed in the tray to absorb grease.
  • Burner Cleaning: Recommended at least twice a year, or before use if stored for over a month. Involves removing grates and flame tamers, cleaning the inside of the burner with a stiff wire or compressed air (wearing eye protection), brushing the outer surface, and ensuring all ports are clear of debris.
  • Hose Inspection: Clean and inspect the gas hose before each use for abrasion, wear, cuts, or leaks. Replace if damaged.
  • Leak Testing: A leak test must be performed each time the propane tank is refilled or exchanged, or if gas supply components have been changed, or after a long period of non-use. This involves applying a soap and water solution to connections; bubbles indicate a leak.
  • Storage: Clean the grill before storage. If stored indoors, the propane tank must be disconnected and removed. Cover the grill. Perform a leak test after storage.
  • Burner Flame Pattern Check: After lighting, visually inspect flame patterns for even heat distribution. Good flames are primarily blue with a yellow tip (less than 2.5 cm). Yellow flames can indicate oil residue or blockages.
  • Troubleshooting Guide: Provides solutions for common issues like gas leaks, burners not lighting, grease fires, and sudden drops in gas flow.

ROYAL GOURMET GB4001 Specifications

General IconGeneral
BrandROYAL GOURMET
ModelGB4001
CategoryGriddle
LanguageEnglish

Related product manuals