Do you have a question about the Rukket 10X6 PORTABLE GOLF NET and is the answer not in the manual?
Bag for storing and transporting the golf net and accessories.
Flexible poles used to construct the frame of the golf net.
Ground anchors used to secure the net outdoors.
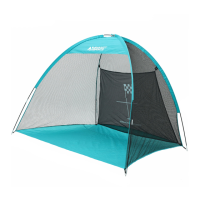
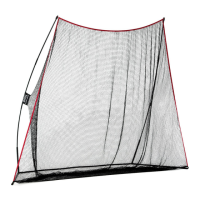
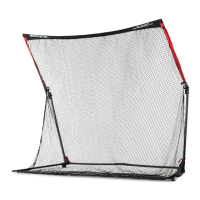
The main netting structure for practicing golf shots.
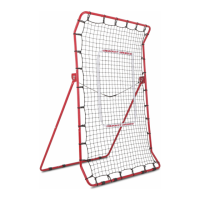
A target placed inside the net to aid in practice accuracy.
Remove all products from the carry bag and lay them out on a flat, clean, smooth surface.
Slide fiberglass poles into the corner sleeves and assemble them diagonally across the tent.
Fasten metal stakes to the net rings and insert them into the ground for stability.
Insert the pins in the tent corners into the fiberglass poles to erect the structure.
Hang the target inside the tent by placing the toggle button through the loops in the four corners.
| Product Name | Rukket 10X6 Portable Golf Net |
|---|---|
| Category | Sports & Outdoors |
| Target Audience | Golfers of all skill levels |
| Material | fiberglass frame |
| Portability | Portable |
| Use | Golf practice |
| Dimensions | 10 feet wide x 6 feet tall x 3 feet deep |
| Durability | High durability, weather-resistant |