1088 User Manual
4 Charging Introductions
4.1 In The Transmitter
4.2 In The Robot
(batteries not included)
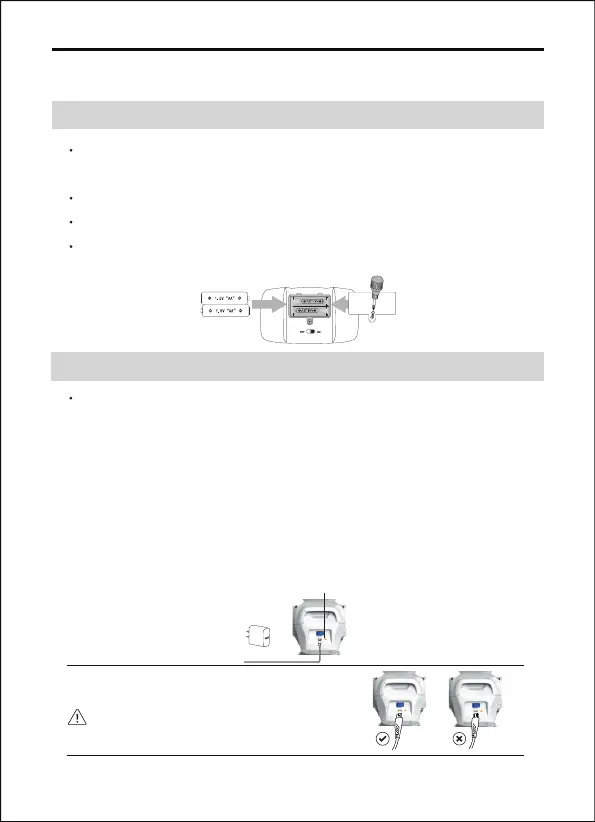
Use the charging cable correctly.
Charging Lamp
5V/2A
Not Included
Copyright ©2022 Ruko All Rights Reserved.
15
Use a Phillips head screw to open the battery compartment lid of
controller.
Put 2X1.5V AA batteries inside the battery compartment.
Put the lid back and use a screwdriver to tighten it.
Switch on the ON/OFF button on the back of the transmitter
before using it.
The robot battery is located in the back of the robot to charge the
battery, please insert the robot battery is contained and is not
replaceable the provided USB charging cable to the robot with
any USB port of a power bank, mobile charger, car charger, or
computer. Switch off the robot before charging. A light in the
robot will be turned on during the charging process; when the
robot is fully charged the light will turn off. The charging time is
about 3 hours and the playing time is about 3 hours.