4
PREPARATION
• Check for textile care symbols (
) on items to be ironed.
• Iron fabrics needing low temperatures
rst, then those that need medium
temperatures
, and nish with those needing high temperatures .
TEMPERATURE SETTING GUIDE
LABEL MARKING DOT SETTING
cool - nylon, acrylics, polyester,
synthetics
•
warm - wool, polyester mixtures, silk • •
hot - cotton, linen • • •
Max - denim Max
do not iron N/A
NOTE: If the instructions on the fabric label differ from this guide, follow the instructions on the
label.
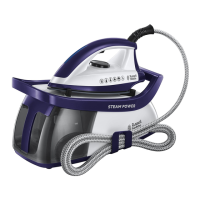
FILLING
You may use the stand with tap-water, however if you live in a hard
water area, you should use distilled water (not chemically descaled
or softened water).
If you buy distilled water, check it is marked as suitable for use in
irons.
• Unplug the stand from the wall power outlet and lift the iron.
• Set the steam control to
no steam.
• Lift the cover of the water inlet to open it.
• Hold the iron with the soleplate horizontal.
• Fill slowly, to let the air in the tank escape, otherwise you will
cause an air lock and the water may overow.
• Do not ll past ‘max’, or water may spill whilst in use.
• Wipe up any spillage.
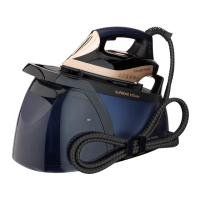
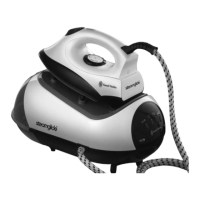
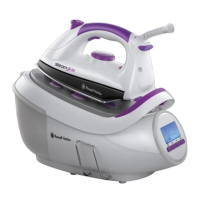
HEATING YOUR IRON
Your iron is heated by placing it onto the stand. The smart status light will show you when you
need to reheat your iron and when it is ready to use. The smart status light operates as follows:
Smart Status Light Remarks
Steady red Your iron is heating up
Flashing green Your iron is ready to use
Flashing red Your iron needs reheating but you can carry on ironing for a
little longer
Flashing red, 3 beeps Your iron must be reheated as soon as possible
Slowly pulsing red Auto shut-off activated
max
 Loading...