TRAMPOLINE MAT ASSEMBLY
Step 8 – Mat Assembly
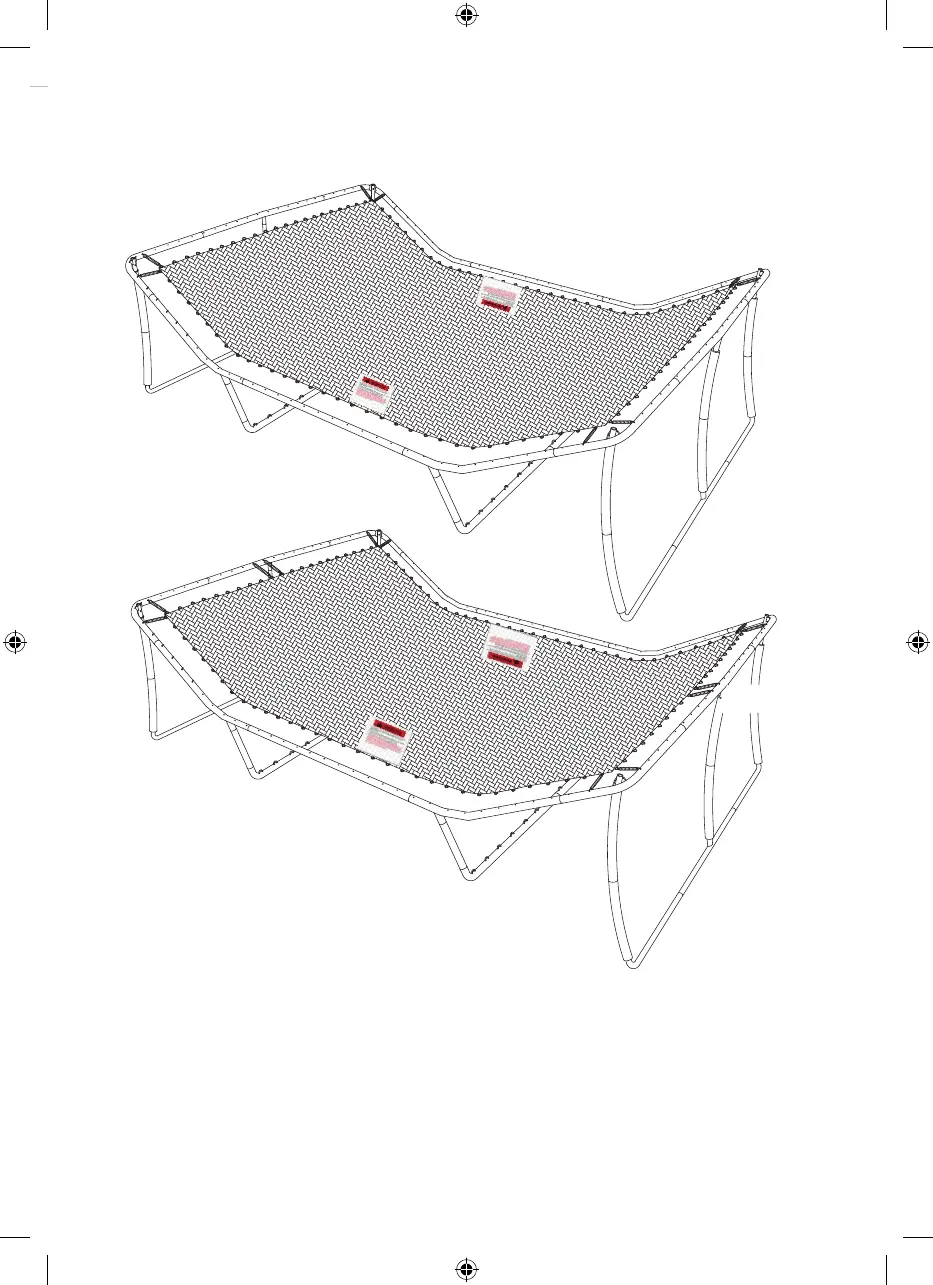
The complete trampoline SPRING lay out should look as shown below.
Place the Trampoline Mat (# 18) in the center of the trampoline frame with the warning labels facing up. Begin by
attaching Springs (# 17A and #17B) to the four corners of the mat as shown in FIGURE 16-A, then continue to
attach springs in the sequence shown in FIGURES 16-B, 16-C and 16-D.
Hint: The number of triangle-rings sewn onto the mat is equal to the number of holes on the frame. If you notice
that you have missed a corresponding hole or triangle-ring
, remove and reinstall the springs as necessary while
maintaining an even distribution of tension of the mat. Make sure to wear gloves and goggles to avoid injuries
during assembly.