DISASSEMBLY OF THE TRAMPOLINE AND ENCLOSURE
Step14
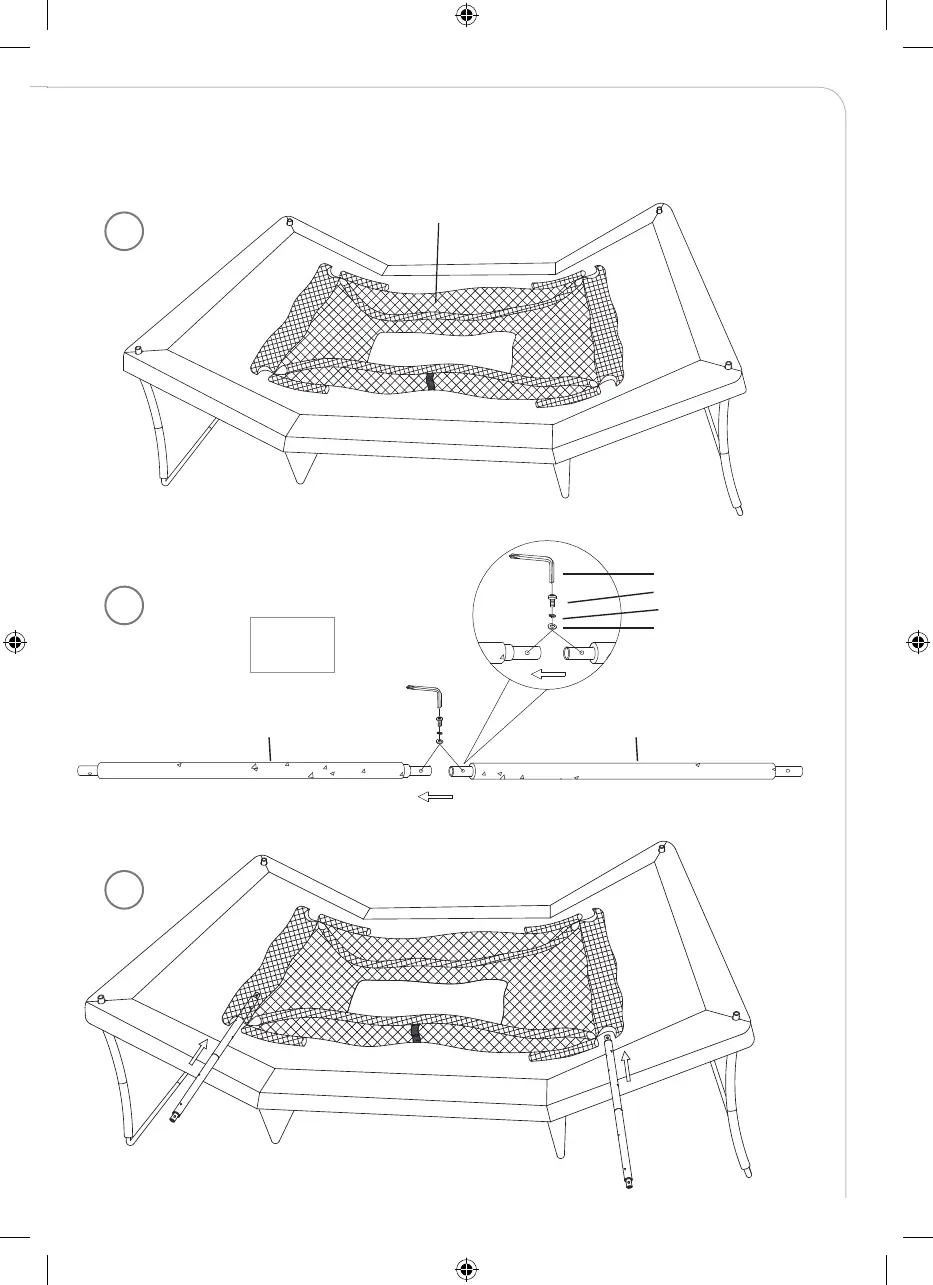
Connect Short Horizontal Tube A (# 27) to Short Horizontal Tube B (# 26) using Arc Washer (# G), Spring Lock
Washer (# E), Screw (# F) and Allen Wrench (# I) as shown in FIGURE 24.
Repeat the same for the other set.
Step 15
Slide the TWO sets of Short Horizontal Tube connected in previous step into the two sides of Enclosure
Netting (# 29) as shown in FIGURE 25.
DISASSEMBLY OF THE TRAMPOLINE AND ENCLOSURE
Step14
Connect Short Horizontal Tube A (# 27) to Short Horizontal Tube B (# 26) using Arc Washer (# G), Spring Lock
Washer (# E), Screw (# F) and Allen Wrench (# I) as shown in FIGURE 24.
Repeat the same for the other set.
Step 15
Slide the TWO sets of Short Horizontal Tube connected in previous step into the two sides of Enclosure
Netting (# 29) as shown in FIGURE 25.
# F
# E
# G
DISASSEMBLY OF THE TRAMPOLINE AND ENCLOSURE
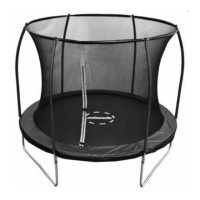
Trampoline Enclosure Assembly
BEFORE YOU BEGIN:
This trampoline must only be used when the enclosure netting is properly assembled. The trampoline
netting must be checked thoroughly before each use to ensure there are no tears or damages. Please
carefully read all the Important Warnings contained in this manual and all warnings on the product before
use.
Review all steps before assembly and read all precautions before using the trampoline. At least five adults
are required to assemble this trampoline enclosure. Protective gloves must be used during assembly to
avoid injuries during installing by the springs and goggles must be worn to avoid injuries to the eyes.
Step 12
Locate the 18 pieces of steel tubing parts that are needed to assemble the enclosure frame.
Step13
Lay the Enclosure Netting (# 29) on the trampoline as shown below in FIGURE 23.
12
14
13
FITTING THE SAFETY NET / MONTERING AV SÄKERHETSNÄTET / MONTERING AV
SIKKERHETSNETTET / MONTAGE DES SICHERHEITSNETZ / TURVAVERKON ASENNUS
x2
77
IM_759013120301_Trampoline_Advanced_550x400cm_v3.indd 77 2021-01-27 17:49