M
Matthew Price IIAug 3, 2025
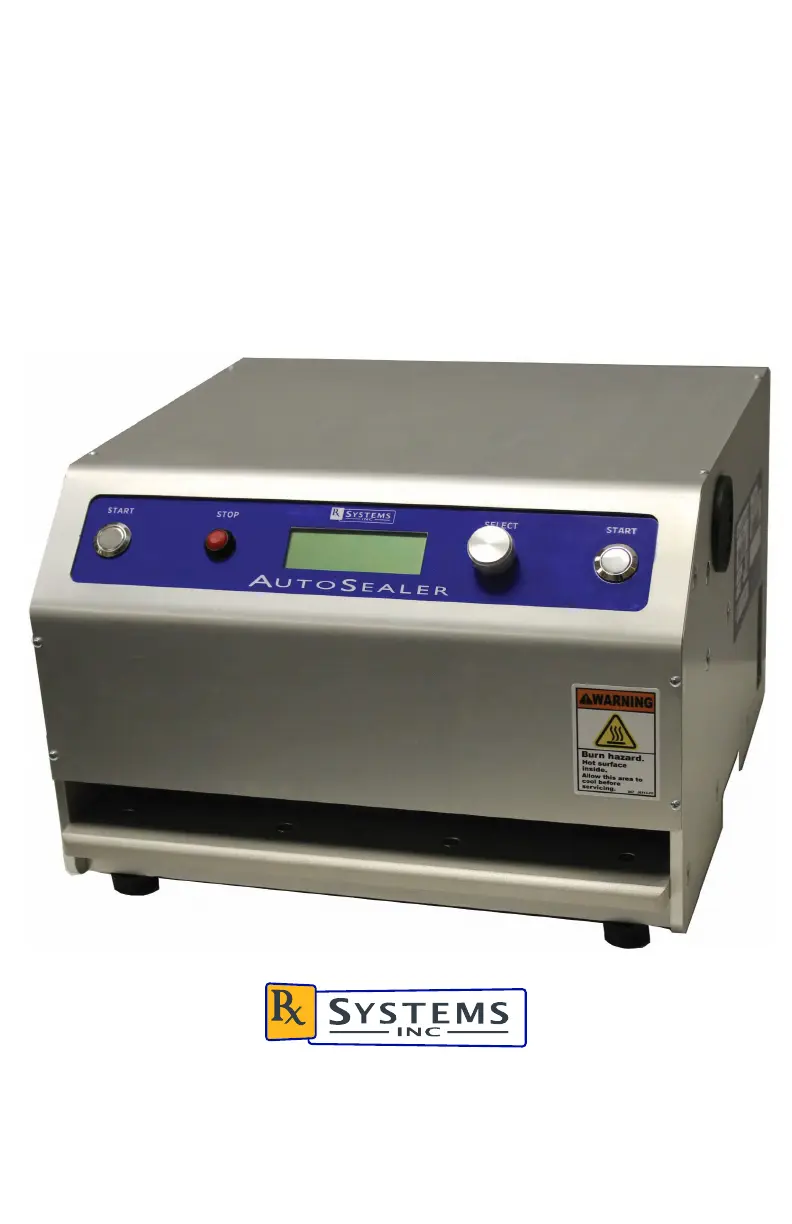
How to troubleshoot a blank screen on Rx Systems AutoSealer 1002 Food Saver?
- AAlicia BuckleyAug 3, 2025
If your Rx Systems Food Saver's screen is blank and there's no power, try the following: * Ensure the power switch is in the ON position. * Verify the power cord is securely plugged into both the wall and the AutoSealer. * Check the main house breaker. * Inspect the AutoSealer fuses, if applicable.