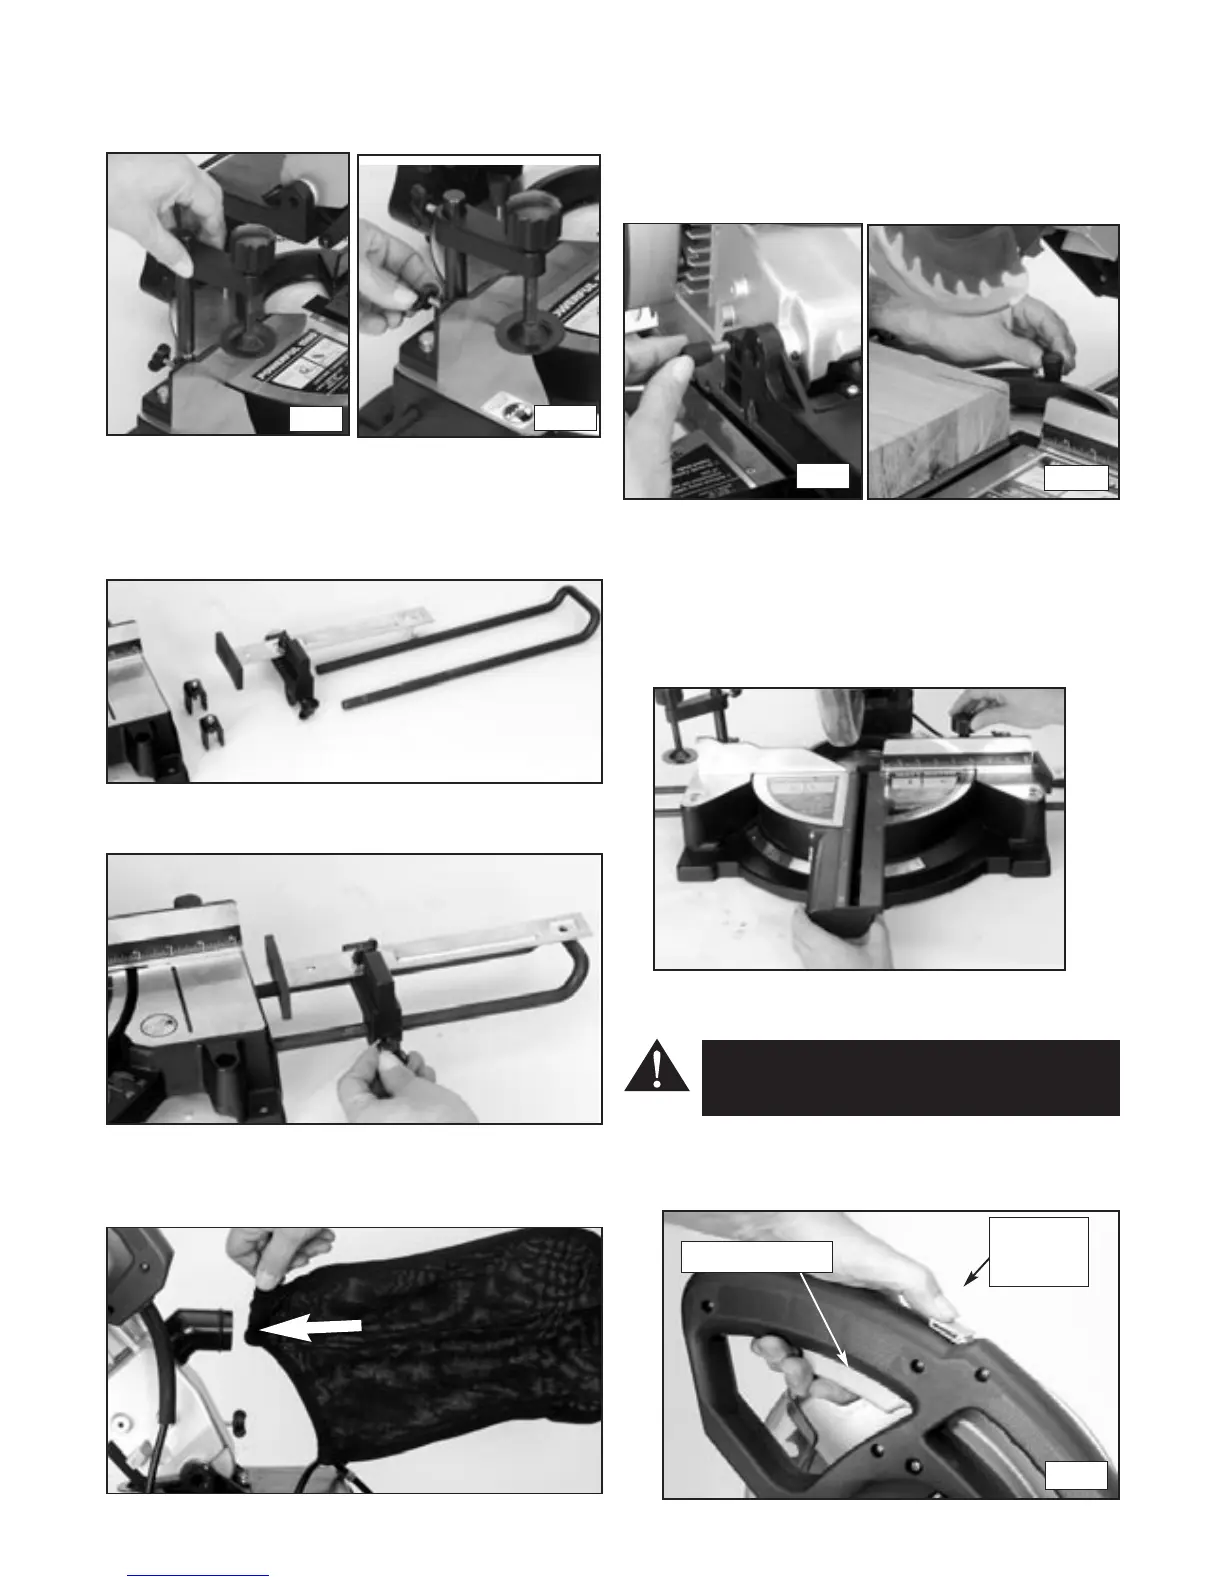
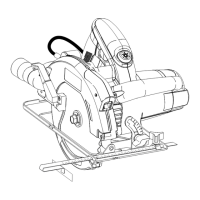
■ VICE ATTACHMENT
To attach the vice, push the round attachment rod
into the vice attachment hole and turn the rear
locking knob in a clockwise direction to lock. (Fig 3&3a)
■ MATERIAL SUPPORTS
To attach the material supports turn the saw upside
down. Insert the support rods in the base holes and
attach the two screws and nuts to each of the two
material supports. (Fig 4&4a )
Adjust the Repetition Cut Stop to the desired
position. Fig 4B)
■ DUST BAG
Attach the dust bag by pressing the two metal
springs together. (Fig 5)
■ LOCK DOWN PIN
Your CSS1000 features a lock down pin for easier
transportation. To unlock the head pull the pin out and
pull the saw arm to the upright position. (Fig 6)
To prevent sliding movement of the saw head during
transportation, lock the slide lock knob as shown in
(Fig 6A)
■ 0-45
0
MITRE ADJUSTMENT
Your CMS1000 mitre cuts from 0
0
to 45
0
both right
and left, with automatic locking at 0, 15, 22.5, 30 and
45 degrees. Loosen the mitre table lock knob and
move the mitre table to the desired cutting angle.
Re-tighten the mitre table lock knob to lock table in
position. (Fig 7)
■ ON/OFF SWITCH
WARNING: Failure to unplug your CMS1000
could result in accidental starting causing
possible serious personal injury.
Your CMS1000 features a safety lock-off switch.
To start the saw, press the safety lock-off switch and
then depress the trigger switch. (Fig 8)
Page 4
Fig 3a
Fig 3
Fig 7
Fig 8
Fig 6
Fig 4a
Fig 4b
Fig 5
Trigger Switch
Safety
Lock-Off
Switch
Fig 6A