7
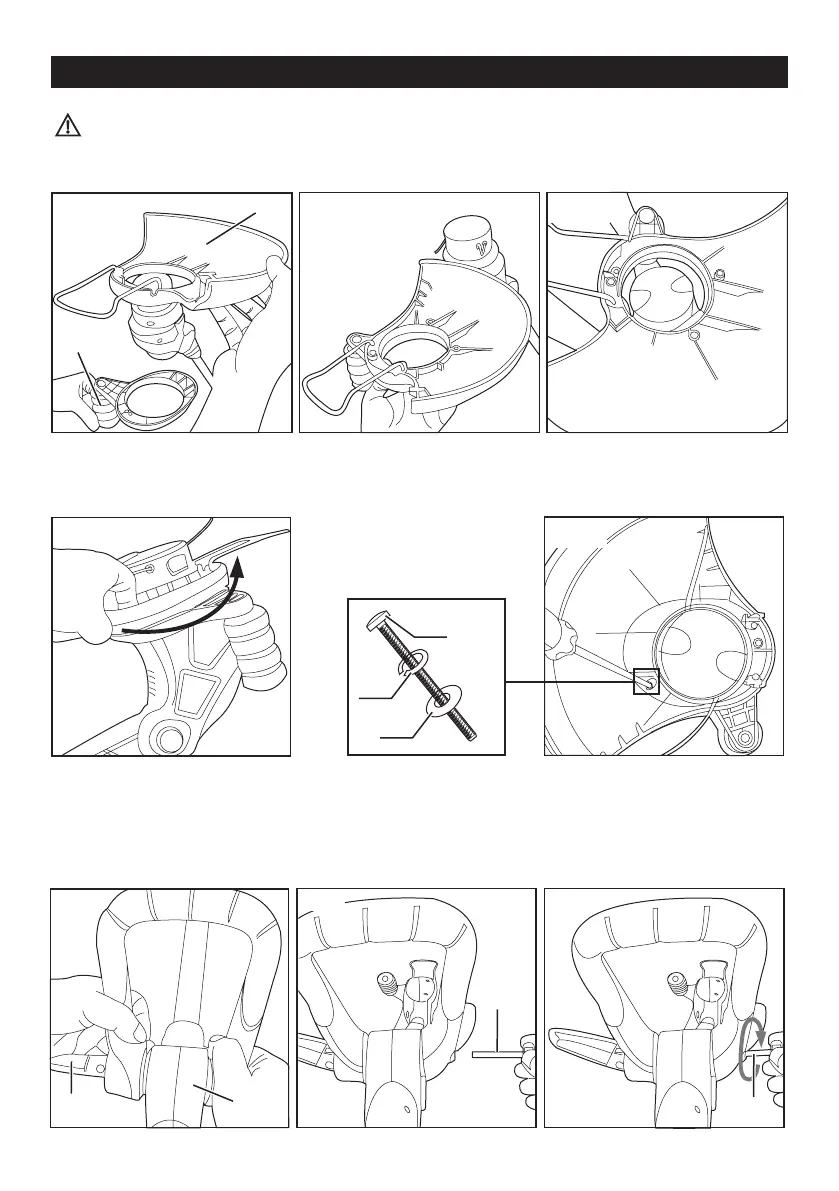
FITTING GUARD
1. Align the edging support wheel (10) with the safety guard (19) (Fig. 1)
2. Secure the edging support wheel and the safety guard with the screws (22) (Fig. 2).
3. Align the spigot of the edging support wheel-guard assy with the notch at the trimmer head (11) and place the
wheel-guard-assembly on the trimmer head (Fig. 3).
4. Turn the wheel-guard assy along with the trimmer head anticlockwise until it locks in place (Fig. 4).
5. Secure the wheel-guard assy with the mounting bolt (24a), spring washer (24b) and washer (24c) (Fig. 5).
FITTING AND ADJUSTING AUXILIARY HANDLE
1. Ensure the auxiliary handle locking lever (15) is in down position.
2. Loosen the auxiliary handle fixing bolt (13) anticlockwise and remove it from the auxiliary handle (16).
3. Align the auxiliary handle with the handle support (14) (Fig. 6).
Fig. 1
10
19
Fig. 2
Fig. 3
Fig. 4
Fig. 5
24b
24a
24c
Fig. 8
13
Fig. 6
14
15
Fig. 7
13
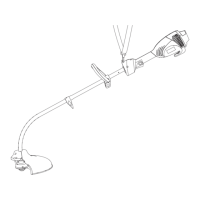
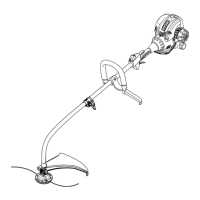
PREPARATION
Warning! Do not connect the machine to the mains socket before it is completely assembled.