Do you have a question about the Ryobi RY40002 and is the answer not in the manual?
Understand the tool and manual for safe operation.
Adjusting the front handle for ease of operation and control.
Feature providing added user comfort.
Prevents accidental starting of the tool.
Controls tool speed via trigger pressure.
Guide for connecting various attachments to the power head unit.
Instructions for safely detaching accessories from the power head.
Procedure for mounting and securing the adjustable front handle.
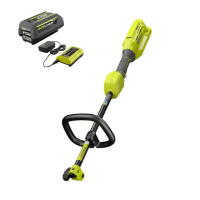
Guidance on inserting and removing the battery pack.
Steps to adjust the front handle for optimal user comfort.
Instructions for safely starting and stopping the power head.
Guidelines for holding and operating the power head safely.
General care instructions for cleaning and maintaining the power head.
Specific steps for cleaning the power head unit.
Recommendations for safely storing the power head.
Details the terms, conditions, and duration of the product's limited warranty.
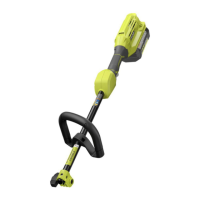
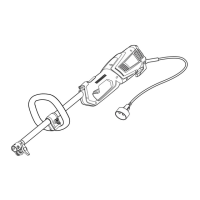
This document describes the RYOBI 40V Power Head (Model RY40002) and the RYOBI Brush Cutter Attachment (Model RYBRC77), both part of the RYOBI EXPAND-IT Attachments system.
The RYOBI 40V Power Head is a versatile, battery-powered tool designed to operate various EXPAND-IT attachments, including string trimmers, blowers, edgers, and cultivators. It serves as the core power unit for these interchangeable gardening tools, providing the necessary power for different outdoor tasks. The power head is engineered for dependability, ease of operation, and operator safety, aiming to provide years of rugged, trouble-free performance when properly cared for.
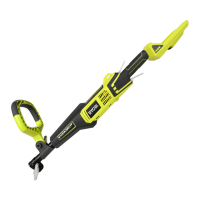
The RYOBI Brush Cutter Attachment is designed to be used with the RYOBI 40V Power Head for cutting thicker weeds and pulpy stalks. It utilizes a TRI-ARC® blade for efficient cutting. This attachment is engineered for dependability, ease of operation, and operator safety, providing robust performance for demanding clearing tasks.
| Brand | Ryobi |
|---|---|
| Model | RY40002 |
| Category | Power Tool |
| Language | English |