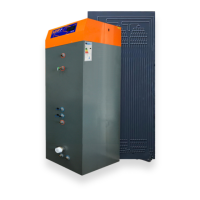
34| SAHP - BMTB Installation Manual
V1 Mar 2019US - SD667052
REPLACEMENT
OF PARTS continued
10.4 Remove existing heat pump
(a) Following successfully recovery of refrigerant, proceed
toremovetheheatpump4xM8nutssecuretheheat
pump to the BMTB cylinder top base. Remove these
M8nuts,keepinasafeplacetouselateron.
(b) Onthefrontlefthandsideoftheunit,2x3/8”pipes
protrude from the BMTB cylinder top base. Cut these
pipes using appropriate refrigeration pipe cutting
equipment. Once completed, ensure to prevent debris
from entering the newly exposed pipework.
(c) Disconnect the suction and liquid line evaporator pipe
work from the respective service valves highlighted in
gure7.
(d) Disconnect the sensor cable and power supply cables
to the heat pump, immersion heater and immersion
heater rocker switch from the terminal blocks located at
the front of the unit. Ensure to appropriately mark these
cables for reconnection later on.
(e) Liftandremovetheexistingheatpumpplate.Ensure
to take care when removing the heat pump as this will
be required to be couriered back to Magic Box
International for investigation for claims under warranty.
10.5 Installing replacement heat pump
(a) Locatethereplacementheatpumpontothe4xM8
bolts protruding from the BMTB cylinder top plate.
Secureheatpumpinplaceusing4xM8nutsremoved
in section 10.4.
(b) Alignthecondenserowandreturn¼”refrigeration
copperpipetotheprotruding3/8”condenser
refrigeration copper pipe from the BMTB cylinder top
plate. From front, the right hand side copper pipe,
connectedtothecompressoristhecondenserow,
the left hand side copper pipe, connected to the
receiver is the condenser return.
NOTE: incorrect condenser connect may result to damage
to the unit.
(c) Continuetobrazetherespective¼”and3/8”
refrigeration copper pipes together. Ensure to use
Nitrogenwhenbrazingtopreventcarbonisationwithin
the pipework during brazing.
SECTION 11
 Loading...