SUPPORT EQUIPMENT
contact with the micro-switch is
completed at the desired location
generally a low idle position.
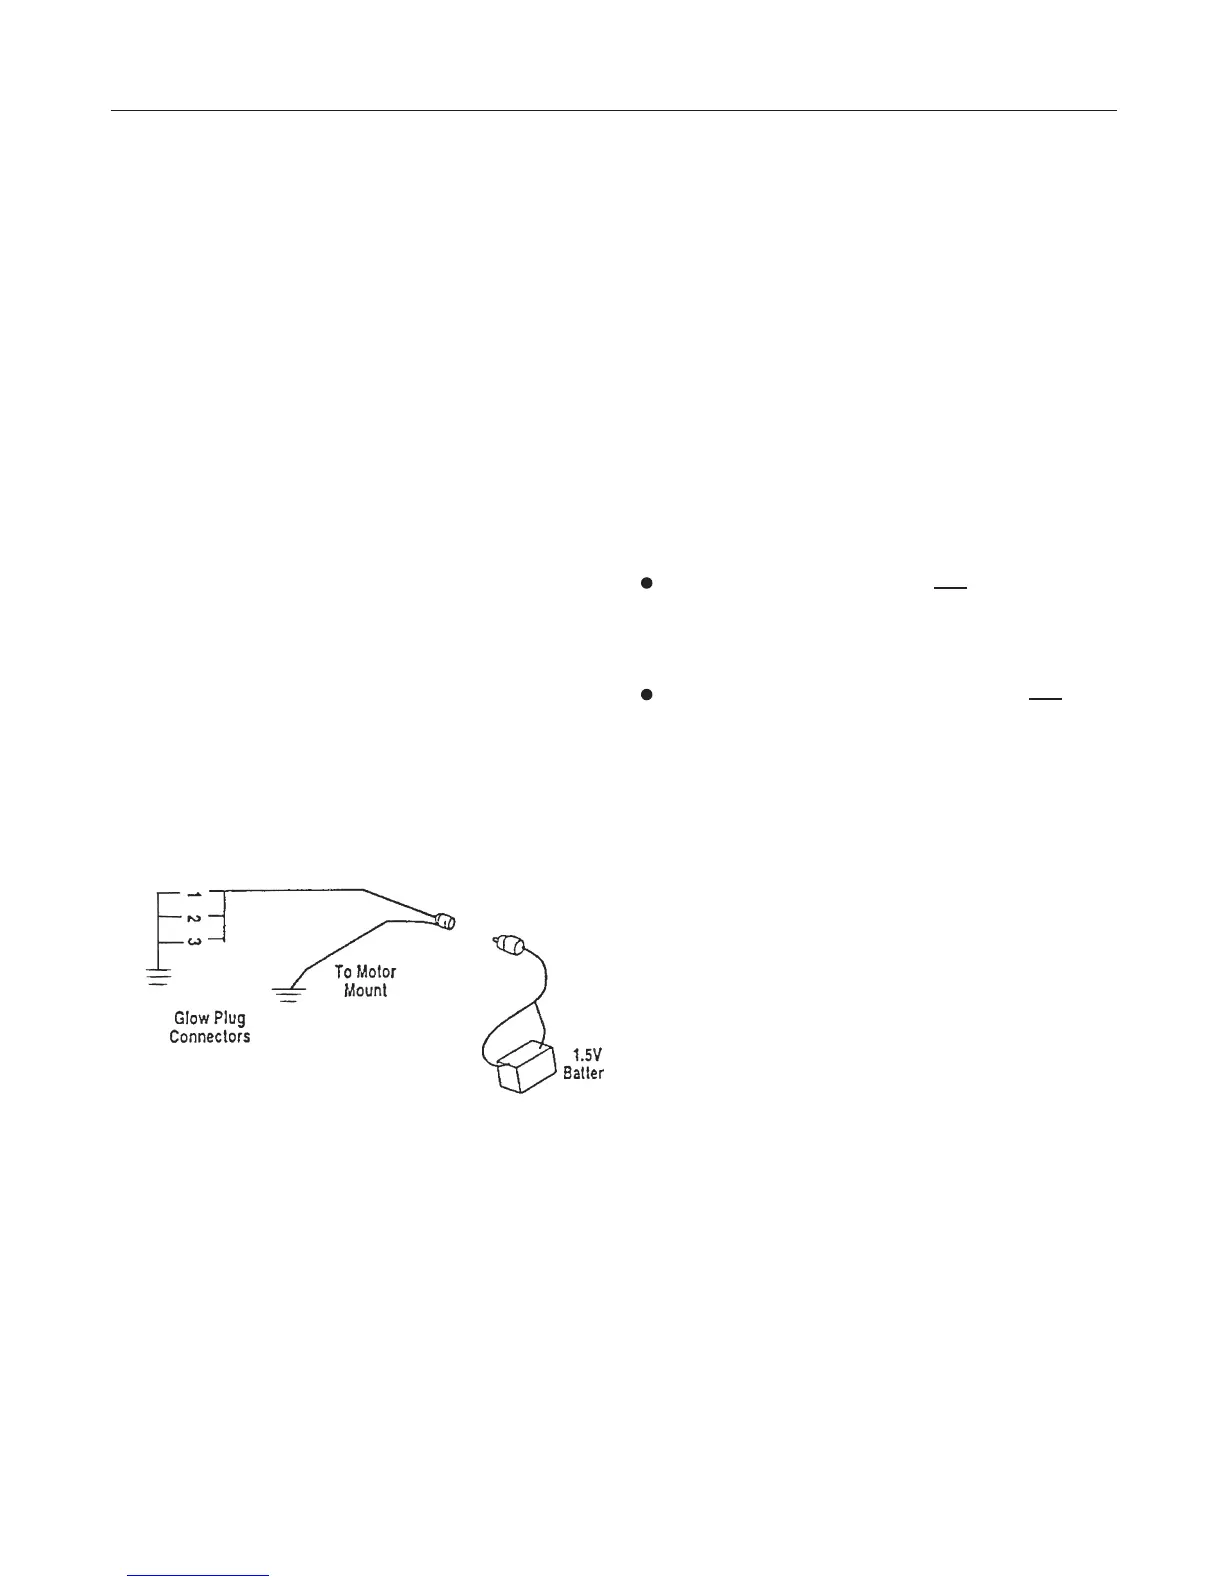
2. Common Plug Activated
a. Solder the single lead from
the glow plug connectors to
one post of the female jack.
b. Attach the ground lead to the
remaining post on the female
jack.
To Glow Plug Connectors
c. Attach a male connector to
the positive and negative ter-
minals of your 1.5V starting
battery.
Refer to Figure 2.
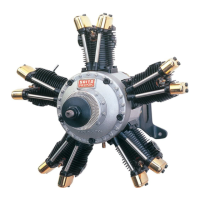
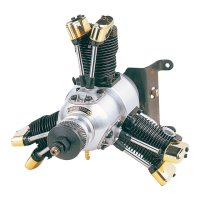
3. Multi-Cylinder Glow Driver
There are many fine glow driver
units available on the market
today. Please follow the instruc-
tions included with the glow dri-
ver you've selected.
N
OTE: The use of an on-board
glow system is highly recom-
mended. This will guarantee a
smooth, reliable idle. If an
on-board glow system will NOT
be utilized, replacement of the
standard SAIP400S glow plugs
with a "hotter" plug, such as the
"Hangar 9 4-Cycle Super Plug
(HAN3011)" or equivalent,
is suggested.
Glow Plug Wrench Used to
remove and tighten glow plugs.
Manual or Electric Starter
For manual starts, a "Start stick"
(HAN113) is highly recommended.
Never use your fingers to start
any model engine as doing so
invites injury. There are a variety
of electric starters on the market.
The Hangar 9 Power Pro HD 12V
Starter(HAN162) works perfectly
on all Saito multi-cylinder engin-
es.
Figure 2
校了_斎藤製作所_MCFSE冊子cs3.indd 5 2010/11/04 10:01:47
 Loading...