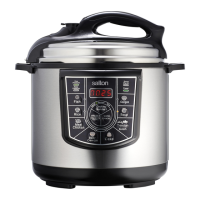
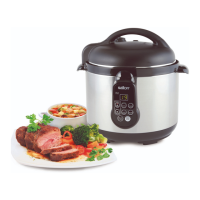
HOW TO RELEASE THE PRESSURE
Natural Release is recommended when cooking foods that will not have the tendency to over-
cook such as potatoes, beans, soups and stews. During the natural release time period, the
pressure cooker may still be heated and cook the food slightly. In opting to use the natural
release method, you do not move the pressure limiting valve to exhaust immediately after
cooking. Approximately 10-20 minutes after cooking is completed, you can check the valve by
gently tapping it right or left. If it is loose and turns easily and no steam is released from the valve,
then all the pressure has now been released. Quick Release is recommended when cooking
foods that you wish to be Medium or Medium-Rare such as Beef Roasts or Lamb. This will
release the pressure quickly and prevent the food from over-cooking. Here you will move the
pressure limiting valve to exhaust immediately after cooking. Caution: Use an oven glove or long
utensil during release of the pressure. Keep hands and face away from the pressure limiting
valve (3) while in the “exhaust” position. Failure to comply may cause serious injury.
HOW TO CLEAN THE PRESSURE COOKER
Always make sure the pressure cooker is unplugged, depressurized and completely
cooled down before cleaning.
Use a non-abrasive sponge or damp wash cloth to clean the exterior of the outer body (13)
and the exterior surface of the pressure cooker. Never immerse the pressure cooker in
any liquids.
Remove the condensation cup (12) and rinse it thoroughly and let dry. Clean the upper
ring (9) with a damp sponge or wash cloth.
Clean the lid (2) with warm soapy water, including the rubber seal ring (18), pressure
limiting valve (3), filter (17), vent, and float valve (5) and let dry thoroughly.
The pressure limiting valve (3) pops off easily by gently reaching underneath it and gently
prying upwards. Be careful not to damage the thin wire spring under it.
On the underside of the lid below the pressure limiting valve (3), is a small metal filter cap
which can be removed easily to clean.
Let parts dry completely before reassembling.
Wash the inner pot (6) with a non-abrasive sponge and allow to air dry or use a towel. It is
not recommended to use any type of scouring pad that can scratch the non-stick surface
of the inner pot (6).
Clean the pressure limiting valve (3) and the holes with a small brush to ensure smooth
flow of steam during the release cycle.
Store the inner pot inside of the unit. Store the unit in a cool, dry location.