9
3 4 5
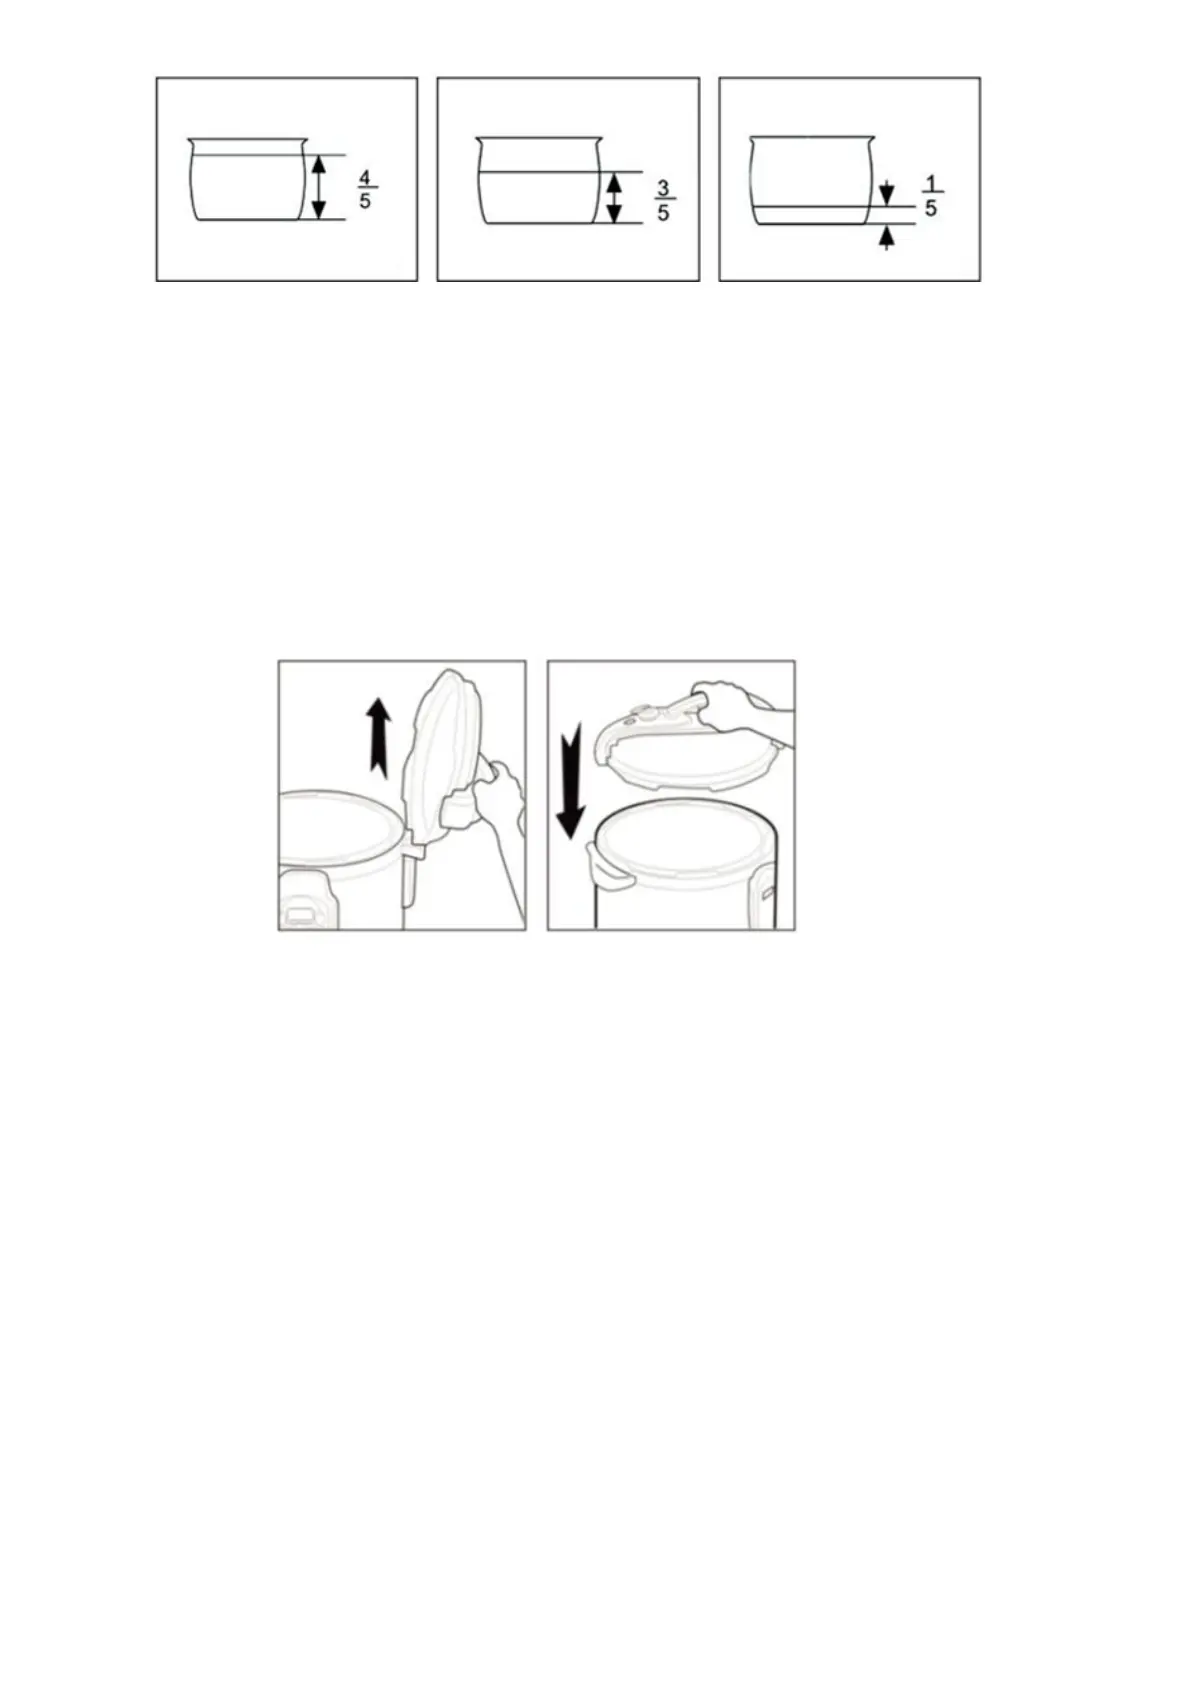
Closing the Lid: Make sure that the rubber seal ring (18) is fitted properly onto the inner part of
the lid (2). Observe the rubber seal ring (18) inside the lid (2) and ensure that it is evenly fitted
onto the track. (Caution: If the rubber seal ring is damaged, do not use the pressure cooker -
contact your authorised service agent.) Lift the lid (2) from the rested position. Close the lid (2).
Hold the handle (1) and turn it counter-clockwise to the “locked” position. (A locking sound can be
heard See Figures 6-7).
Note: To ensure you are properly closing the lid (2), please make sure the pressure limiting valve
(3) is on your left side when you are facing the front of the pressure cooker (when facing the
control panel (10).
Adjust the pressure limiting valve (3) to the “airtight” position, and ensure that the float valve (5)
sinks.
When adjusting the pressure limiting valve (3) to either the "airtight" or the "exhaust" positions,
line up the marking on the pressure limiting valve (3) with the arrow on the handle (1) as shown
in Figures 8 and 9.