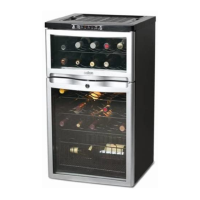
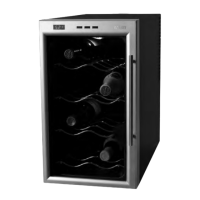
INSTALLING YOUR WINE CELLAR
Before First Use
1. Remove the exterior and interior packaging.
2. Check to be sure you have all of the following parts:
5 Shelves
2 Keys
1 Basket
3. Before connecting the appliance to the power source, let it stand upright
for approximately 2 hours. This will reduce the possibility of a malfunction
in the cooling system from handling during transportation.
4. Clean the interior surface with lukewarm water using a soft cloth.
Installation
1. This appliance is designed to be free standing only, and should not be
recessed or built-in.
2. Place your appliance on a floor that is strong enough to support the appliance
when it is fully loaded. To level your appliance, adjust the front leveling leg
at the bottom of the appliance.
3. Allow 5 inches (12.7 cm) of space between the back and sides of the appliance,
which allows the proper air circulation to cool the compressor.
4. Locate the appliance away from direct sunlight and sources of heat (stove,
heater, radiator, etc.). Direct sunlight may affect the acrylic coating and heat
sources may increase electrical consumption. Extreme cold ambient
temperatures may also cause the appliance not to perform properly.
5. Avoid locating the appliance in moist areas.
6. Plug the appliance into an exclusive, properly installed-grounded wall
outlet. Do not under any circumstances cut or remove the third (ground)
prong from the power cord. The cord should be secured behind the appliance
and not left exposed or dangling to prevent accidental injury. The appliance
should always be plugged into its own individual electrical outlet which
has a voltage rating that matches the rating label on the appliance.
This provides the best performance and also prevents overloading house
wiring circuits that could cause a fire hazard from overheating.
4