SUN_IS_ electrical_installation_v5.1_06092021
26
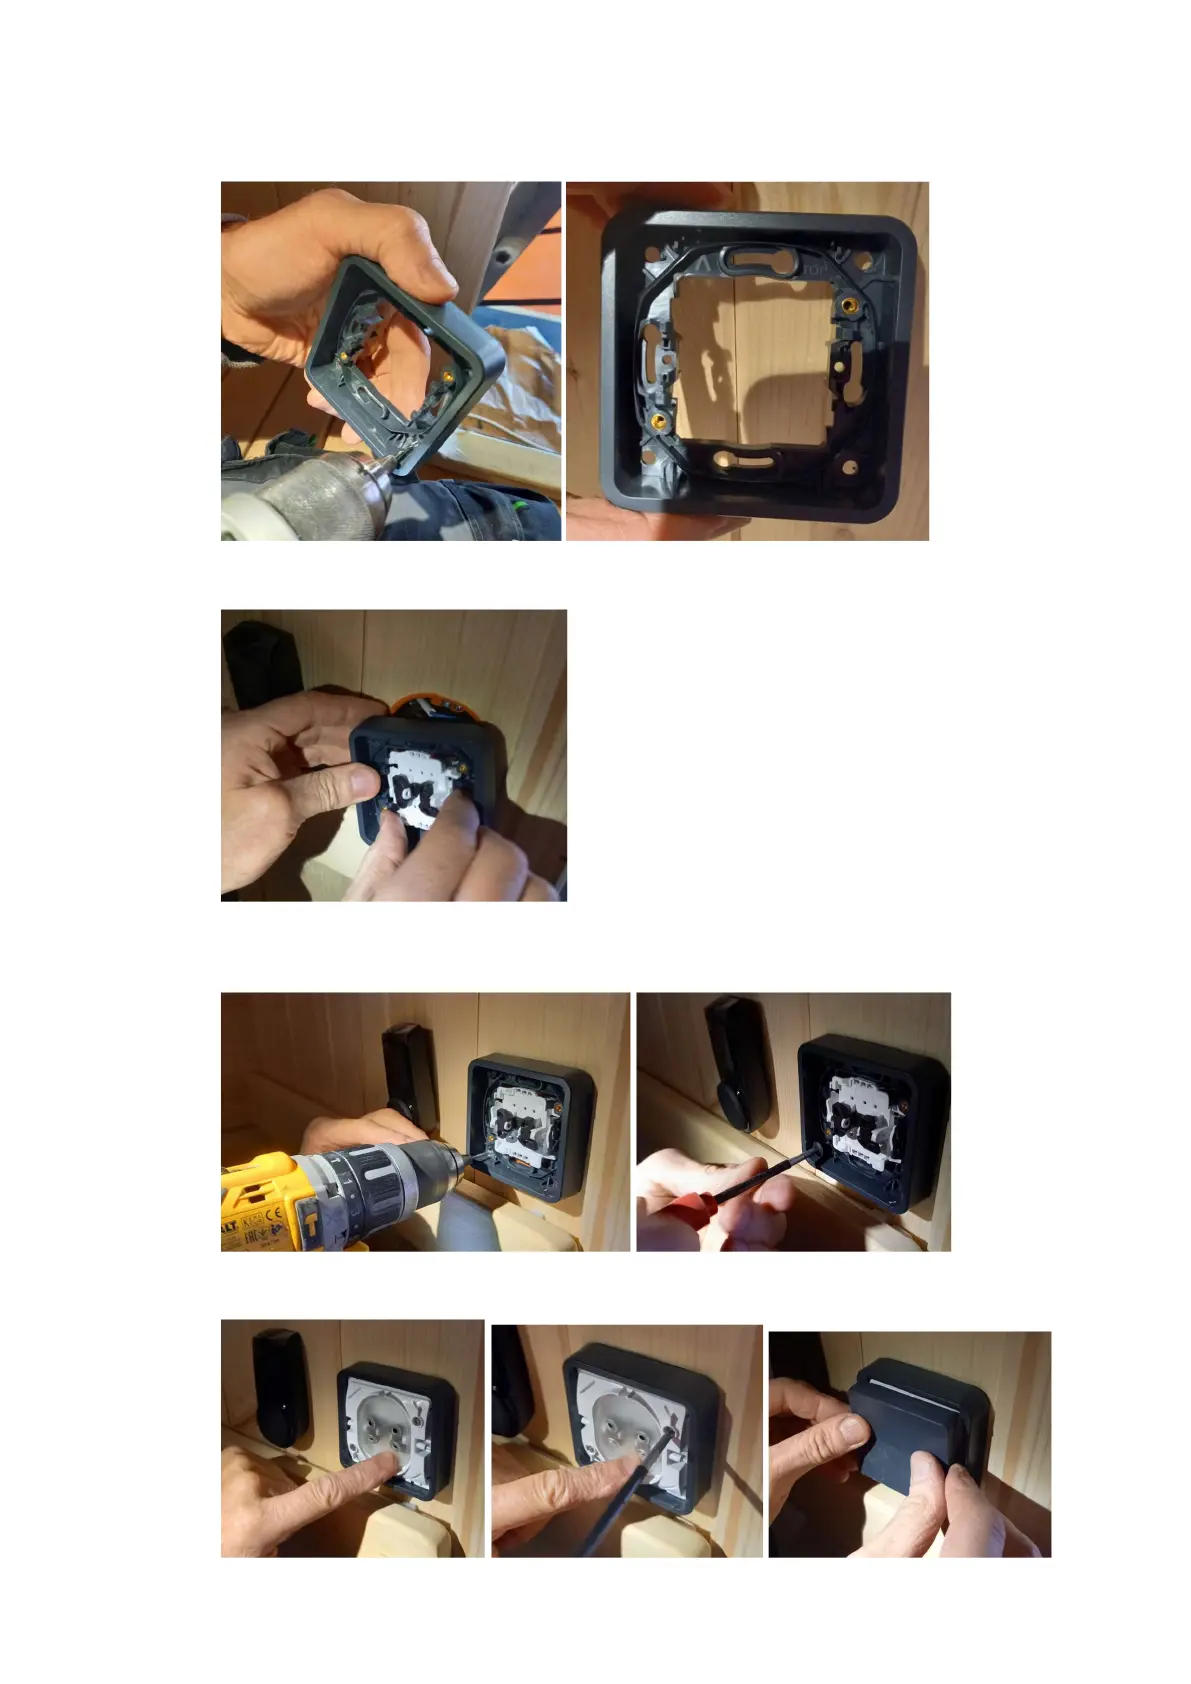
5. Using a 3.5 mm drill bit, ream the holes in the base of the switch.
6. Pass the switch with the connected LED light wires through the hole in the base.
7. Evenly fit the base to the paneling and drill the screw holes using the same drill bit
and screw the base using black screws phi 4 mm and 15 mm long.
8. Insert the seal and keys.