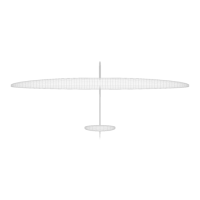
Install and glue with Cyano the connector holders in tips and midsection. It can
also be glued with epoxy or polyurethane glue. We do not recommend heat glue.
Start with one side and the other side as the tip are inserted. This ensures perfect
fit and connection each time. There is a small wire connector supplied for each
tip/servo bay. Be careful not getting Cyano into the connector metal parts.
It is recommended to install clear tape on the ends of the wings. This will prevent
the paint being ripped off when the tape is applied / removed every time you go
flying
Adjust the aileron throw according to the settings sheet below.
Meassure the throws from neutral on the inner part of the surfaces
Adjust the aileron throw on flaps
Adjust the crow brake flaps to as much as possible (70-85 degrees is good)
Adjust the crowbrake on ailerons to 1mm up (no bending while brakes applied)
Camber for thermal is +1-5mm measured on flaps and equal along the whole
trailing edge
Camber/reflex for distance/speed is -1 and -2 mm
Snap flap (elevator – flap mix) can be used up to 5mm on full elevator throw
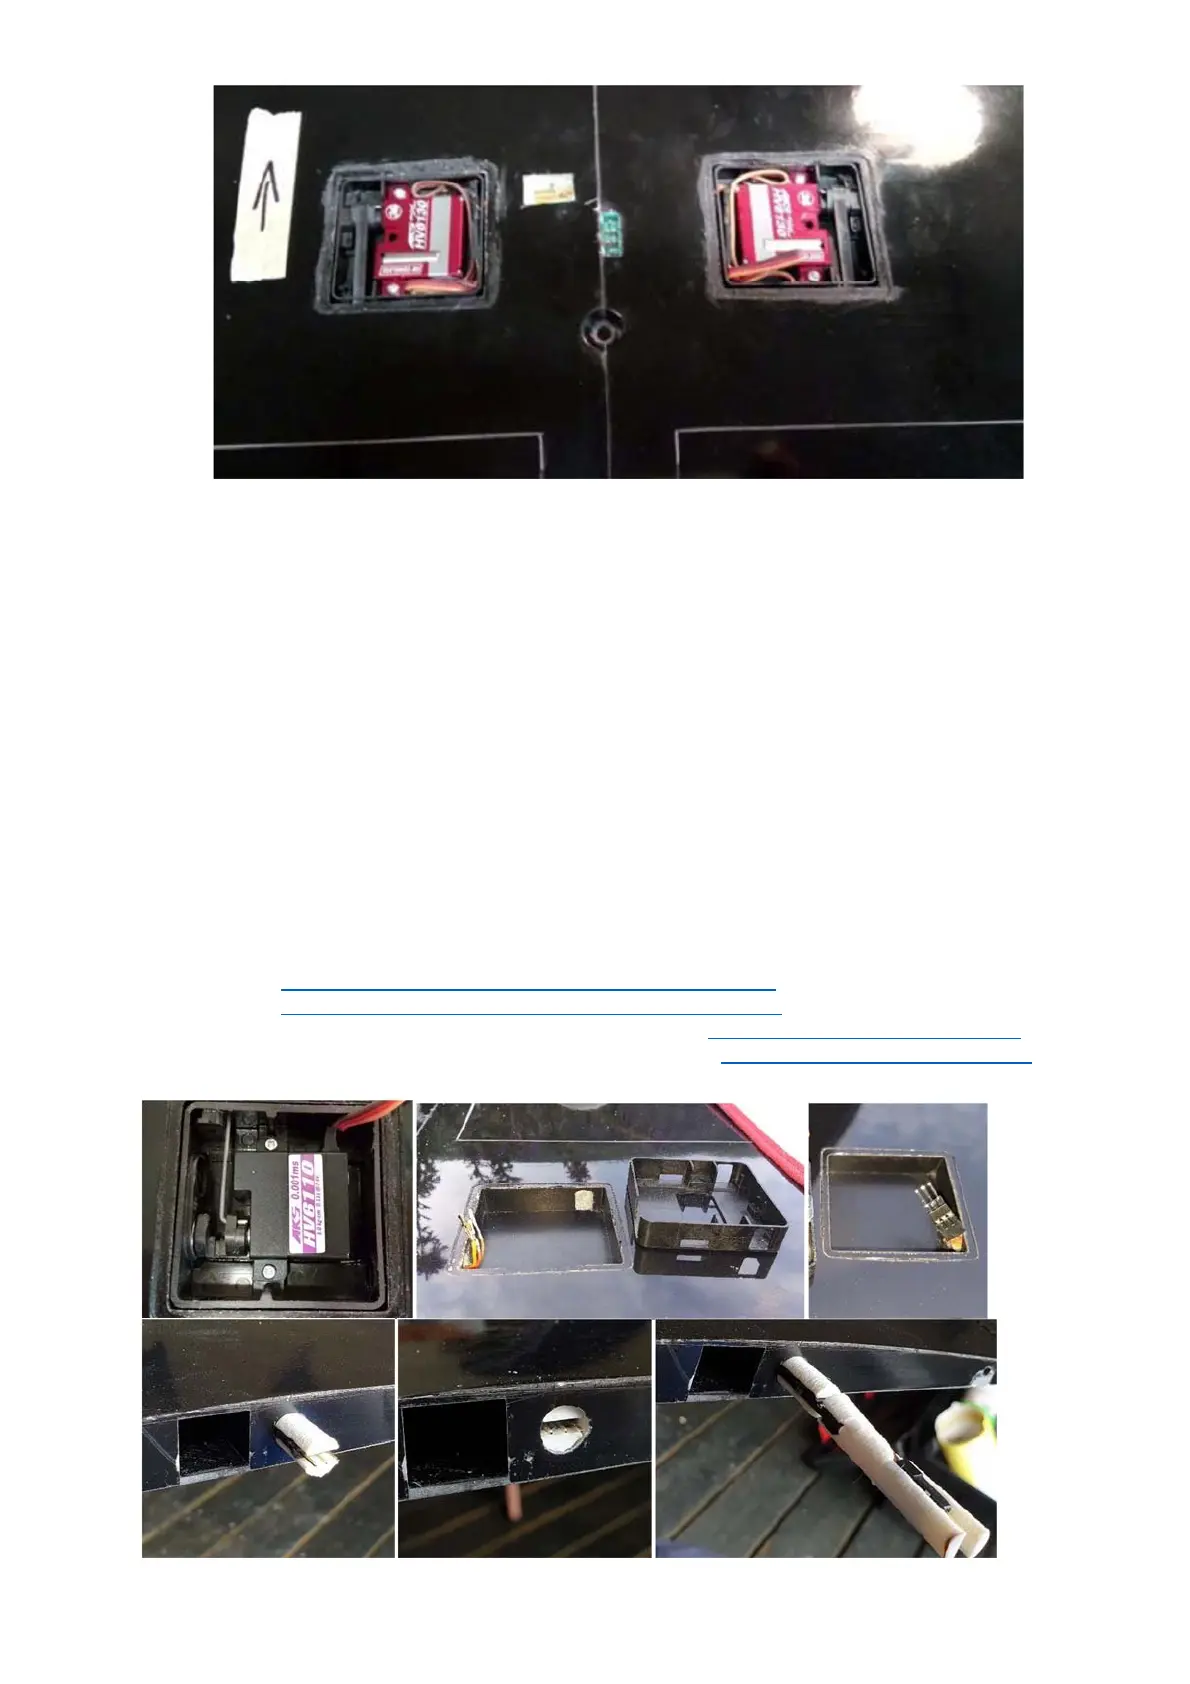
Cut the servo covers so the fit and secure them with tape
IDS installation on youtube
Part 1 https://www.youtube.com/watch?v=f1HJjbIv5uE
Part 2 https://www.youtube.com/watch?v=GtK9itGYJsM
Tip servo installation on youtube by Flightcomp: https://youtu.be/j8pwiXLxQBM
Midsection installation on youtube by Flightcomp: https://youtu.be/-UN7GagaiYA
Aileron and flap servo details – below: Contact holder arrangement glued in
 Loading...