Do you have a question about the Samson SXD7000 and is the answer not in the manual?
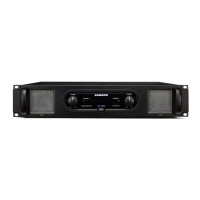
Backlit display shows current setup information and navigation through the DSP settings.
Use this to power the SXD Series on or off.
Use these buttons to navigate through the DSP functions.
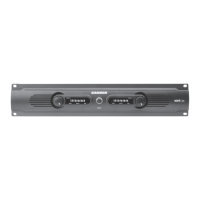
Two detent controls to precisely adjust the output level of each channel.
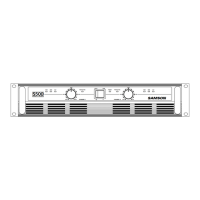
Mounts into a standard 19-inch rack.
Use this knob/button to adjust and save parameters in the DSP.
Two steel handles located conveniently on the left and right side of the front panel for easy transport or installation.
Front panel LED indicators continuously monitor power output level for the corresponding channel.
Variable-speed fan provides cooling; ensure front/rear panels are unobstructed.
Trips on fault or overload; push to restart the amplifier after a short rest.
Use these to connect each channel to 4- or 8-ohm loudspeakers.
Connect incoming signals using XLR or 1/4" TRS plugs.
Connect loudspeakers correctly, red (+) to positive, black (ground) to negative.
Connect the supplied heavy-gauge 3-pin "IEC" power cable here.
Choose Manual Mode or one of four speaker presets for quick setup.
Adjust settings for how inputs are routed through the DSP to output connectors.
Build crossover or add speaker protection by setting filters for audio bandwidth limits.
Set an overall balance between amplifier outputs to match speaker levels.
Adjust EQ parameters with three filters per channel or use seven EQ presets.
Provides protection to speakers from overload; set to -1dB, -3dB, or -9dB.
Used to align speakers in a system for optimal performance, displayed in various units.
Lock amplifier settings or create a four-digit code to prevent accidental changes.
Resets all parameters and presets back to the original factory default settings.
Diagram showing wiring for an unbalanced 1/4" connector.
Diagram illustrating wiring for a balanced TRS 1/4" connector.
Diagram showing wiring for male and female XLR balanced connectors.
Diagram illustrating wiring for RCA connectors.
Diagram and pinout for Speakon® connectors.
| Type | Class D |
|---|---|
| Channels | 2 |
| Frequency Response | 20Hz - 20kHz |
| THD | <0.1% |
| Signal to Noise Ratio | >100dB |
| Input Sensitivity | 1.4V |
| Damping Factor | >200 |
| Connectors Inputs | XLR, 1/4" TRS |
| Connectors Outputs | Binding Post, Speakon |
| Rack Spaces | 2U |
| DSP | Yes |
| Input Impedance | 10k Ohm Unbalanced, 20k Ohm Balanced |
| Cooling | Variable speed fan |
| DSP Functions | Crossover, EQ, Limiting |
| Dimensions | 19" x 3.5" x 15.75" / 483mm x 88mm x 400mm |