18
Installation Procedure
Installation Procedure
English
ŷ Install horizontally.
Indoor unit
Be horizontal
Flexible hose
ŷ Max. allowable axis gap.
ŷ Max. allowable bending angle.
NOTE
ŷ If a concentrated drain pipe is installed, refer to the
figure below.
Air ventilation
Concentrated
drain pipe
1/100 or more slope100 mm or more
Step 11 Performing the drainage test
1 Do a leak test at the connection part of the flexible
hose and the drain pipe:
a Connect a general hose to the connection part of
the flexible hose of the indoor unit, and pour in
some water.
Hose
Flexible hose
Water leakage
check part
b After pouring some water, reassemble the rubber
cap on the connection part of a flexible hose of
the indoor unit and firmly tighten it with a band
to prevent leakage.
c Check the leak test at the part where the adhesive
for the flexible hose and the drain pipe is used.
CAUTION
ŷ The leak test must be performed for at least 24
hours.
2 Check the condensed water drainage:
a Pour about 2 liters of water into the indoor unit
drain pan as shown in the picture.
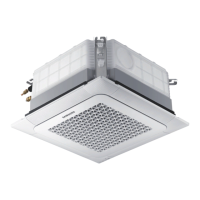
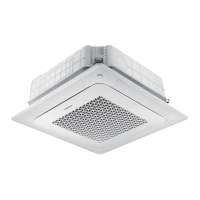
1 way Cassette
4 way Cassette
b When the electric cable connection is completed
ŷ Turn on the indoor unit and outdoor unit.
ŷ Operate in the Cool mode.

 Loading...