Diagram 1 Diagram 2a
Detailed View
h
i
a g f
c
Diagram 2a Diagram 2b Diagram 3
m
l
k
square cut in cap
d j
stud c c
c e
drywall cutaway to d square end
show stud location concrete or of bushing
brick surface
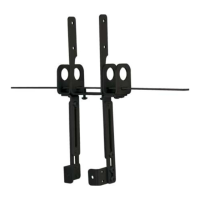
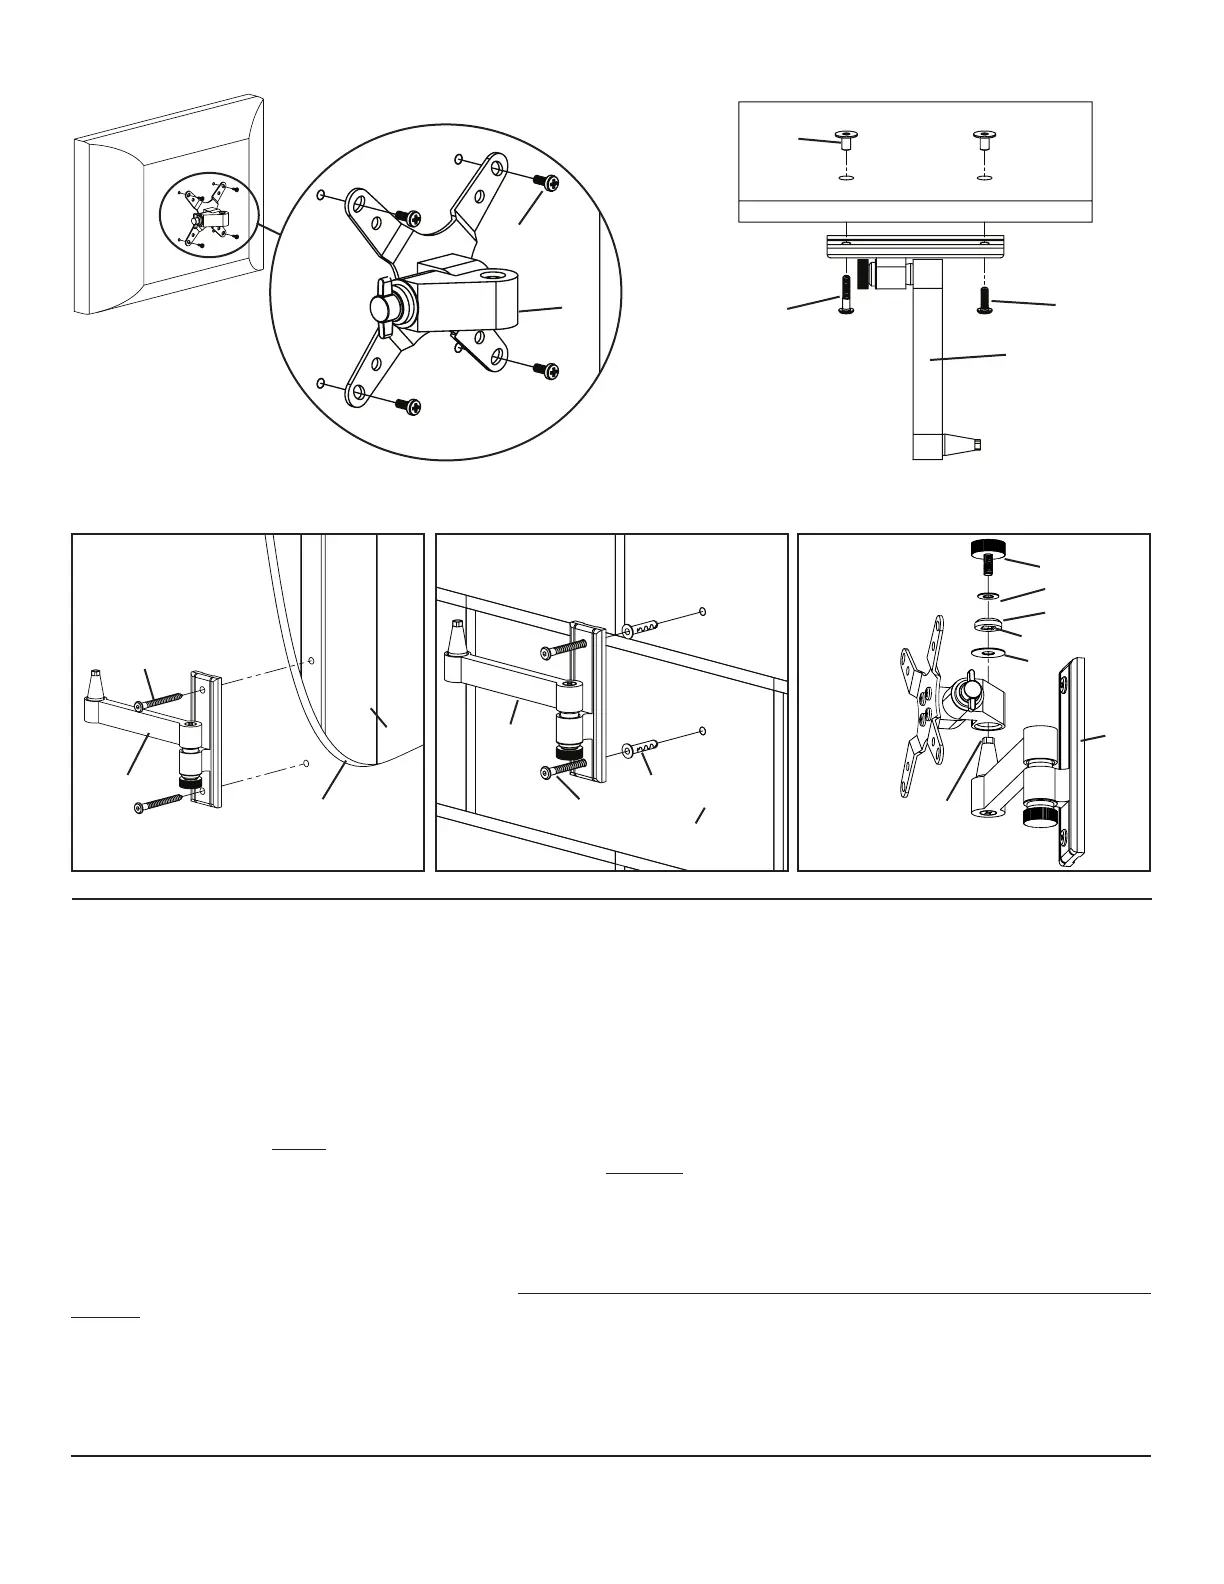
Step 2b - Attaching to the Wall: Attaching to the Wall: Hardware for wood stud, concrete, brick and concrete block mount-
ing is provided.
Wood Stud Installation - Use a high quality stud sensor to locate a stud. It is a good idea to verify the stud location with an awl or
thin nail. Use the Wall Plate (c) as a template to mark the two hole locations on the wall. Make sure these holes are aligned vertically and
centered over the stud. Pre-drill the two holes to a depth of 2.5” using a 3/16” drill bit. Attach the Wall Plate to the wall using the two
Lag Bolts (d) as shown in Diagram 2a. Tighten the Lag Bolts rmly with the Allen Key (b).
Concrete Installation - Use the Wall Plate (c) as a template to mark two locations. Using a 5/16” masonry drill bit, drill a hole at each
location to a depth of 3”. Never drill directly into the Mortar in between bricks! Tap a Anchor (e) into each hole. Drive a Lag Bolt (d)
into each Anchor. Once you have started driving the Lag Bolt, DO NOT stop until the Lag Bolt is tight. See Diagram 2b.
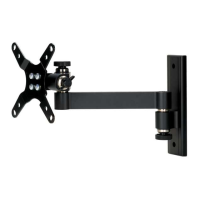
Step 3 - Add Monitor Mount to Wall Plate: Once the LCD TV is attached to the Monitor Mount (a), and the Wall Plate (c) is prop-
erly installed, set the tapered hole in the Monitor Mount down over the cone shaped bushing on the Wall plate. This process is shown
without the TV in Diagram 3 so that you can see the parts more clearly. Make sure the Monitor Mount is seated completely onto the Wall
Plate. Add the Large Washer (j). Next add the Cap (k). Make sure the square cut into the cap ts over the square top of the Wall Plate
bushing. Finally place the Knob (m) through the Small Washer (l), the Cap, the Large Washer and into the cone shaped bushing. You can
now set each of the Knobs to the desired level of tension.
Note: Tension can be easily adjusted with just the twist of the Knob (m). If you desire a greater amount of tension
than you can achieve by tightening the Knob by hand, please use the Knob Replacement Bolt (i) and tighten with
provided Allen Key (b).
Sanus Systems 2221 Hwy 36 West, Saint Paul, MN 55113 09.01.06 (6901-100056)
Customer Service: 800.359.5520. See complementary Sanus products at www.sanus.com
 Loading...