Do you have a question about the Sanus VLT16B1 and is the answer not in the manual?
Verify TV weight does not exceed 125 lb (56 kg) for compatibility.
Determine the wall material (drywall, concrete) for proper mounting.
Confirm all necessary tools are available before starting installation.
Read instructions and TV manual; contact support if unsure.
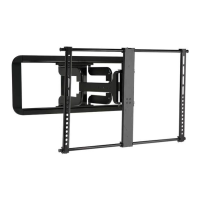
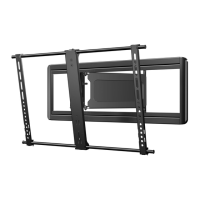
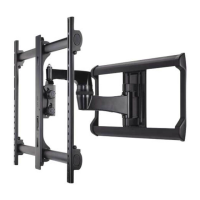
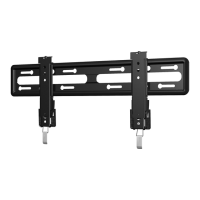
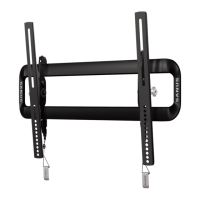
Brackets fit TV hole patterns from 200x200mm to 750x400mm.
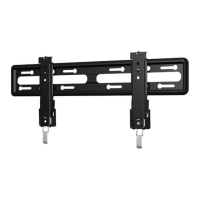
Brackets slide side-to-side on the wall plate for optimal placement.
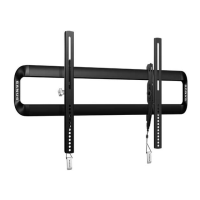
Kick stands create space behind TV for cable management.
Built-in level adjustments ensure a worry-free installation.
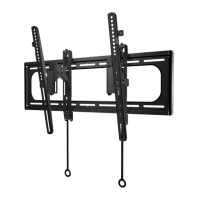
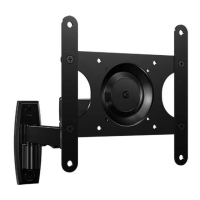
TV tilts up to 10 degrees for ideal viewing angles.
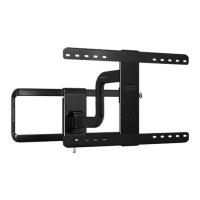
Knobs adjust or restrict TV movement for stable positioning.
Identify all included TV brackets, screws, washers, and spacers before assembly.
Hand thread screws into TV to determine correct diameter (M4, M6, M8).
Choose shorter screws for flat backs, longer ones with spacers for other types.
Center and attach TV brackets using selected screw/washer or spacer combinations.
Find stud centers, level wall plate, and mark hole locations.
Drill pilot holes into stud centers to a depth of 75mm using a 5.5mm bit.
Secure wall plate using lag bolts and washers, tightening until firm.
Level wall plate on concrete surface and mark three hole locations.
Drill pilot holes into concrete (not mortar) to 75mm depth using a 10mm bit.
Insert concrete anchors flush with the concrete surface.
Secure wall plate with lag bolts and washers, tightening until firm.
Hook the TV brackets onto the wall plate and rest TV against the wall.
Ensure the brackets click and lock the TV securely into place.
Pull release cords to detach TV from wall plate, allowing kickstands to deploy.
Lift kickstands and gently return TV to lock it onto the wall plate.
Use hex key to adjust tension knobs for desired tilt resistance.
Use hex key to turn level adjustment screw to raise or lower TV for perfect leveling.
Slide TV left or right along the wall plate for repositioning.
Disconnect cables, use release cords, and lift TV off the wall plate.
| Product Type | TV Mount |
|---|---|
| Adjustment | Tilt |
| VESA Compatible | Yes |
| VESA Maximum | 600 x 400 mm |
| Tilt Range | 10 degrees |
| Weight Capacity | 130 lbs |
| Color | Black |
| Construction Material | Steel |