Do you have a question about the Sanus VLT5 and is the answer not in the manual?
Verify TV weight and wall material (wood studs, concrete, or unsure) before installation.
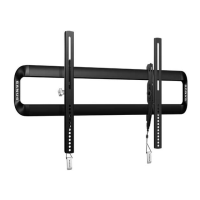
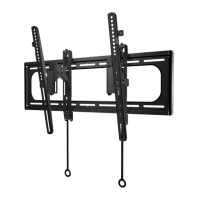
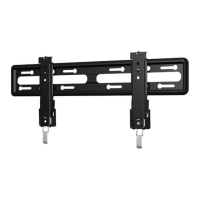
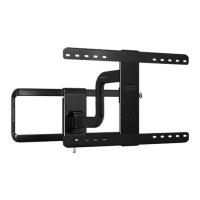
Highlights key safety points, including drywall installation, wall capacity, and product usage.
Guide on hand-threading screws to determine the correct diameter for TV attachment.
Detailed steps for centering and attaching the TV brackets to the TV using selected hardware.
Instructions for using the stud finder to locate and mark the center of wall studs.
Partially installing lag bolts and then removing the wall plate template.
Installing remaining lag bolts, tightening securely, and closing covers.
Specifies minimum concrete thickness, block size, and fastener spacing for concrete walls.
Guides on placing template and drilling pilot holes in concrete for anchors.
Installing remaining lag bolts, tightening securely, and closing covers.
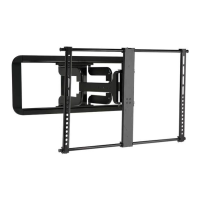
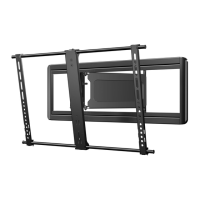
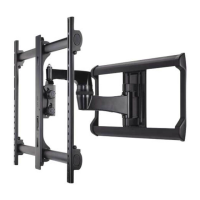
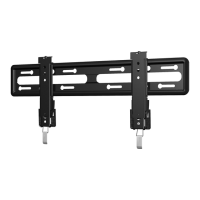
| Mounting type | Wall |
|---|---|
| Maximum VESA mount | 675 x 410 mm |
| Minimum VESA mount | 200 x 75 mm |
| Maximum screen size | 90 \ |
| Minimum screen size | 42 \ |
| Maximum weight capacity | 79.38 kg |
| Panel mounting interface | 675 x 410, 75 x 200 mm |
| Number of displays supported | 1 |
| Tilt angle range | -12 - 7 ° |
| Product color | Black |
| Width | 784.4 mm |
|---|---|
| Height | 449.6 mm |
| Weight | 4660 g |
| Depth (max) | 54.6 mm |